A detailed, industry-oriented manual for accurate measuring, mixing, curing control and troubleshooting — suitable for hobbyists, artisans and industrial manufacturers.
1. Introduction
Mixing epoxy resin correctly is the most important step for achieving crystal-clear, durable, and bubble-free results—whether you're crafting jewelry, pouring a river table, coating a floor, or sealing electronics. Incorrect mixing ratio and improper curing are the top reasons for sticky surfaces, soft spots, yellowing, cracking, or incomplete curing.
This guide gives you a complete, beginner-friendly but professional breakdown of mixing ratios, tools, methods, curing conditions, troubleshooting, and real-world tips from industrial applications.
2. Part 1: Mastering the Epoxy Mixing Ratio
2.1 The Chemistry Behind the Ratio
The mix ratio is the precise amount of resin (Part A) and hardener (Part B) required for a complete chemical reaction (polymerization). If the ratio is off, unreacted molecules remain, leading to a soft, sticky, or weak final product that never fully cures.
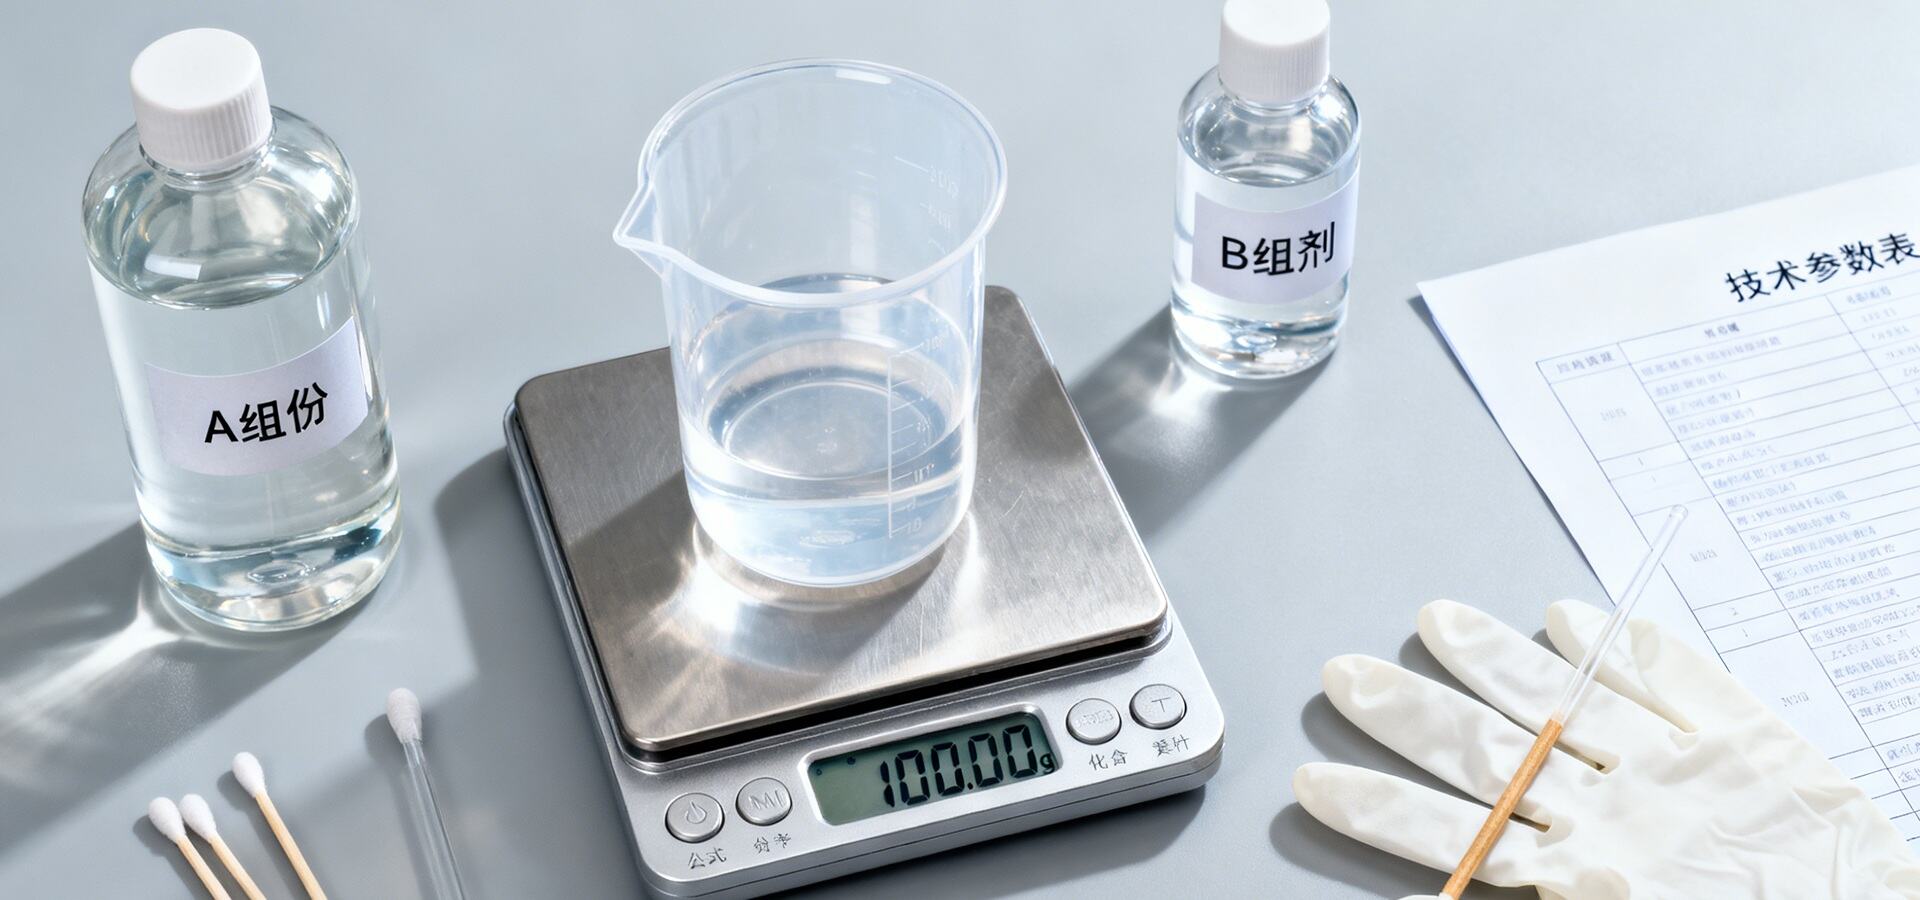
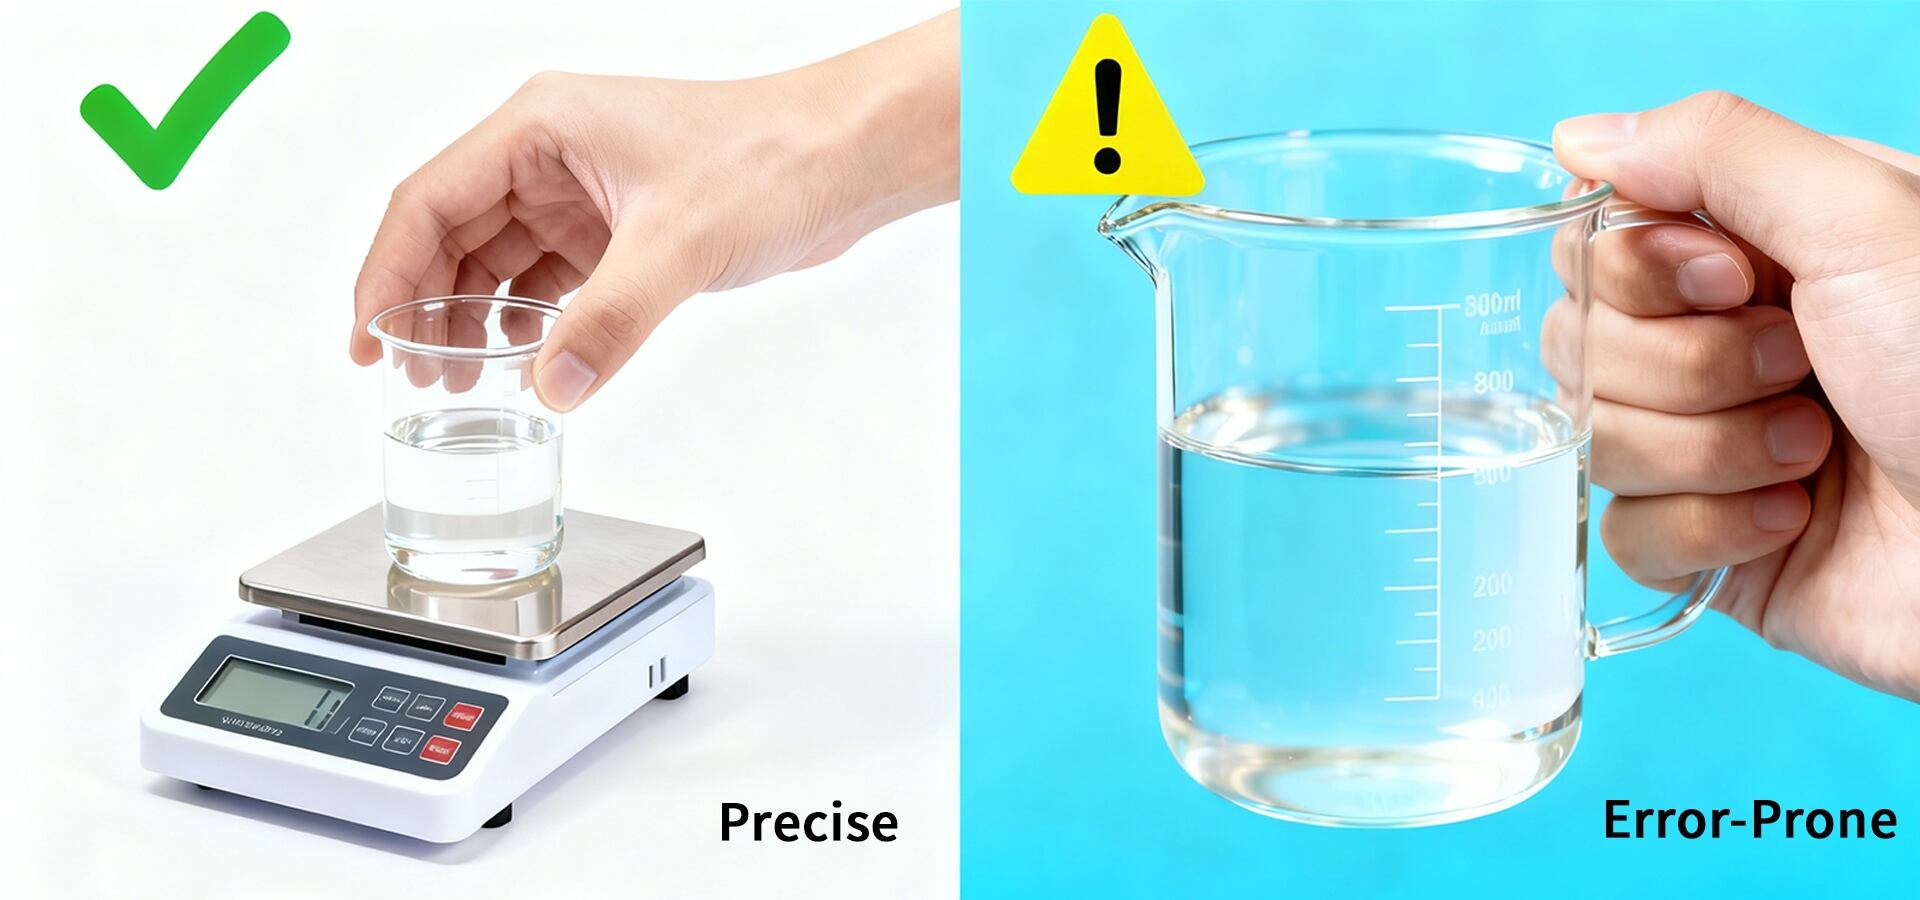
2.2 Weight vs. Volume: A Critical Distinction
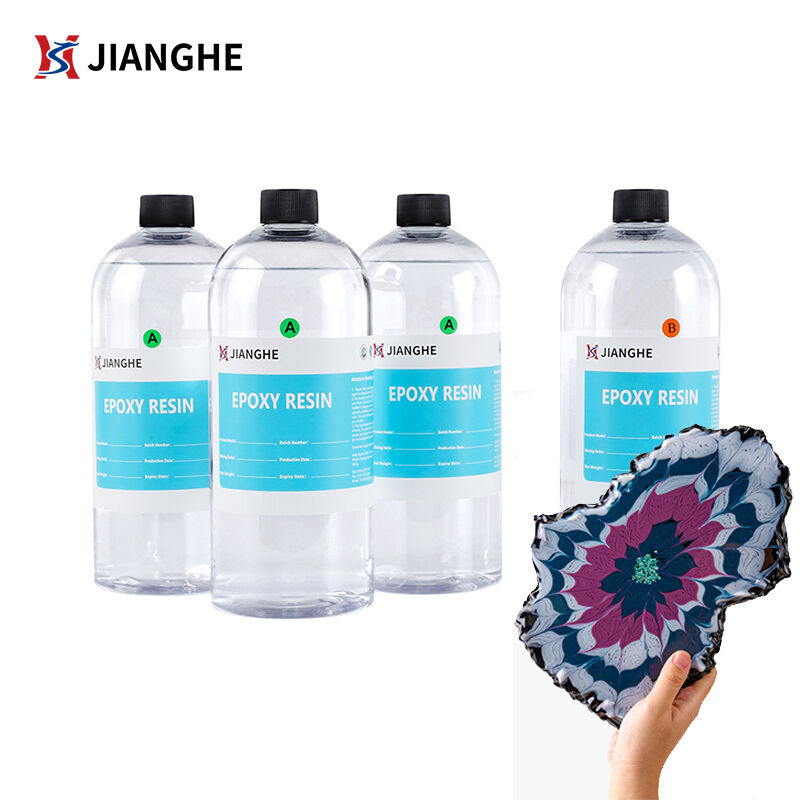
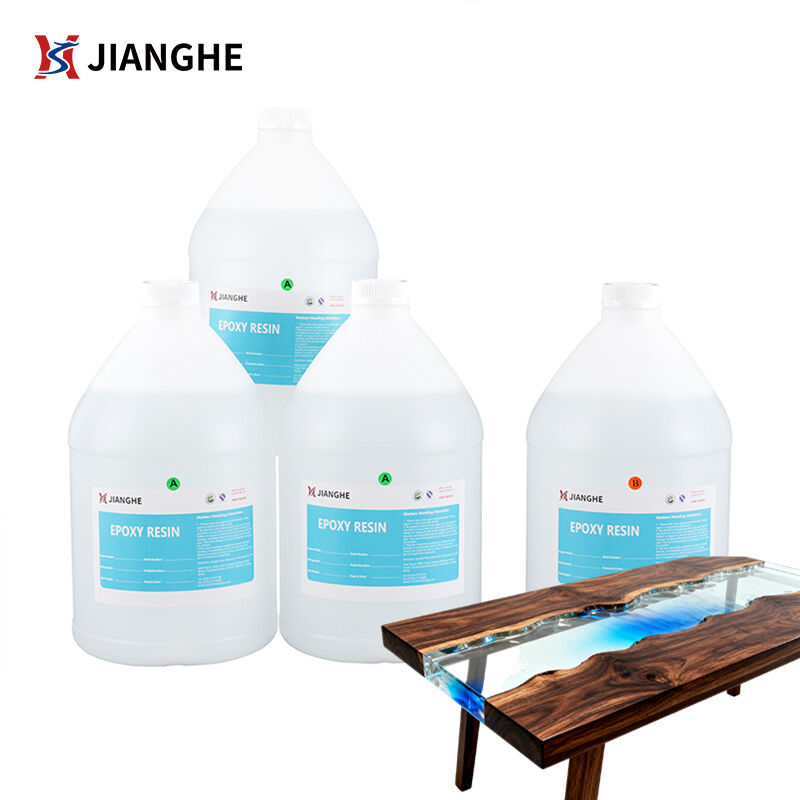
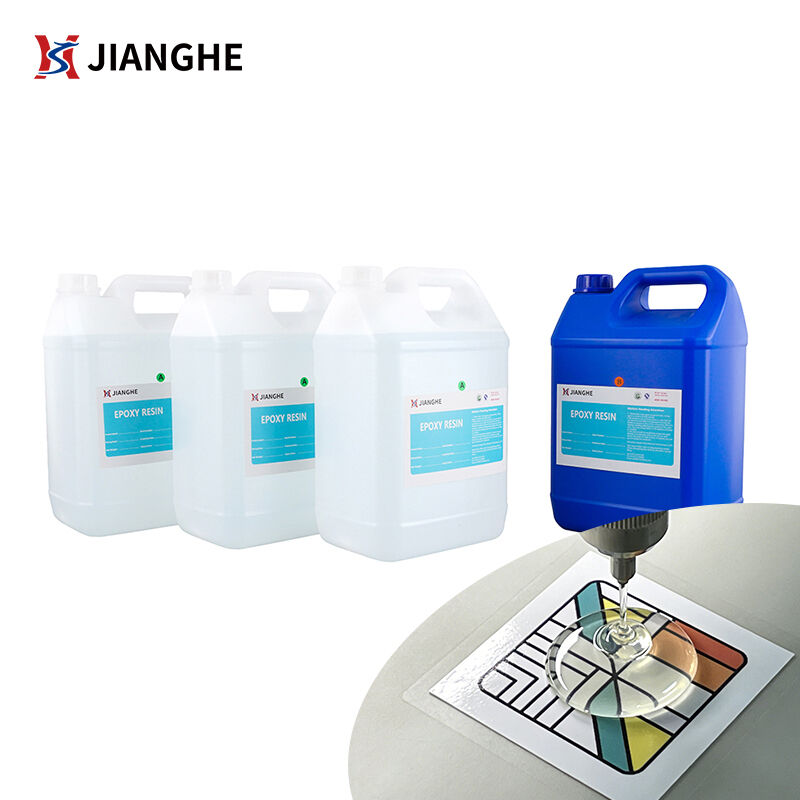
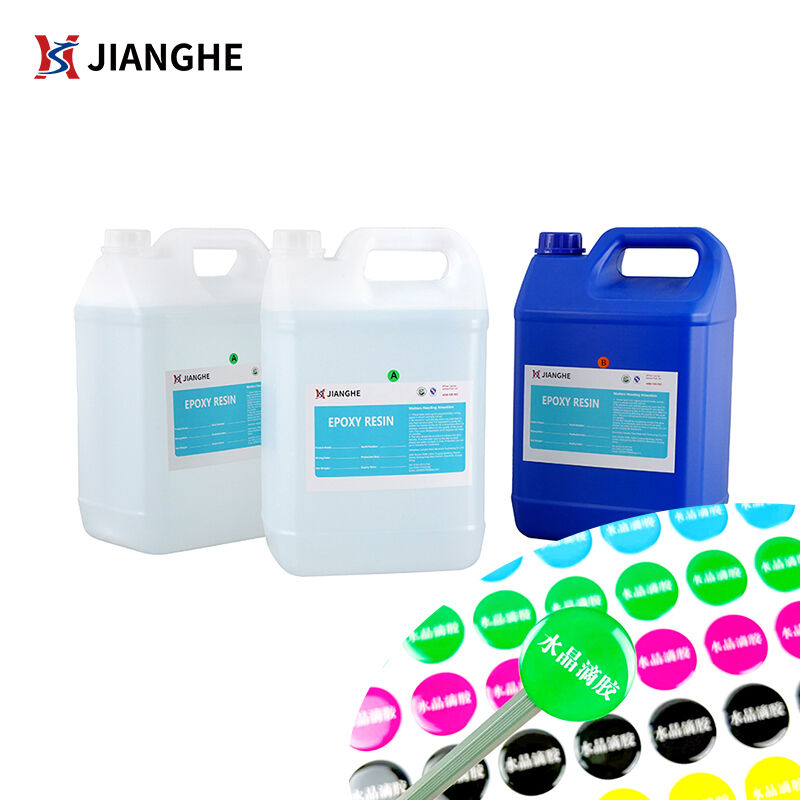
The most common source of mixing error is confusing weight and volume. Volume measurements are easier for small hobby batches (1:1, 2:1 by volume), but they are vulnerable to meniscus effects, trapped air, and viscosity differences. Industrial and high-performance systems commonly specify weight ratios (e.g., 100:30 by weight) for repeatability and precision.
| Method | Pros | Cons | Best For |
| By Weight | High accuracy, unaffected by air bubbles. | Requires a digital scale. | Industrial use, large batches, critical applications. |
| By Volume | Convenient, uses graduated cups. | Inaccurate due to bubbles, meniscus, and viscosity. | Small crafts, non-critical applications. |
3. Step-by-Step Mixing Procedure
Follow these steps for reliable results. Many failures originate from skipping one of the basic steps below.
Always check the manufacturer's Technical Data Sheet (TDS) for the exact ratio, pot life, recommended temperatures and safety notes.
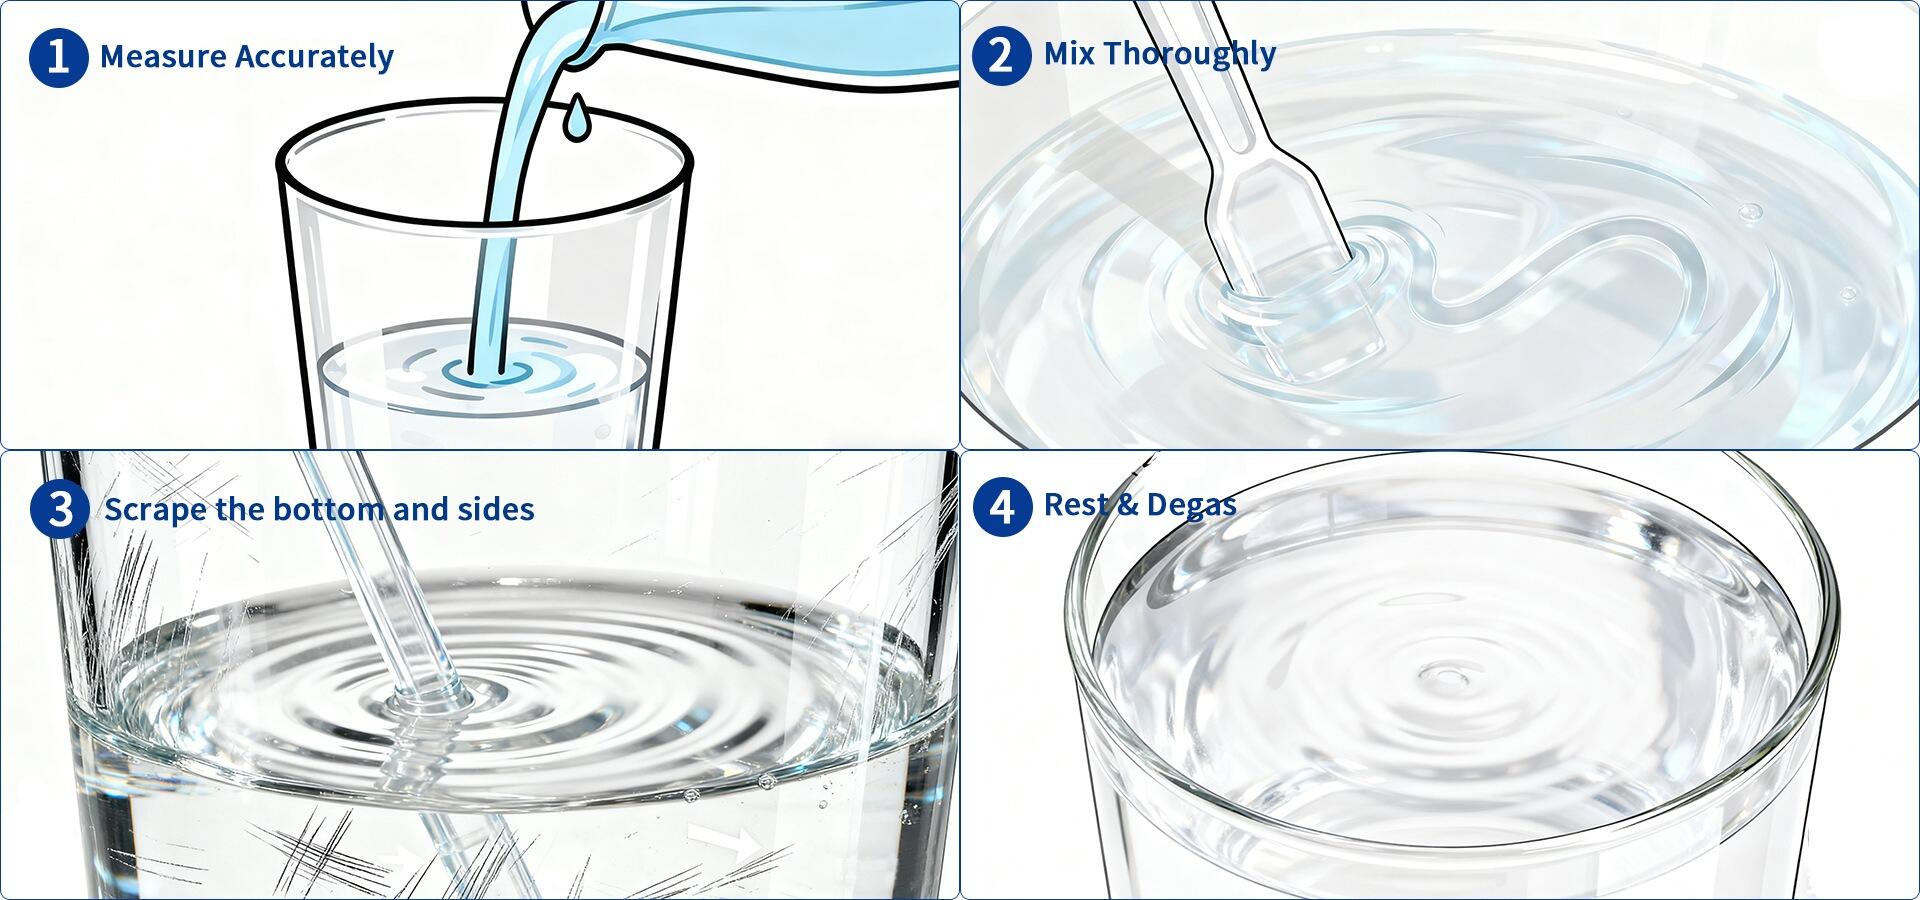
Use a calibrated digital scale for weight ratios, tare the container, and add components precisely. For volume ratios use identical graduated cups and ensure level measurement.
Pour Part B into Part A slowly. Pouring fast or splashing traps air.
Mix slowly and systematically for the recommended time (usually 2–5 minutes for hobby systems; industrial systems may require mechanical mixing). Scrape the sides and bottom frequently to incorporate all material.
Let the mixture rest for 1–3 minutes to allow microbubbles to rise. Use a vacuum chamber for optical or potting work when possible.
For deep pours, pour in layers (e.g., 5–10 mm per layer) and allow partial cooling between pours to control exotherm.
4. Part 2: Demystifying the Epoxy Curing Process
4.1 Curing Stages & Definitions
A typical epoxy cure progresses through several stages:
4.2 Temperature: The Dominant Factor
Temperature controls reaction kinetics. Warmer conditions accelerate curing (shorter pot life, faster gel), colder conditions slow or even prevent complete cure. Most general-purpose epoxies perform best at 20–25°C (68–77°F). For controlled industrial processes, maintain temperature stability and monitor exotherm with an IR thermometer.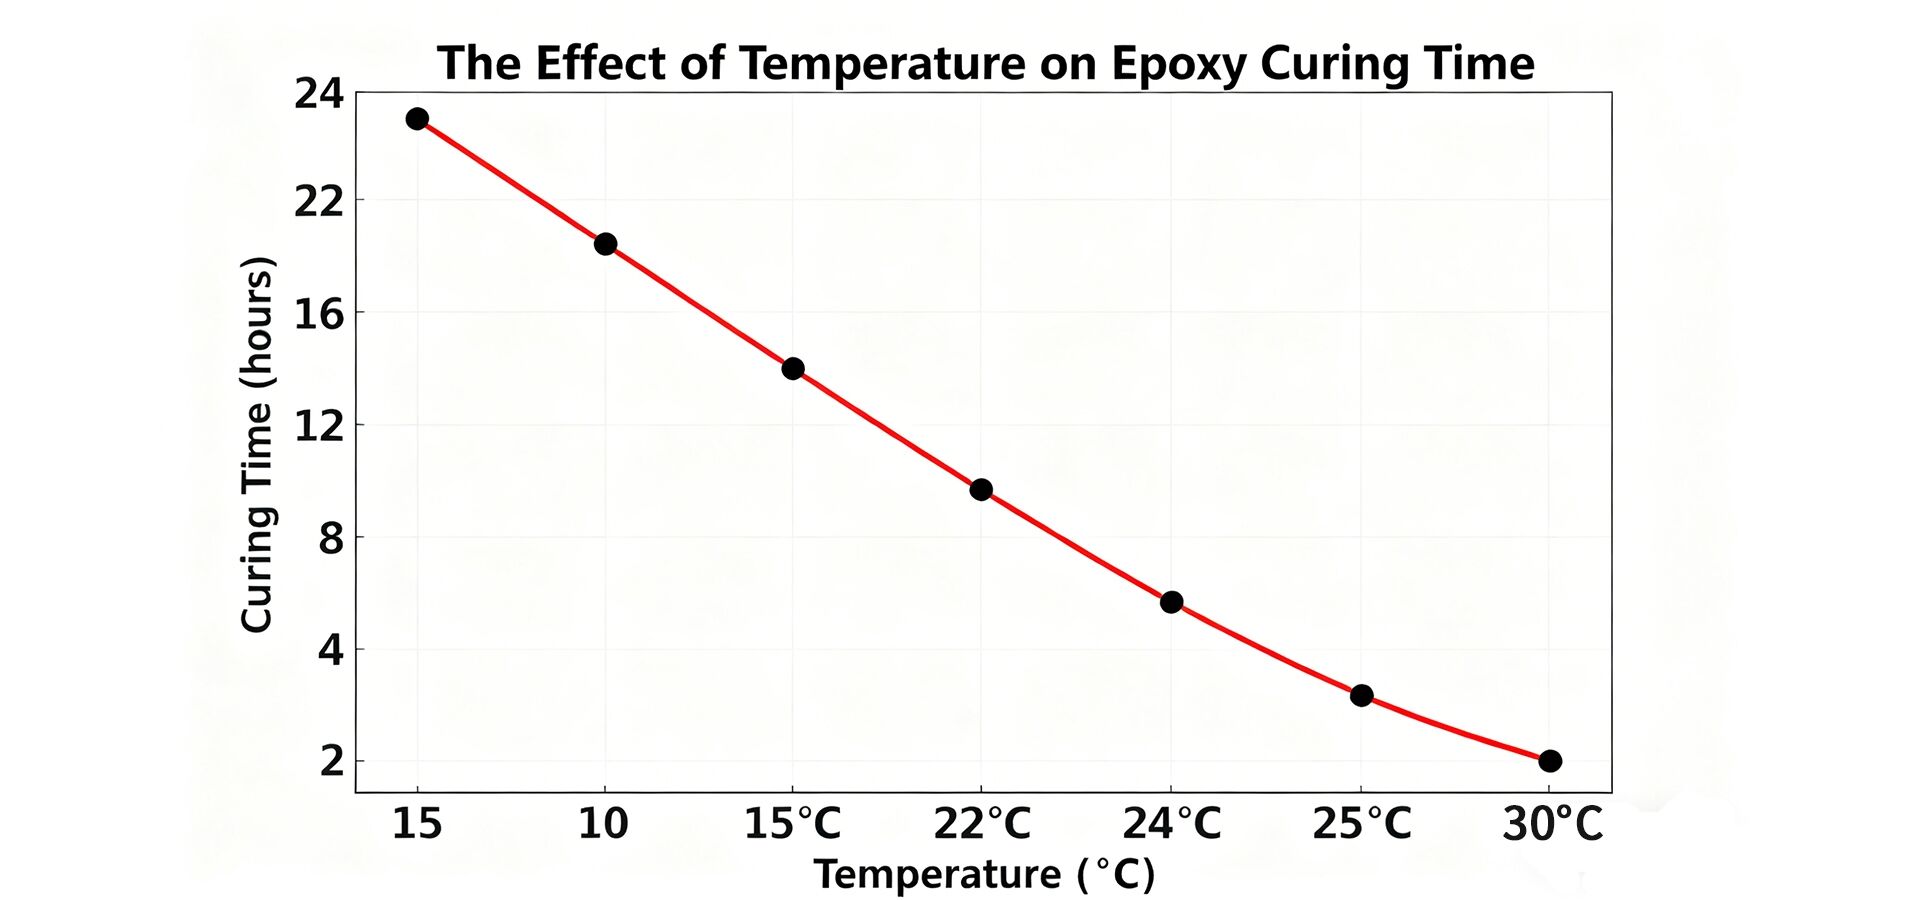
4.3 Exotherm Management
Exotherm is the heat generated by polymerization. In large volumes, heat accumulation can cause rapid temperature spikes, yellowing, cracking, or boiling. Use slow-curing deep-pour formulations, layer pours, and avoid enclosing large pours without ventilation.
5. Common Mixing & Curing Problems and Solutions
Representative cure expectations (subject to TDS and conditions):
| System | Pot Life | Initial Cure(tack-free) | Full Cure |
| Craft / Art Epoxy | 30–120 min | 6–12 hours | 48–72 hours |
| Deep Pour (slow) | 2–8 hours | 12–24 hours | 3–7 days |
| Industrial Potting | 10–60 min | 2–8 hours | 24–72 hours |
| Fast Cure Adhesives | 5–60 min | 0.5–2 hours | 12–24 hours |
Note: Full mechanical properties may develop over time; follow manufacturer post-cure recommendations (some systems require post-heat at 60°C to achieve final properties).
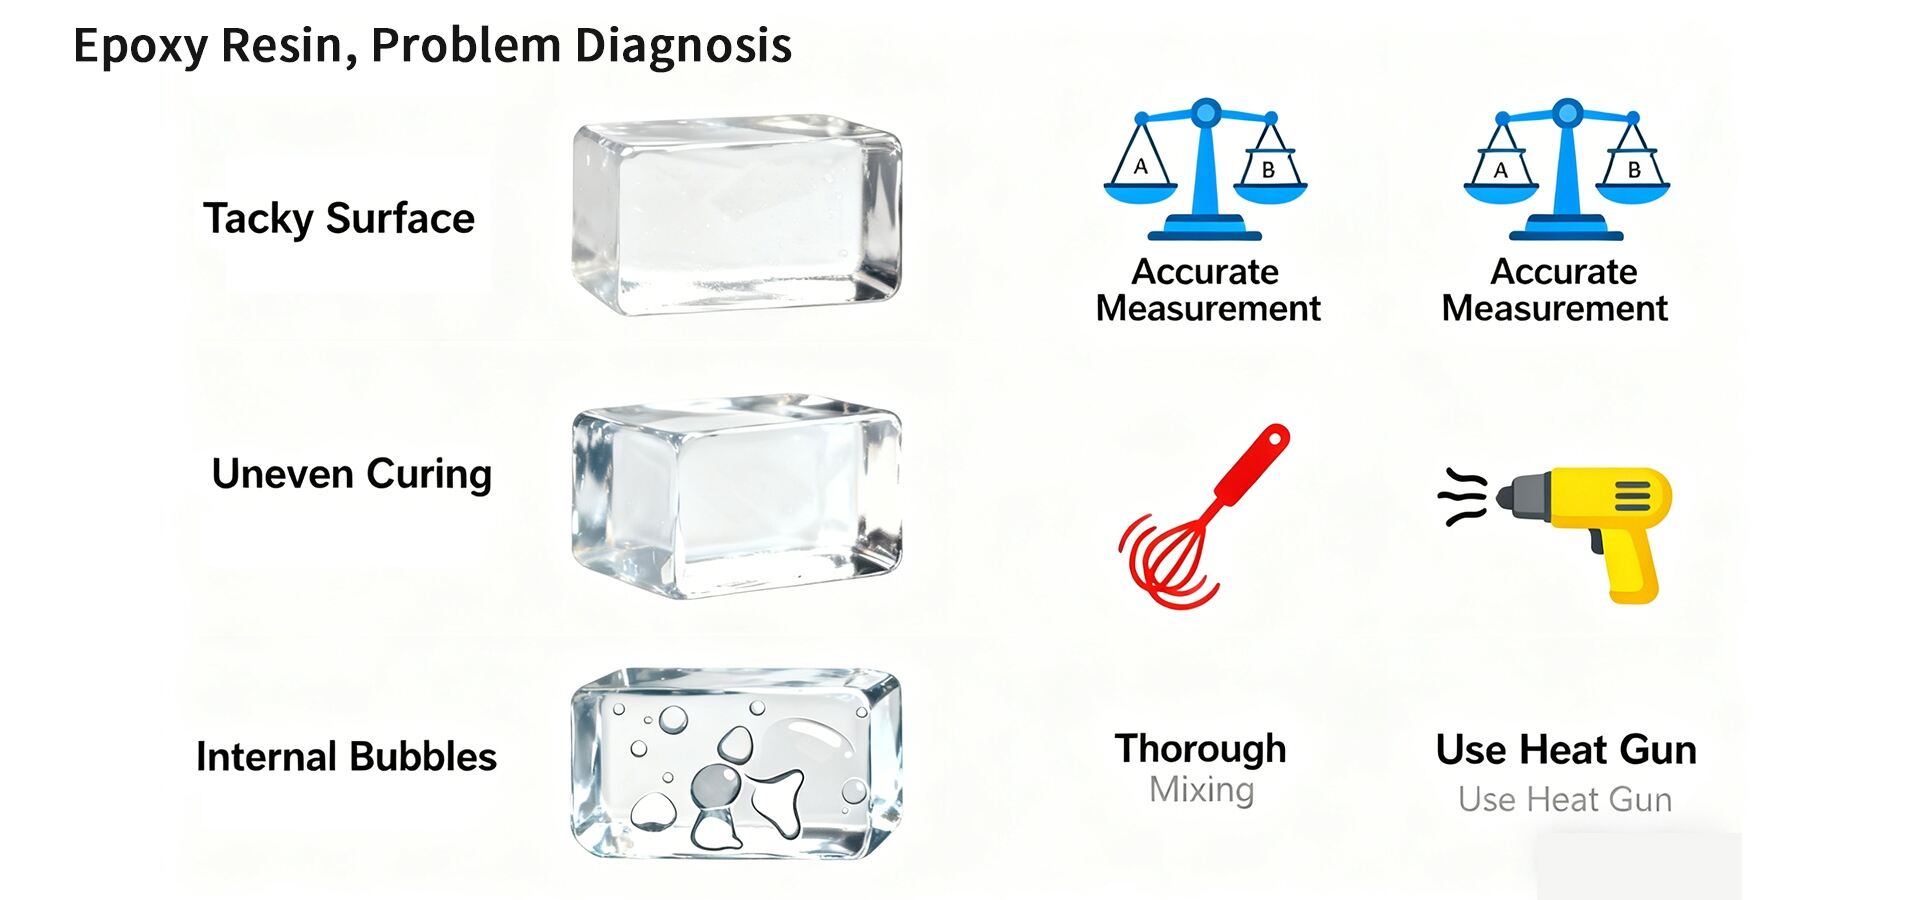
6. Troubleshooting — Common Problems & Fixes
Cause: Incorrect ratio, under-mixing, low temperature. Fix: Remove tacky layer and recoat after ensuring correct mix ratio; for large surface tack issues consider sanding and recoat.
Cause: Localized incorrect mixing or contamination. Fix: Cut out area, clean, and reapply correctly mixed epoxy.
Cause: Fast mixing, high humidity, contaminated molds. Fix: Warm materials to working temp, mix gently, use heat gun or vacuum de-gassing/pressure casting for critical parts.
Cause: UV exposure, aging, poor stabilizers. Fix: Use UV-stable resin or topcoat with UV blocker; specify HALS-containing formulations for outdoor service.
7. Advanced Industrial Tips & Production Controls
These industrial-grade techniques are the core experience we've accumulated and validated as a source manufacturer through collaborations with numerous OEM/ODM clients. We not only supply resins, but also offer optimized solutions for your entire process.
8. Conclusion: Precision Leads to Performance
Mastering the epoxy mixing ratio and curing process is the foundation of any successful project. By treating it with the scientific precision it demands, you unlock the full potential of this incredible material, ensuring durability, beauty, and reliability.
Need Specific Guidance? We're Here to Help.
As a source factory with deep technical expertise, we provide more than just resin—we provide solutions. Our technical support team can help you select the right product and optimize your process for your specific application.
Download Technical Data Sheets for Our Products
Explore Our Full Range of Epoxy Resins
Contact Our Technical Support Team
 Hot News
2026-01-14
2026-01-06
2025-12-27
2025-12-26
2025-12-26
2025-12-25
Shenzhen Jianghe New Materials Technology offers top-quality Epoxy AB Glue, PU Resin, UV Resin, and Liquid Silicone Rubber. With ISO-certified production, global certifications, and customizable solutions, we serve manufacturers and Amazon sellers worldwide.
Room 1008, Building 1, Cofco Yunjing, Martin Street, Heshui Kou Community, Guangming
Copyright © 2026 Shenzhen Jianghe New Materials Technology Co., Ltd.All rights reserved. Privacy Policy