Introduction:
Tired of molds with blurry details and short lifespans? Platinum silicone is the solution you've been searching for! Whether you're a resin artist, crafter, or creative enthusiast, this guide will help you master the "king of mold materials" to easily create professional-grade molds with stunning details and exceptional durability.
This comprehensive guide will walk you through everything you need to know to get started with platinum silicone mold making.
1.What is Platinum Silicone?
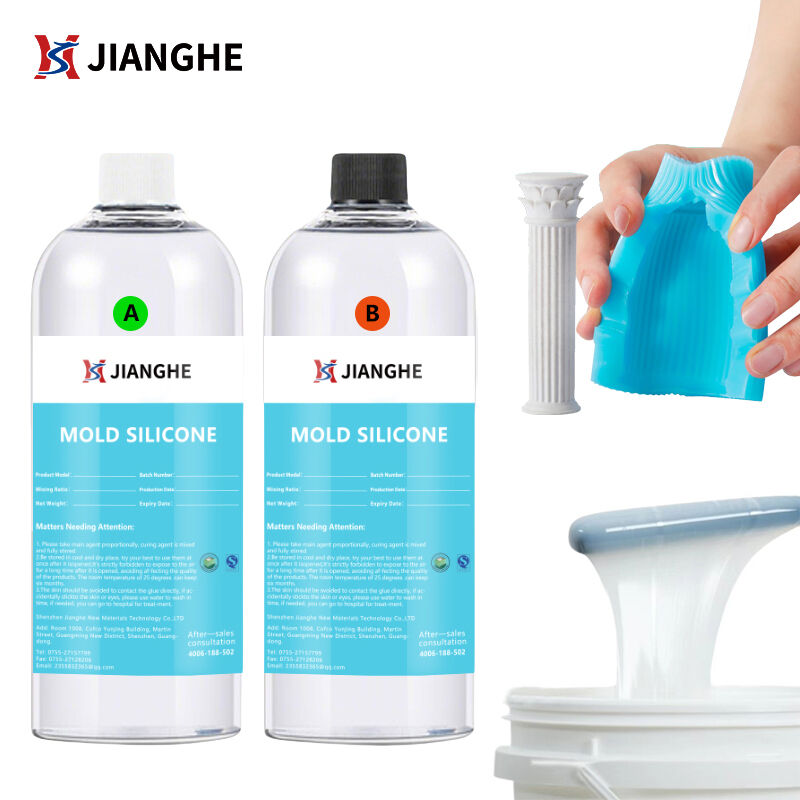
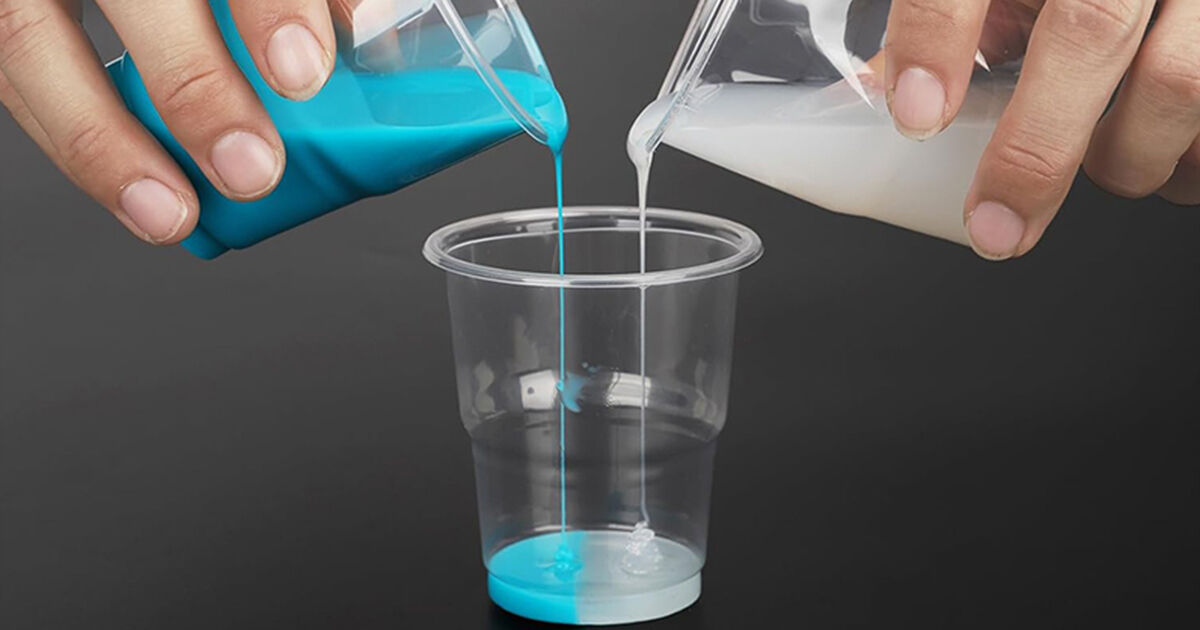
First, let's clarify the terminology. You might see it called Platinum Cure Silicone, Platinum Silicone, or Plat-Sil. These terms all refer to a two-part liquid silicone rubber (Part A and Part B) that cures (hardens) through a platinum-catalyzed addition reaction.
In simple terms, when you mix the two parts together, the platinum catalyst facilitates a chemical reaction that links the silicone molecules into a solid, flexible rubber without producing any by-products. This is a key point that differentiates it from its counterpart: Tin Cure (Condensation Cure) Silicone.
2.Why Choose Platinum Silicone? The Complete Comparison
| Feature | Platinum Silicone | Tin Cure Silicone |
| Cure By-products | None | Produces alcohol, may shrink over time |
| Shrinkage | Very low (≤0.1%) | Higher (3-5%), affects accuracy |
| Detail Reproduction | Excellent, captures microscopic details | Good, but less sharp than platinum |
| Heat Resistance | High | Lower |
| Inhibition Issues | Can be inhibited by certain chemicals | Less susceptible to inhibition |
| Odor | Typically very low odor | Often strong vinegar smell |
| Cost | Higher | More budget-friendly |
The Bottom Line: Platinum silicone outperforms in dimensional stability, lifespan, and detail reproduction, making it ideal for professional results, fine art reproduction, and complex models.
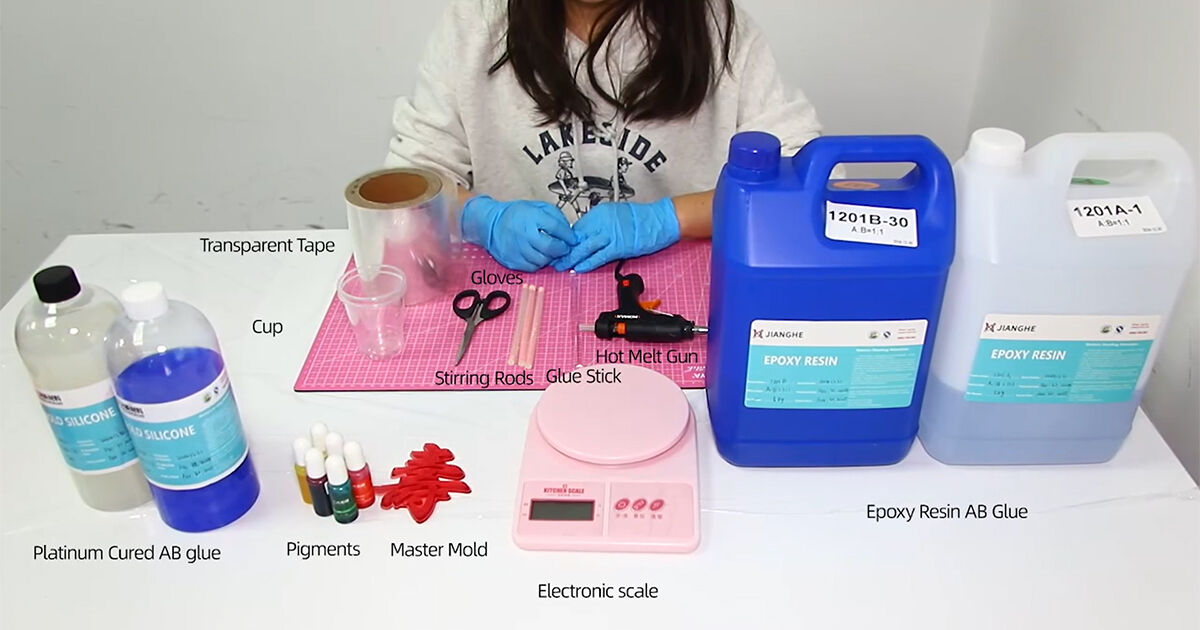
3.Essential Tools & Materials for Beginners
Before you mix your first batch, gather these supplies:
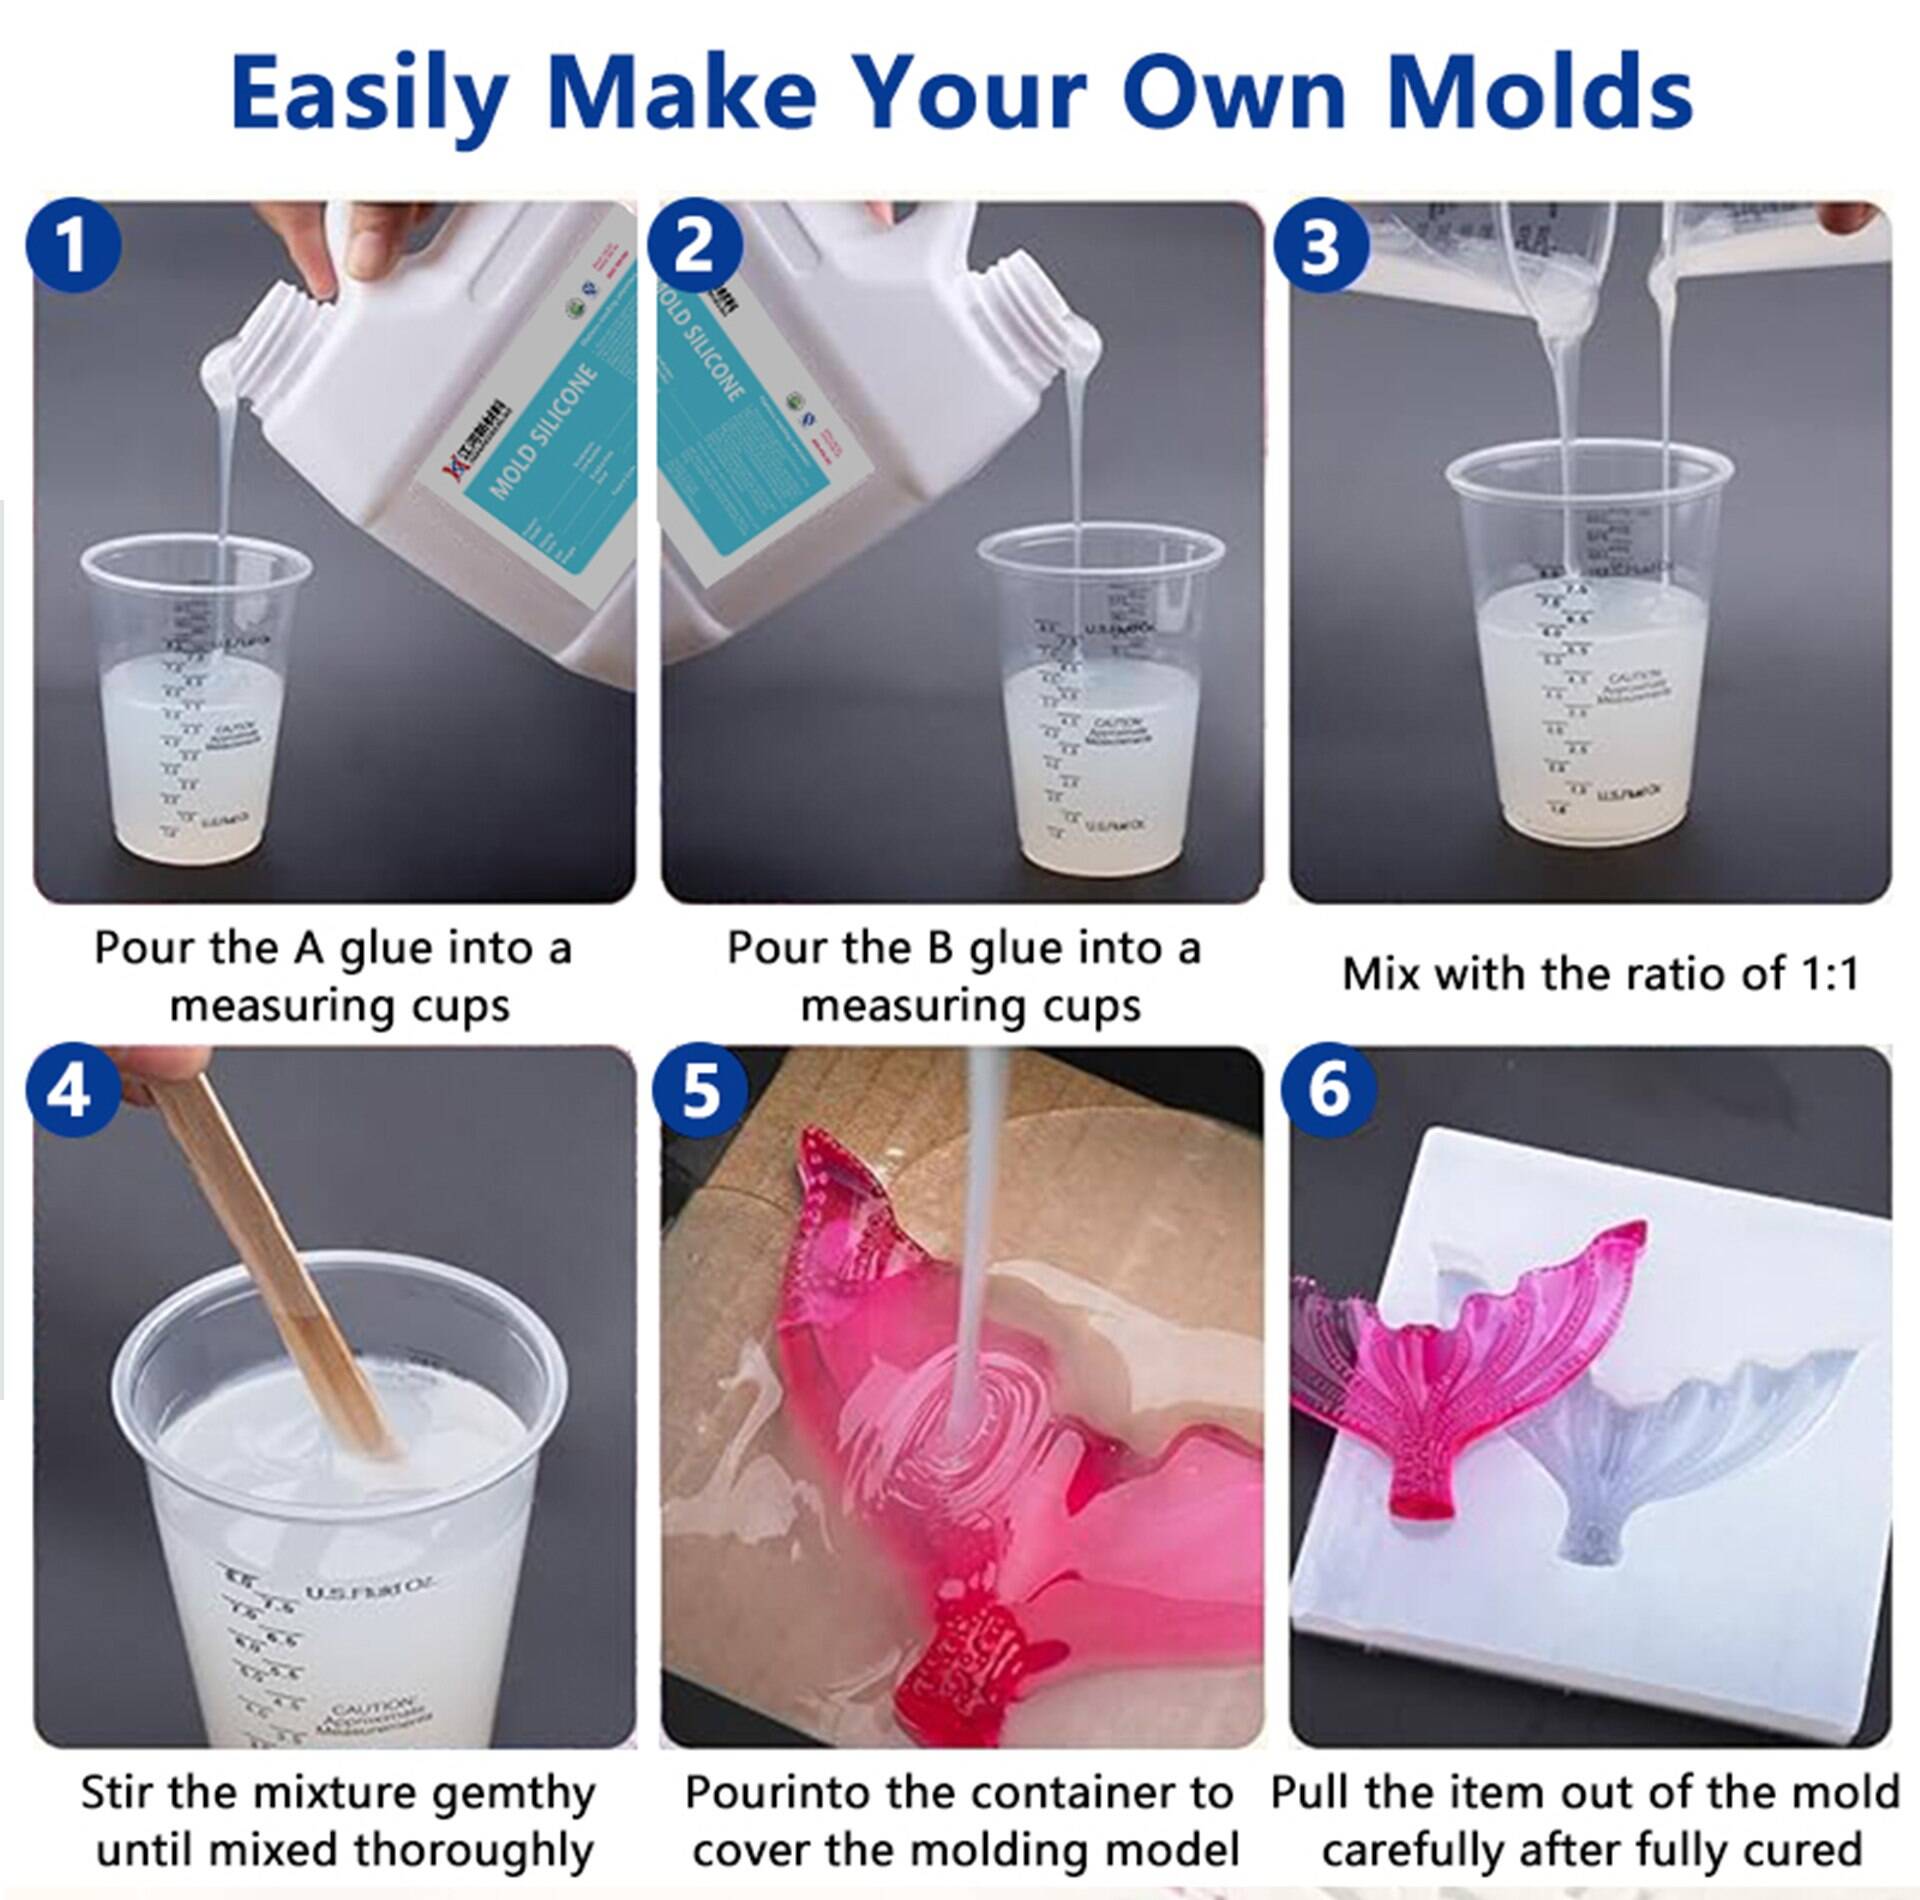
4.The Step-by-Step Mold Making Process
Step 1: Prepare Your Master Model
Ensure your model is clean, dry, and dust-free. 3D printed pieces must be fully cured and sealed—this is critical to prevent cure inhibition (when silicone remains tacky and doesn't harden)!
Common Inhibition Culprits:
Pro Tip: When in doubt, apply a thin coat of shellac or specific inhibitor spray to isolate your model.
Step 2: Build Your Mold Box
Place your master model inside your mold box. Leave at least 1/2 to 1 inch of space on all sides and above the model. Seal all seams with hot glue to prevent silicone leakage.
Step 3: Precise Measuring & Mixing
Step 4: Easy Degassing Technique (Optional but Recommended for Beginners)
Bubbles are the enemy of a good mold. While a vacuum chamber is the best solution, a simple and effective trick is to place your mixed cup of silicone into a larger container and let it sit for 10-15 minutes. Many micro-bubbles will rise to the surface and pop on their own.
Step 5: Strategic Pouring
Slowly pour your silicone into one corner of the mold box, letting it flow over and around your master model naturally. Avoid pouring directly onto the model, as this can trap air bubbles. Pour until the silicone completely covers the model by at least 1/2 inch.
Step 6: Curing & Demolding
1. Place the mold box in a safe, level location where it won't be disturbed.
2. Let it cure at room temperature according to the manufacturer's instructions (usually 24 hours).
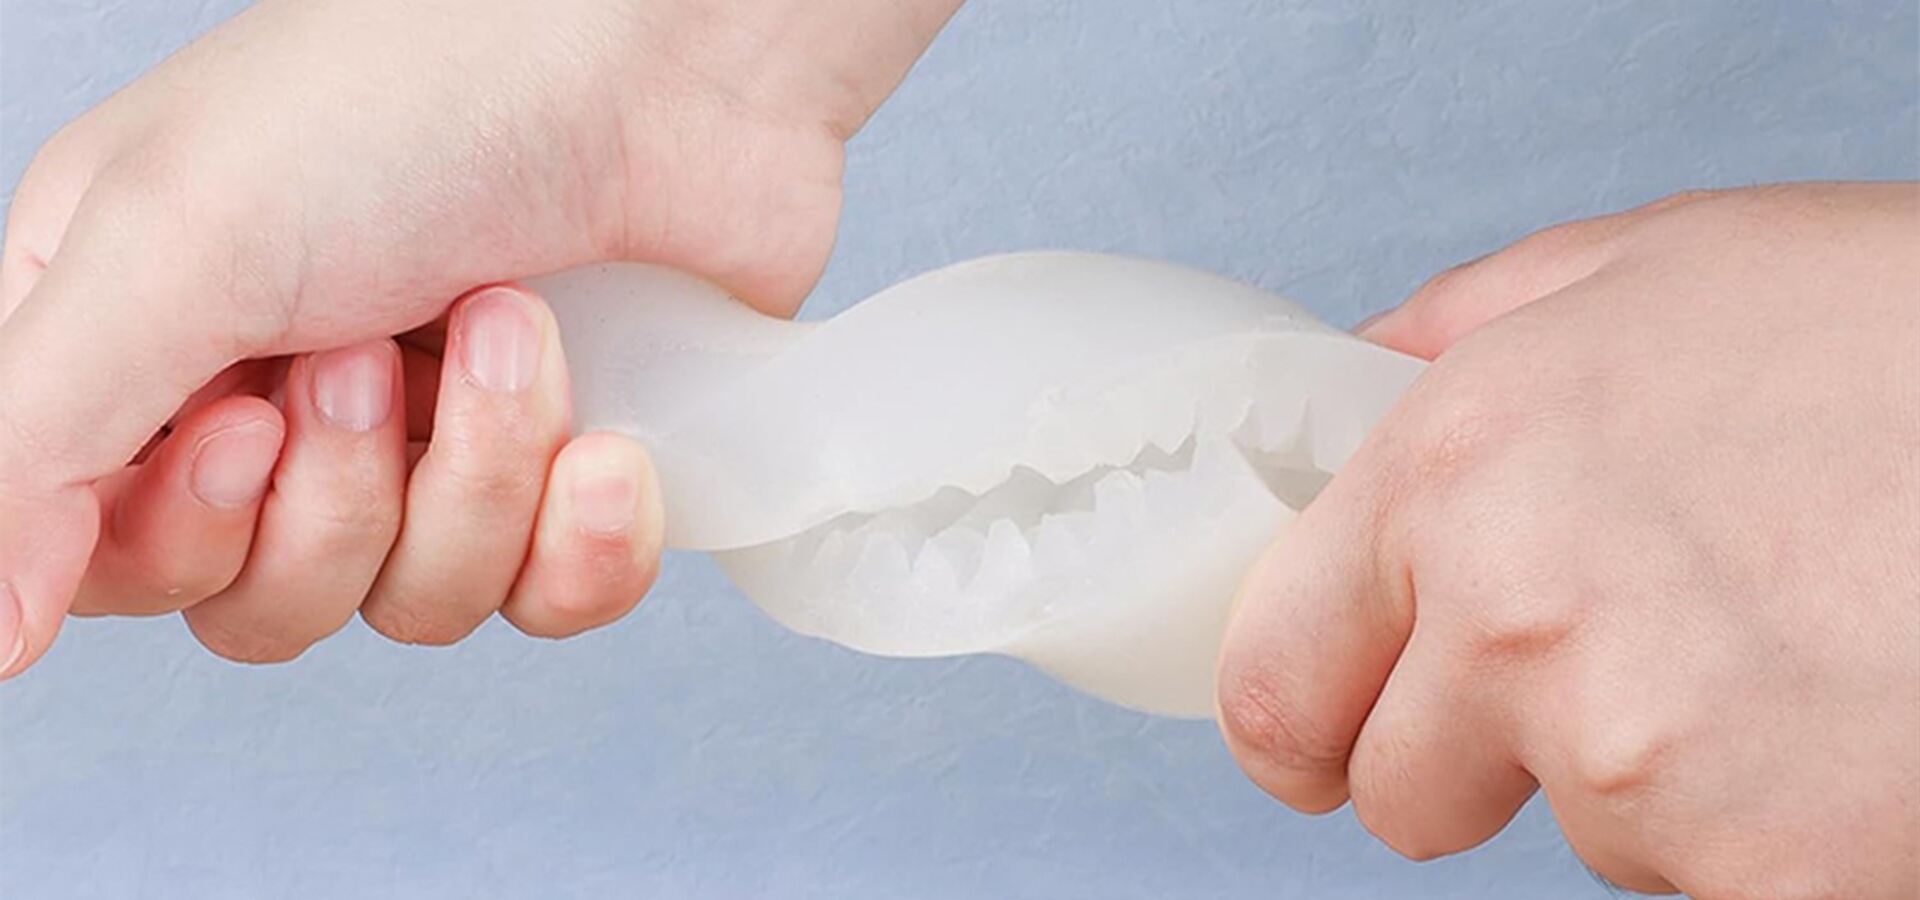
3. Once fully cured, carefully dismantle your mold box and gently peel the flexible silicone mold away from your master model.
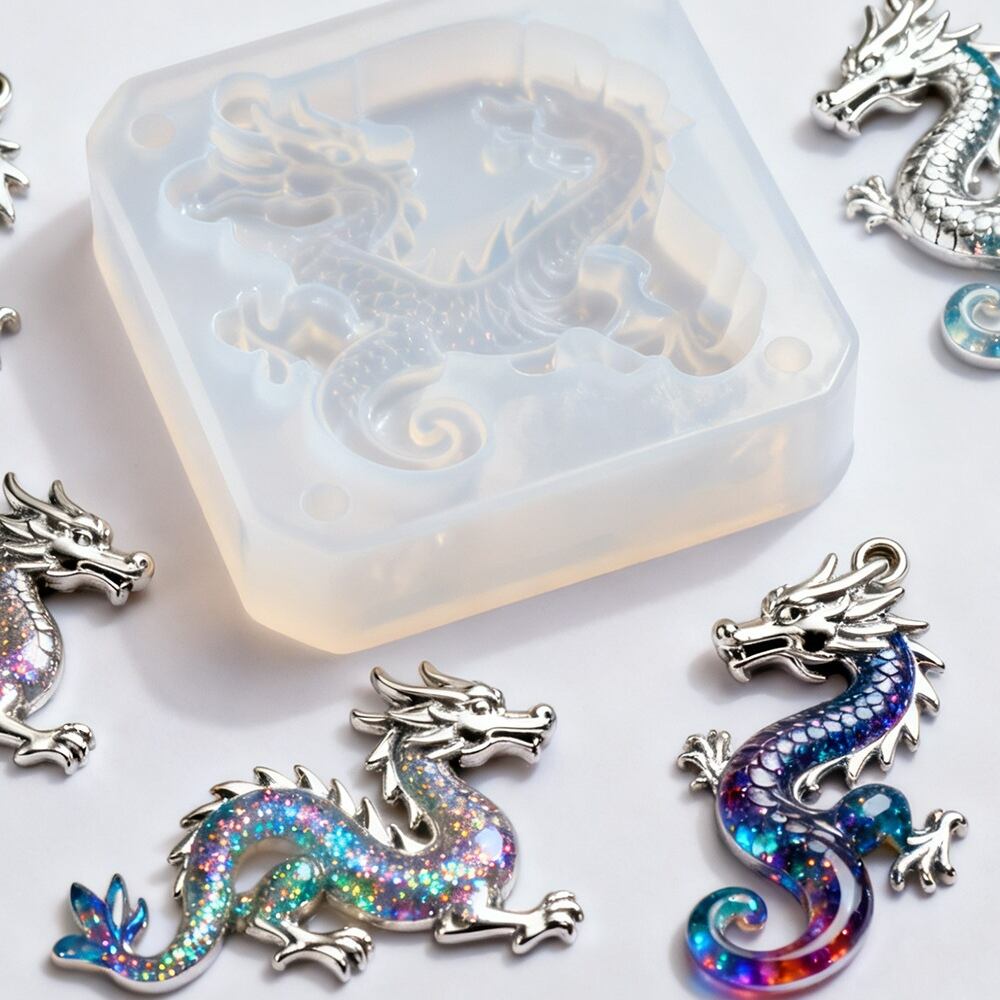
Congratulations! You now have a custom, reusable platinum silicone mold.
5. Troubleshooting Common Issues
Mold Care Secrets
To ensure a long life for your mold, wash it with mild soap and water after use, let it dry completely, and store it flat in a cool, dark place. Avoid folding it in a way that creates sharp creases.
6.Conclusion: Start Your Professional Mold Making Journey
Platinum silicone is a fantastic, professional-grade material that might seem intimidating at first, but with a little practice and attention to detail, anyone can achieve stunning results. By understanding its properties, preparing your models correctly, and following a meticulous process, you'll be creating perfect casts in no time.
Ready to start your first project? Browse our selection of high-quality, beginner-friendly platinum silicone kits on our website!
 Hot News
2026-01-14
2026-01-06
2025-12-27
2025-12-26
2025-12-26
2025-12-25
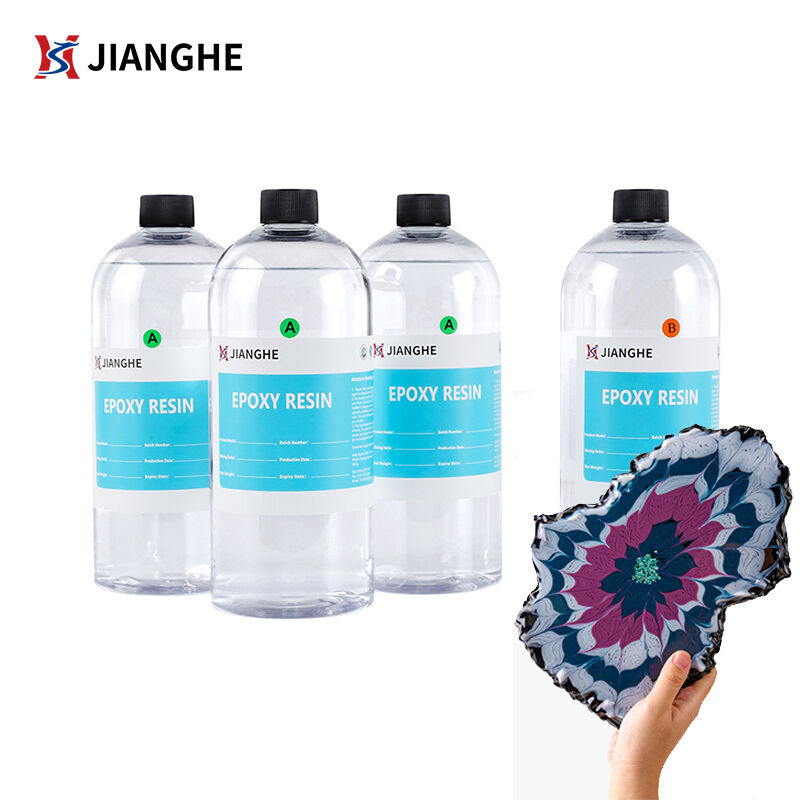
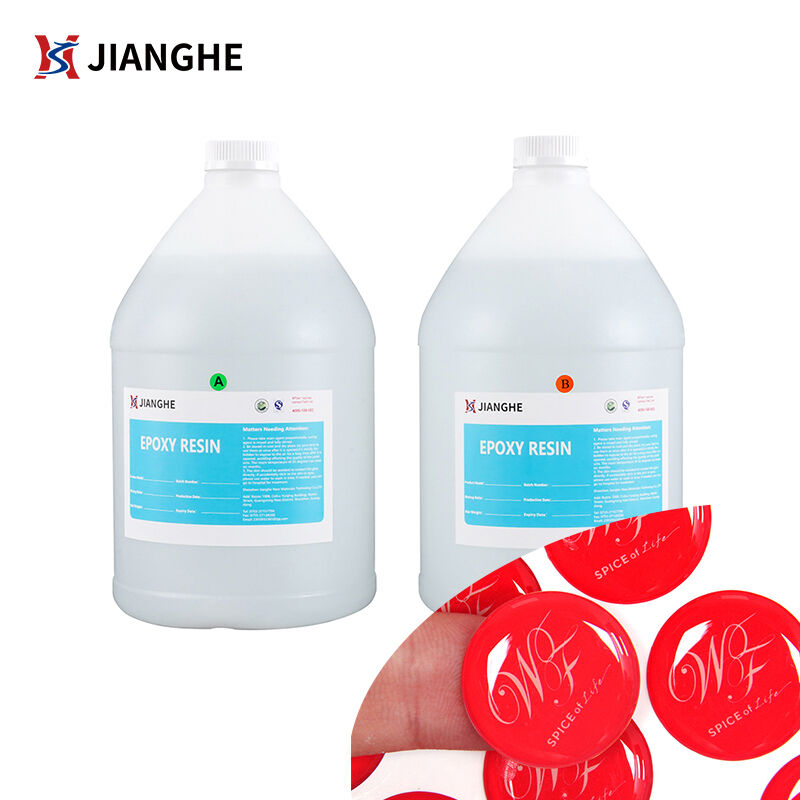
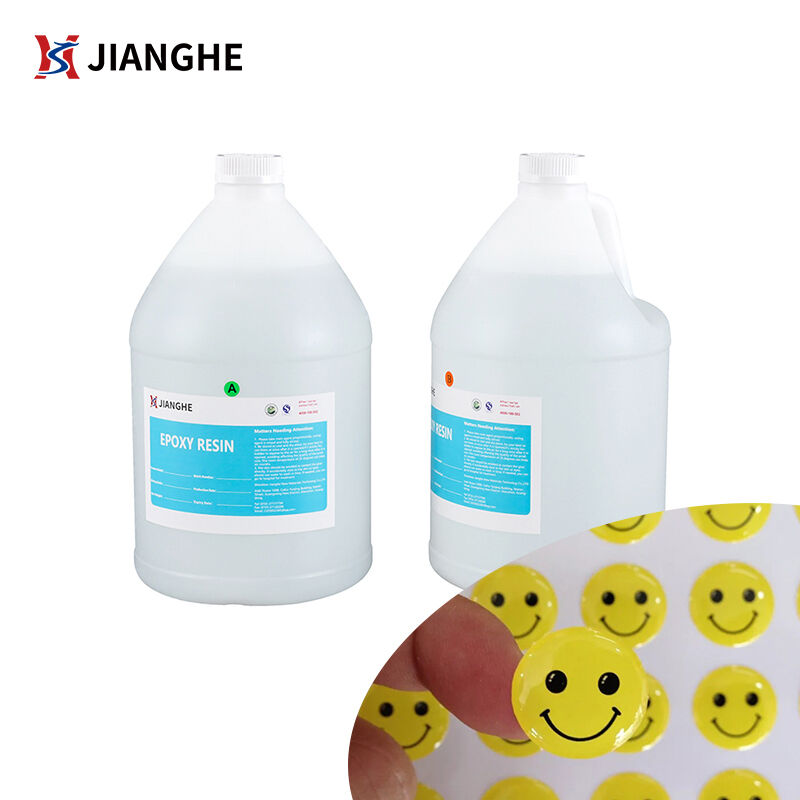
Shenzhen Jianghe New Materials Technology offers top-quality Epoxy AB Glue, PU Resin, UV Resin, and Liquid Silicone Rubber. With ISO-certified production, global certifications, and customizable solutions, we serve manufacturers and Amazon sellers worldwide.
Room 1008, Building 1, Cofco Yunjing, Martin Street, Heshui Kou Community, Guangming
Copyright © 2026 Shenzhen Jianghe New Materials Technology Co., Ltd.All rights reserved. Privacy Policy