1. Introduction: Why Is My UV Resin Still Sticky?
"That sticky, tacky feeling on your UV resin isn't just frustrating—it's a clear signal that the photochemical curing process has failed. For B2B users in electronics encapsulation, decorative coating, and accessory manufacturing, this common issue leads to scrap rates, rework, and delivery delays.
This guide directly addresses the top question we receive: "Why won't it cure properly?" We've structured it around the four most common root causes, providing clear diagnostics and industrial-grade solutions to get your production back on track.
2. The Four Root Causes of Incomplete Curing & How to Fix Them
Here are the four primary reasons your UV resin remains sticky or fails to cure, based on real-world production scenarios.
Root Cause 1: Insufficient or Incorrect UV Light Exposure
The Problem: UV resin cures through a photochemical reaction. If the light intensity is too low, the wavelength is incorrect, or the exposure time is too short, the reaction cannot complete, leaving a sticky surface.
The Fix:

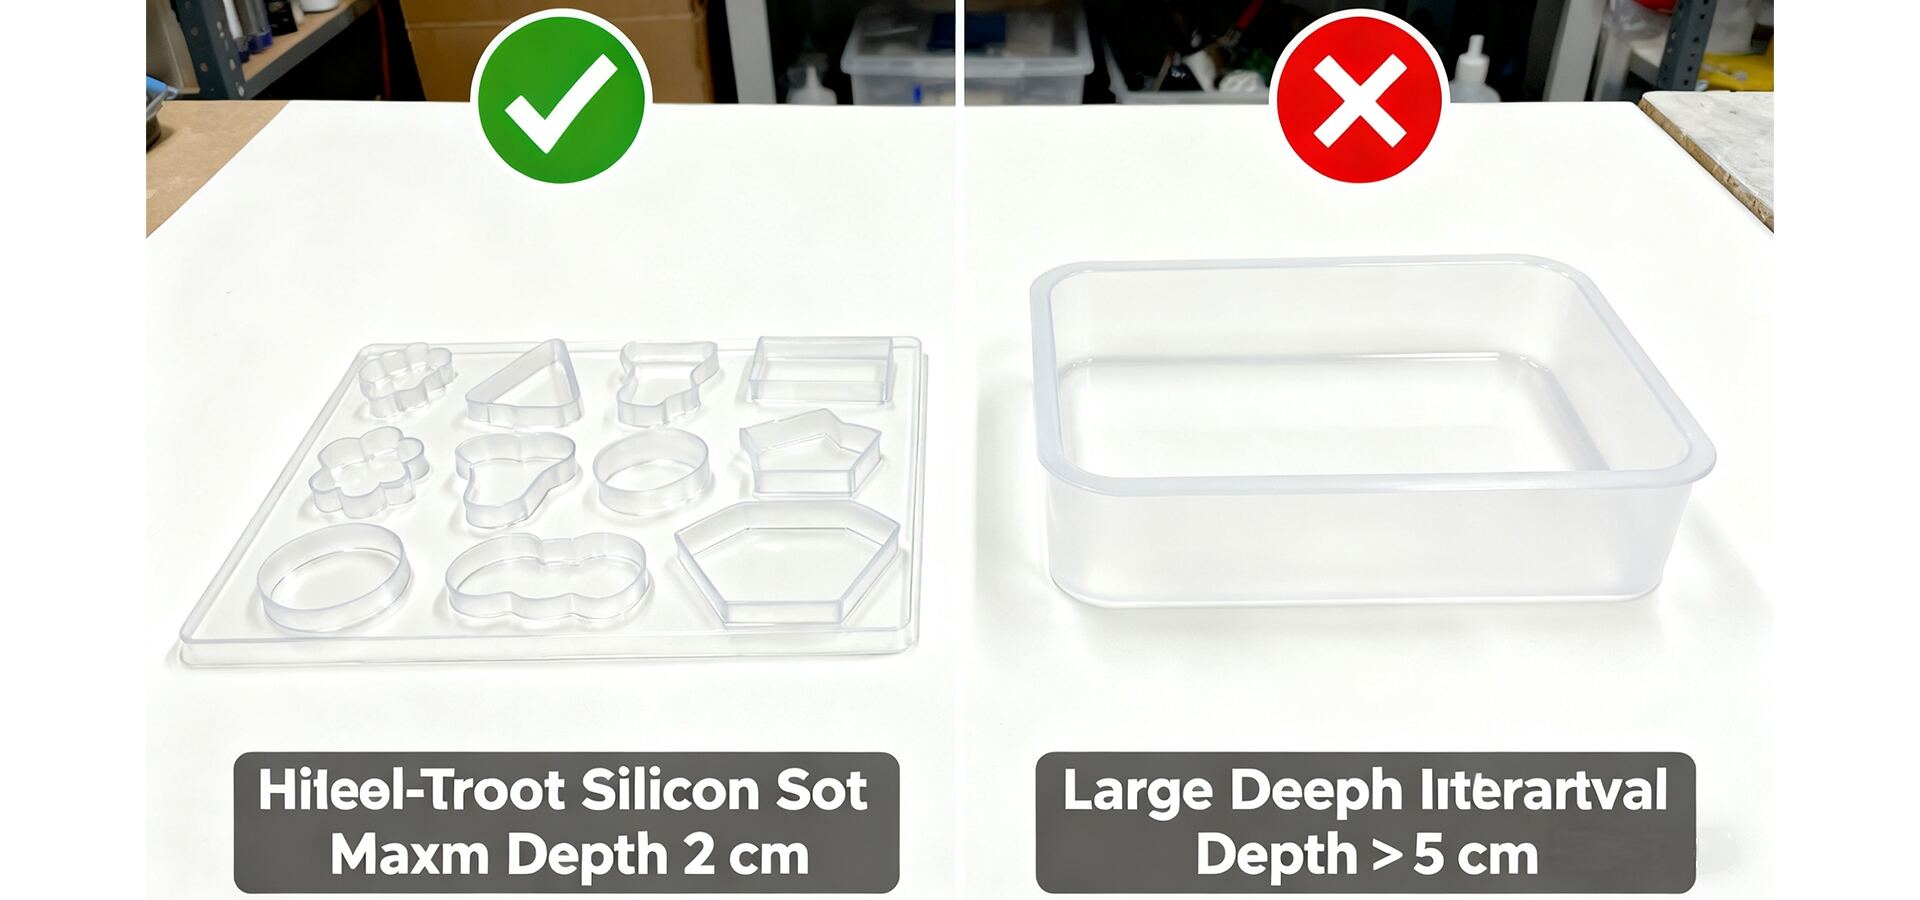
Root Cause 2: The Mold is Blocking the Light
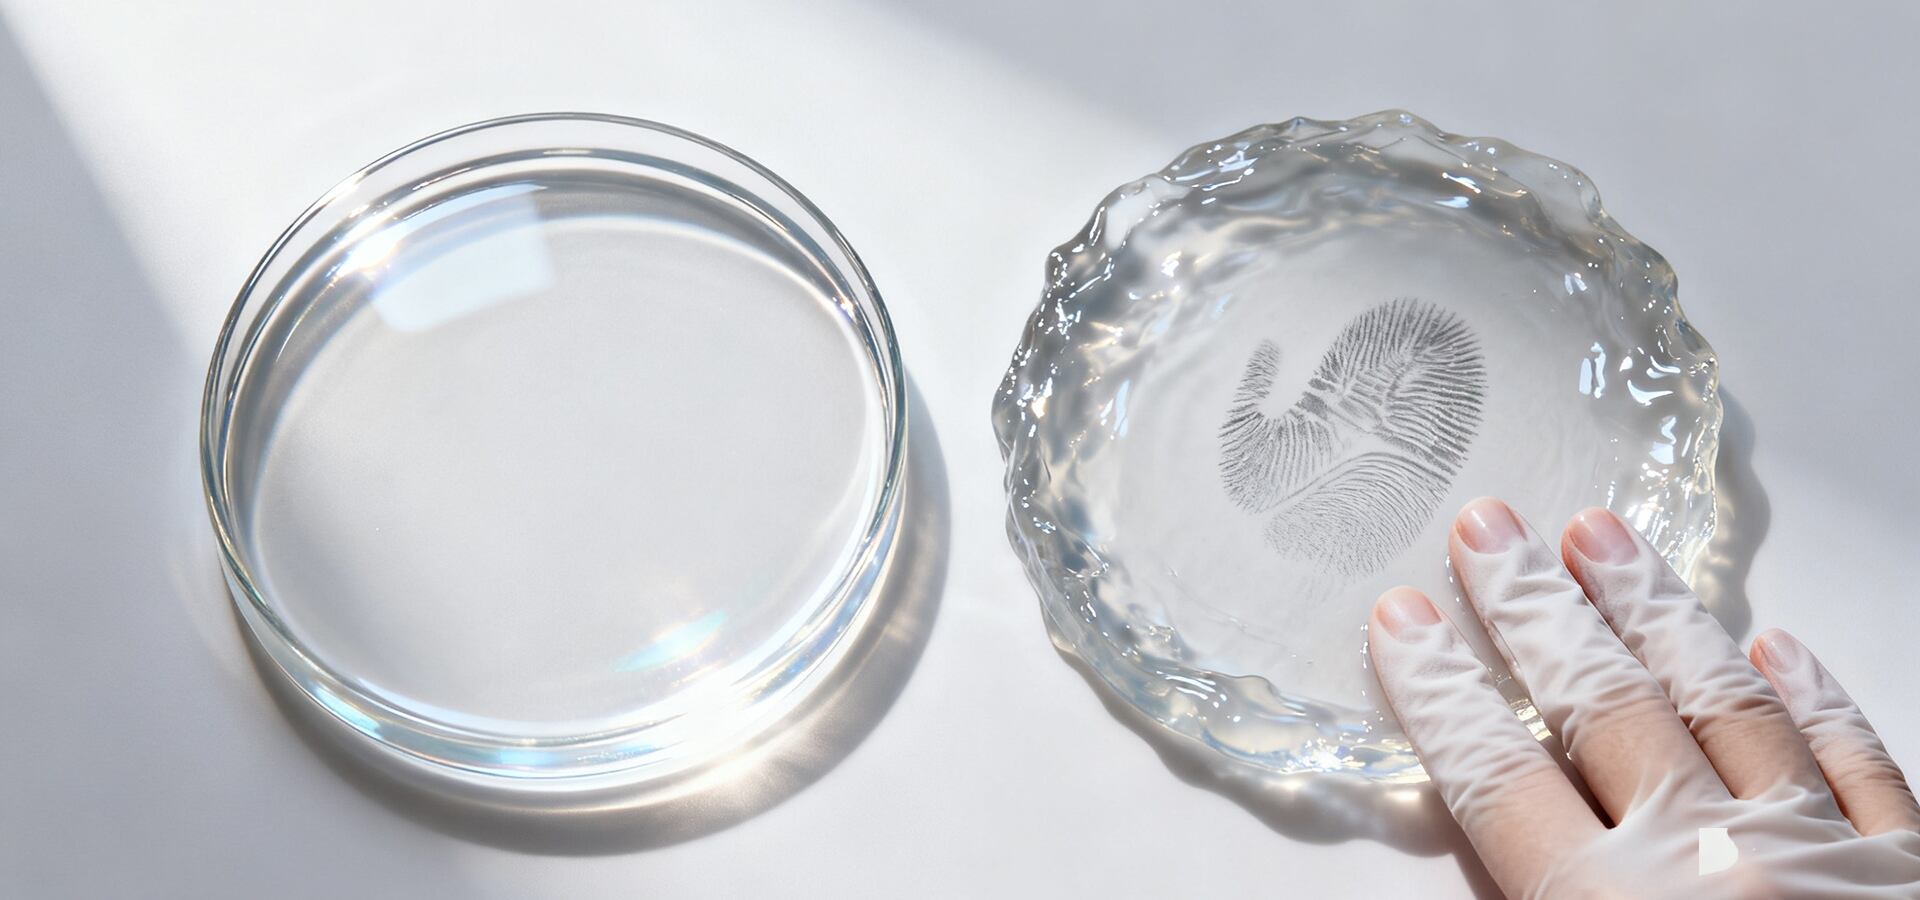
The Problem: UV resin is not a deep-pour casting resin. Using it in large, deep, or opaque molds prevents UV light from reaching all parts of the resin, resulting in a hard top and a liquid or soft bottom.
The Fix:
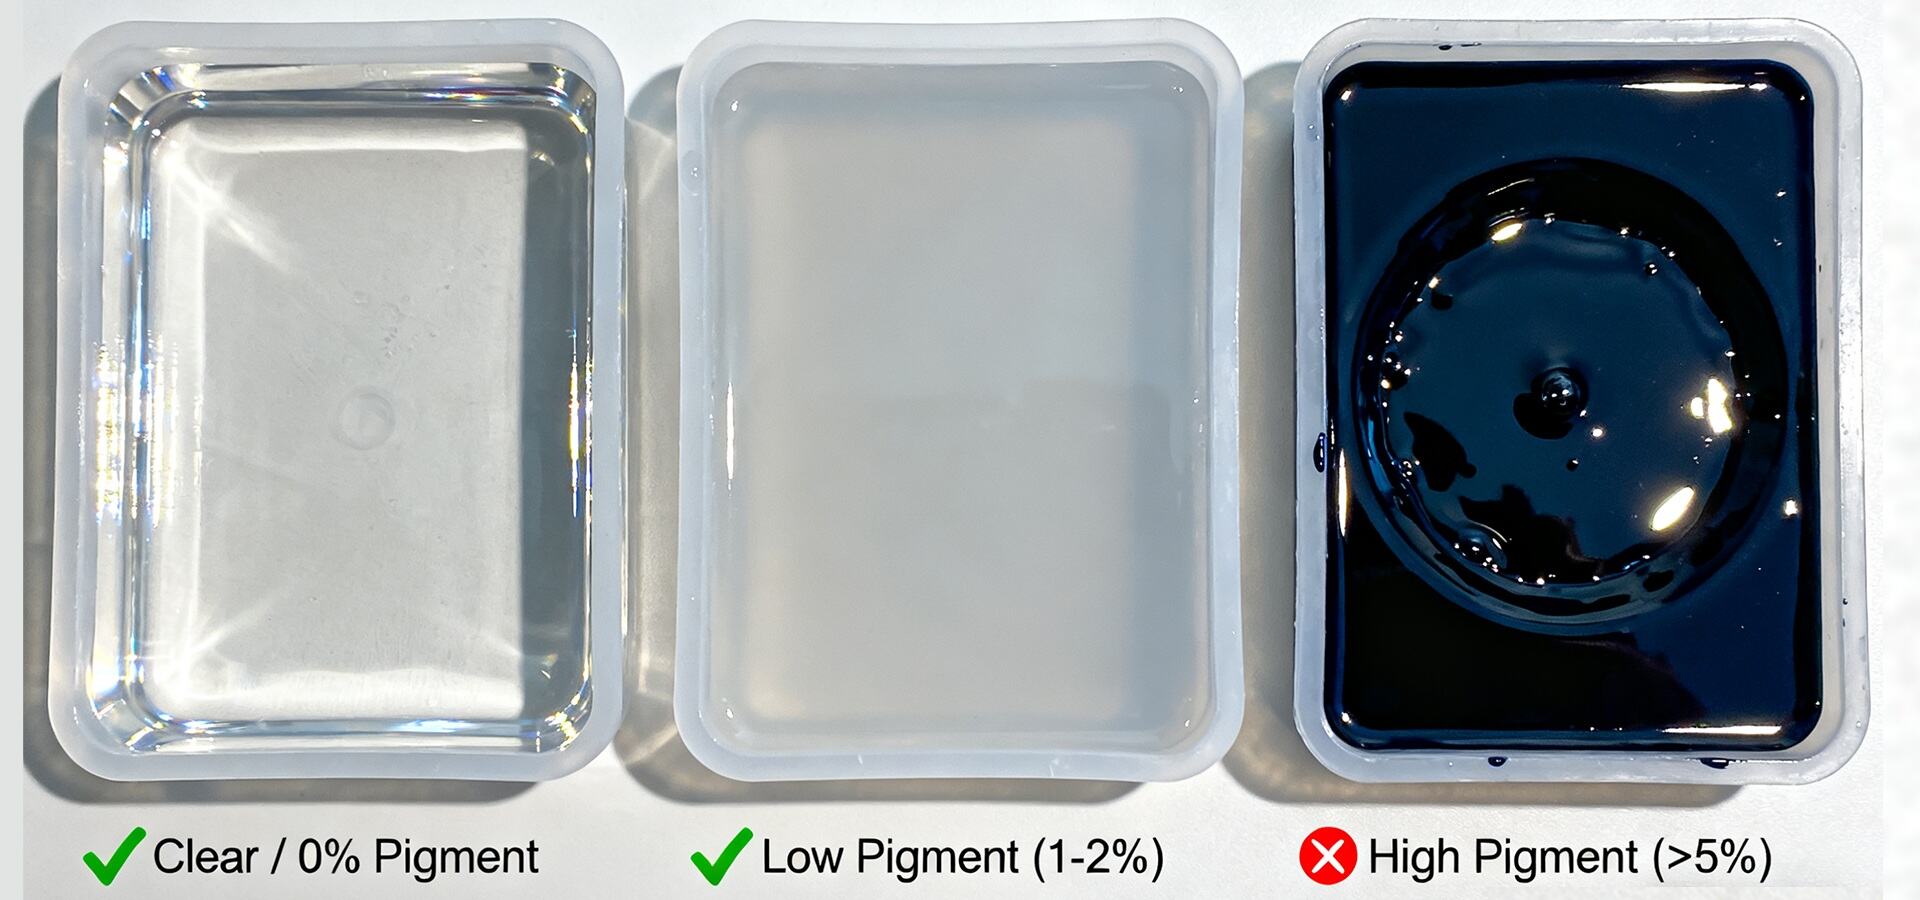
Root Cause 3: Pigments and Additives Are Blocking the Light
The Problem: Adding too much pigment, glitter, or mica powder acts like a sunscreen, blocking UV light from penetrating the resin. Opaque colors (especially black, white, and metallics) are the biggest culprits.
The Fix:
Root Cause 4: The "Rescue" Procedure for a Sticky Surface
The Problem: The surface is sticky, but the underlying resin seems solid. This is often due to oxygen inhibition, a common phenomenon where surface molecules can't crosslink properly in air.
The Fix:

3. Proactive Prevention: Your Pre-Cure Checklist
Before you start your next project, run through this checklist to prevent issues before they happen.
Solving sticky UV resin isn't about a magic trick; it's about systematically eliminating these four common failure points. By understanding the science behind the cure—light, mold, pigment, and technique—you can transform UV resin from a source of frustration into your most reliable tool for fast, high-quality production.
Still Have a Curing Problem? It Might Be Your Resin.
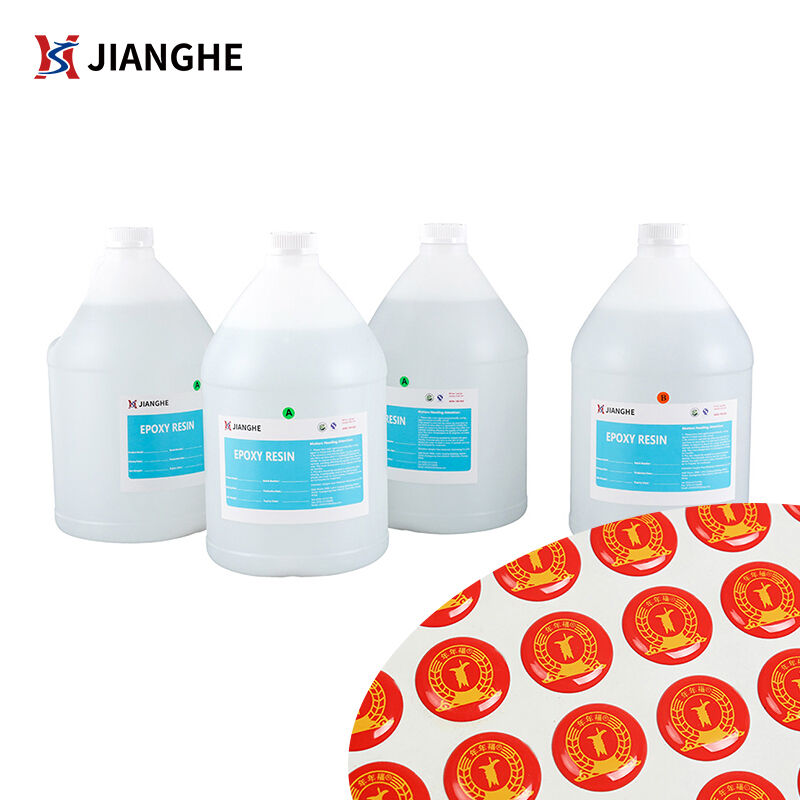
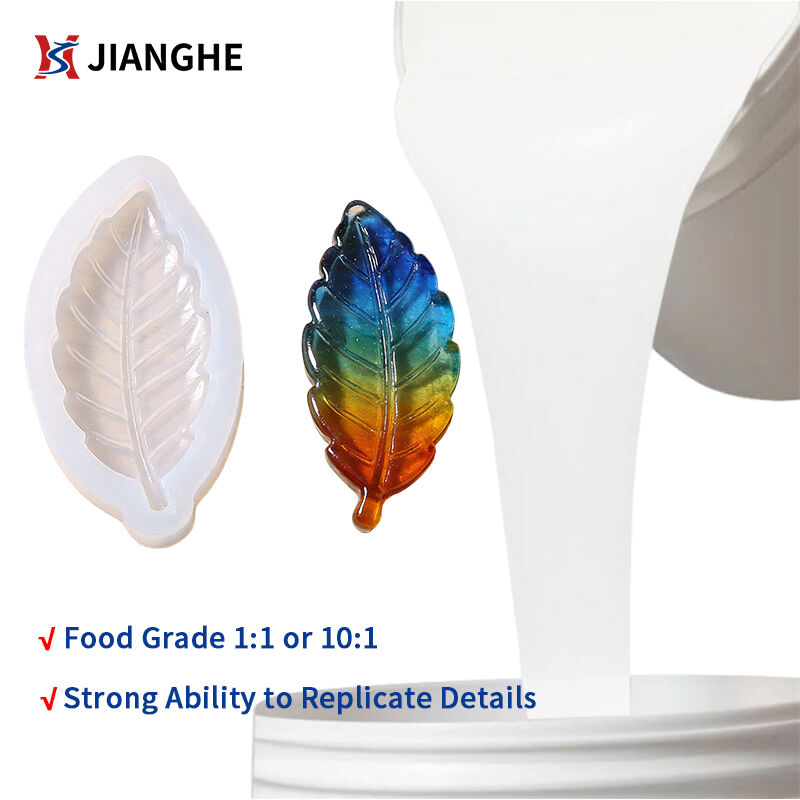
Inconsistent resin formulation is a hidden cause of curing failures. As a source factory, we guarantee batch-to-batch consistency and offer OEM customization to perfectly match your specific lamps, pigments, and process requirements.
Get a Perfect Cure, Every Time.
Download the UV Resin Curing Troubleshooting Guide (PDF)
Request a Free Sample of Our High-Reactivity UV Resin
Contact Us for OEM/ODM Formulation to Solve Your Specific Production Challenge
 Hot News
2026-01-14
2026-01-06
2025-12-27
2025-12-26
2025-12-26
2025-12-25
Shenzhen Jianghe New Materials Technology offers top-quality Epoxy AB Glue, PU Resin, UV Resin, and Liquid Silicone Rubber. With ISO-certified production, global certifications, and customizable solutions, we serve manufacturers and Amazon sellers worldwide.
Room 1008, Building 1, Cofco Yunjing, Martin Street, Heshui Kou Community, Guangming
Copyright © 2026 Shenzhen Jianghe New Materials Technology Co., Ltd.All rights reserved. Privacy Policy