Who is this guide for?
Industrial production managers, label manufacturers, simulation food model makers, and glassware encapsulation engineers who use PU resin in daily operations.
In the manufacturing of high-end domed labels, simulation food models, and glassware encapsulation, Polyurethane (PU) Resin is favored for its rapid processing speed and glass-like finish. However, unlike epoxy resin, polyurethane is a high-performance chemical system that demands strict adherence to protocol. A single drop of moisture or a 1% error in mixing ratio can lead to a failed production batch.
As an industrial source factory, JHEPoxy provides this comprehensive guide to mastering the mixing, curing, and safety protocols of PU resin to ensure your production line operates at peak efficiency.
1. The Art of Precise Mixing: Weight vs. Volume
The most common cause of "sticky" or "soft" PU resin is incorrect proportioning. Most industrial PU resins, especially those used for doming and encapsulation, are formulated to be mixed by Weight, not by Volume.
1.1 Why Scales are Mandatory
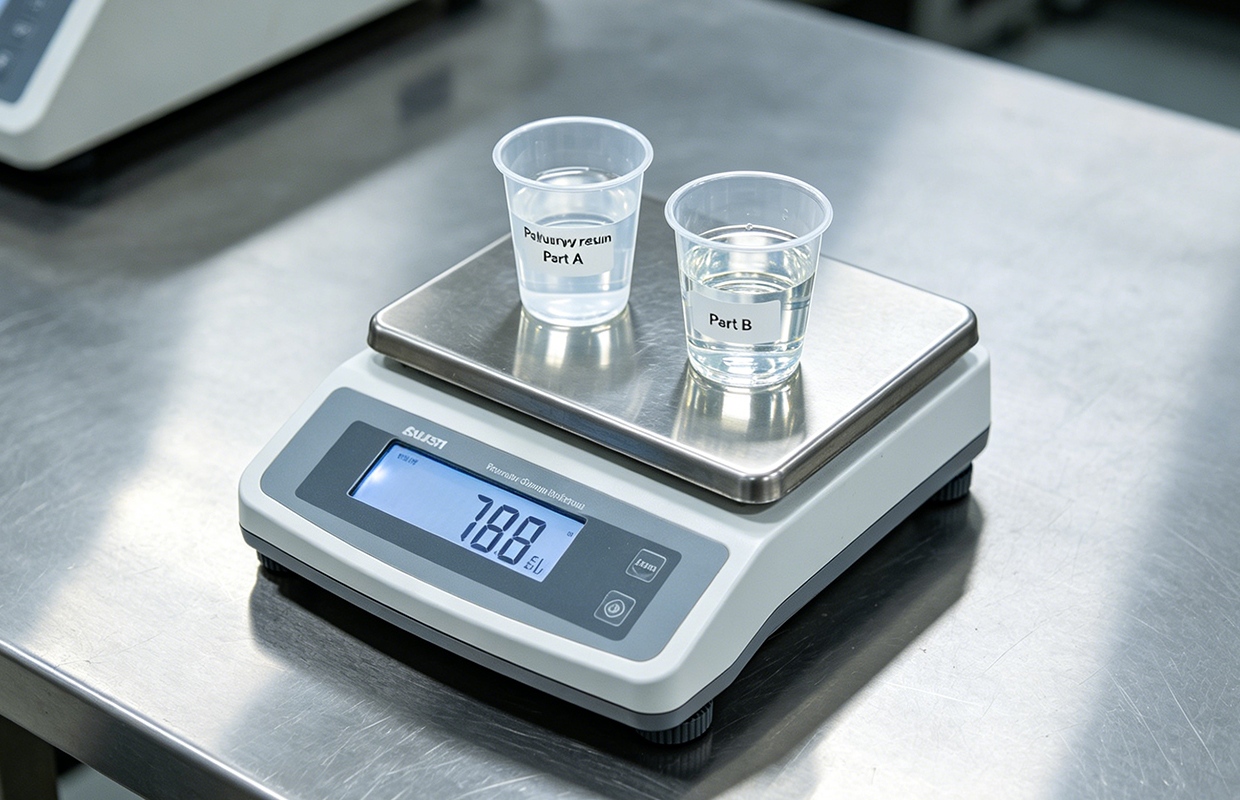
Polyurethane components (Isocyanate and Polyol) have different densities. Measuring by volume (using cups or spoons) is inherently inaccurate and can lead to an imbalance in the chemical cross-linking. Our Technical Standard: We mandate the use of a digital scale accurate to 0.1g. For a standard 100g batch, a ±2g deviation from the specified ratio can shift final Shore hardness by 5–10A and significantly reduce hydrolysis resistance.
1.2 The "Two-Cup" Mixing Method
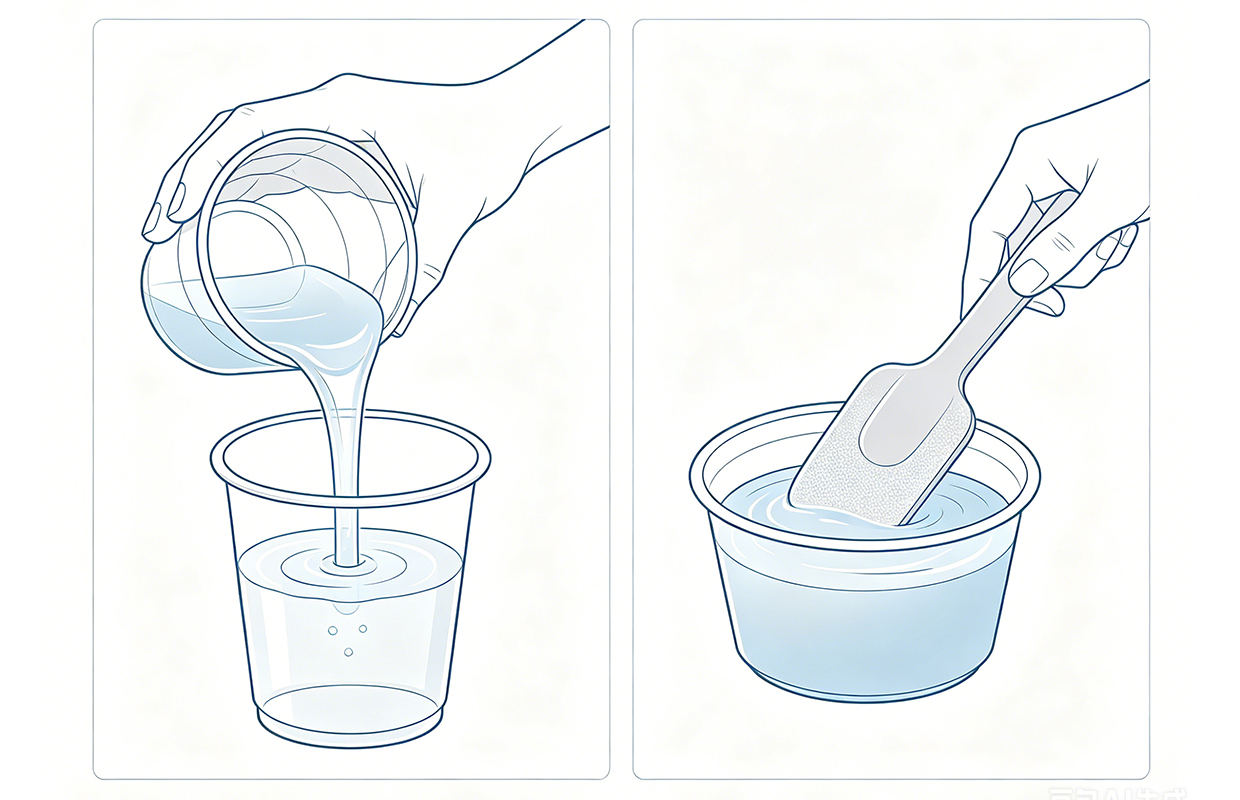
To ensure 100% homogeneity, we recommend the professional "Two-Cup" method:
2. Managing the Curing Cycle: Pot Life and Exotherm
PU resin is the "sprinter" of the resin world. Understanding its curing stages is critical for managing your factory’s throughput.
3. The Moisture War: Keeping it Dry
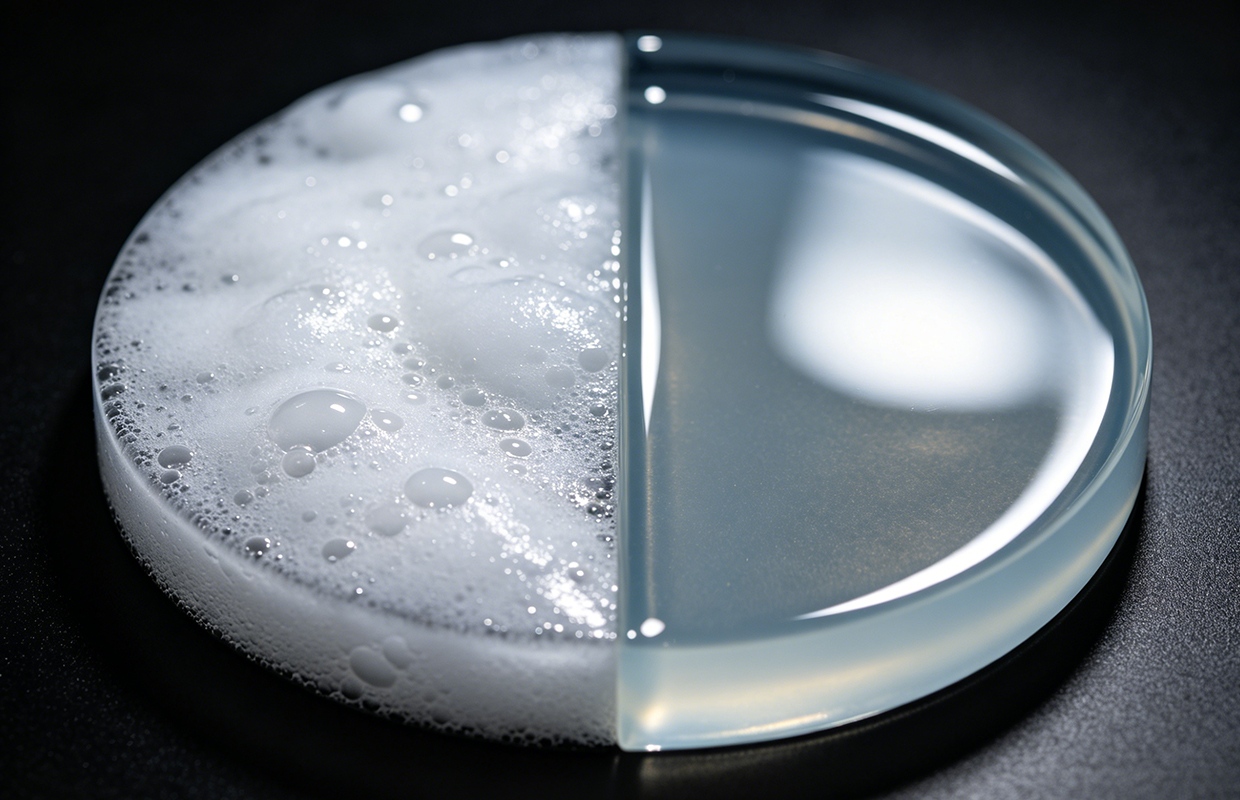
In polyurethane chemistry, Moisture is the Enemy. Part A (Isocyanate) reacts aggressively with water to produce CO2 gas. This results in the dreaded "foaming" or "cloudiness" in your labels or fake water displays.
JHEPoxy Pro Tips:
4. Safety First: Protecting Your Team and Workspace
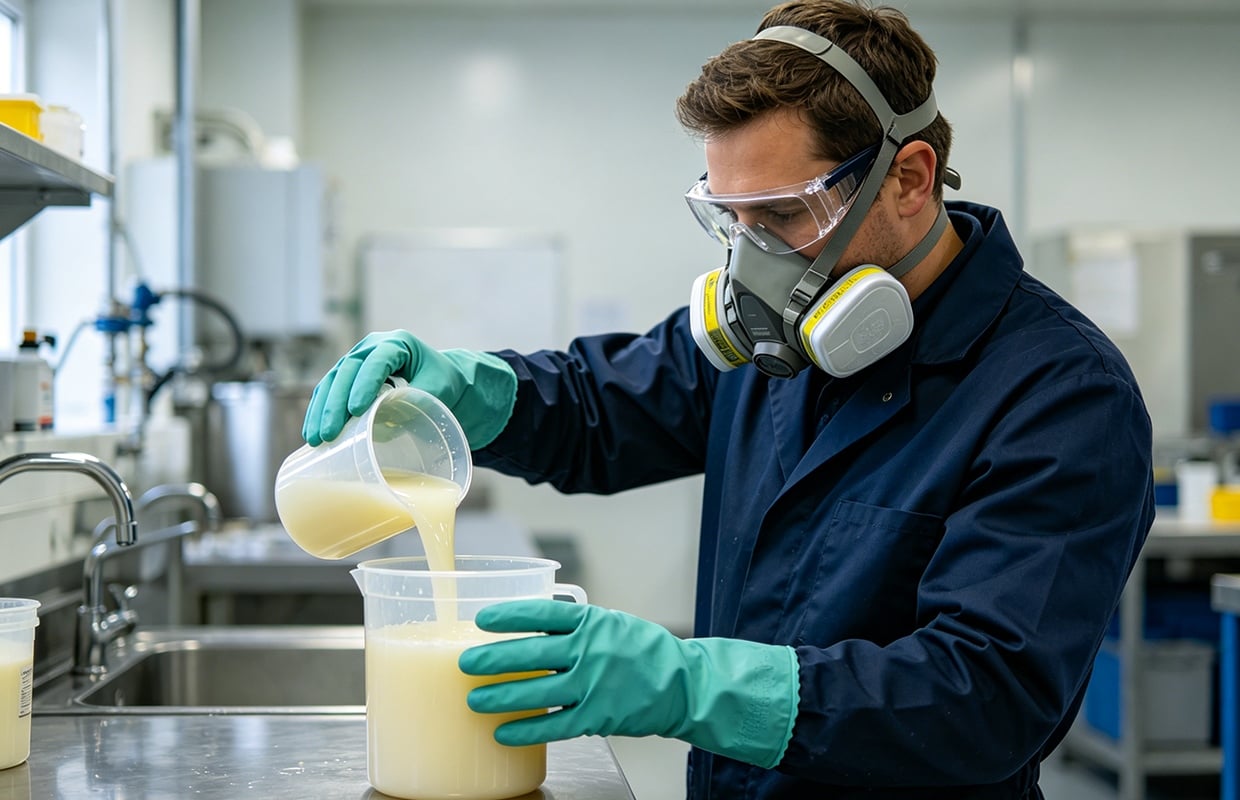
Working with industrial chemicals requires a "Safety First" mindset. Isocyanates, while stable when cured, require careful handling in their liquid state.
4.1 Personal Protective Equipment (PPE)
4.2 Workspace Ventilation
Ensure your pouring station has active airflow. A positive-pressure clean room is the gold standard for B2B labeling factories, as it keeps dust out while ensuring chemical vapors are safely exhausted.
5. Storage and Shelf Life
Polyurethane has a shorter shelf life than epoxy once opened.
Conclusion
Mastering PU resin is about controlling the variables. By following these mixing and safety protocols, you can transform your production line from a source of frustration into a high-yield, high-margin branding powerhouse. At JHEPoxy, we are committed to your success. Contact our technical support team for customized TDS sheets or troubleshooting advice on your specific application.
 Hot News
2026-01-14
2026-01-06
2025-12-27
2025-12-26
2025-12-26
2025-12-25
Shenzhen Jianghe New Materials Technology offers top-quality Epoxy AB Glue, PU Resin, UV Resin, and Liquid Silicone Rubber. With ISO-certified production, global certifications, and customizable solutions, we serve manufacturers and Amazon sellers worldwide.
Room 1008, Building 1, Cofco Yunjing, Martin Street, Heshui Kou Community, Guangming
Copyright © 2026 Shenzhen Jianghe New Materials Technology Co., Ltd.All rights reserved. Privacy Policy
 EN
EN