Introduction
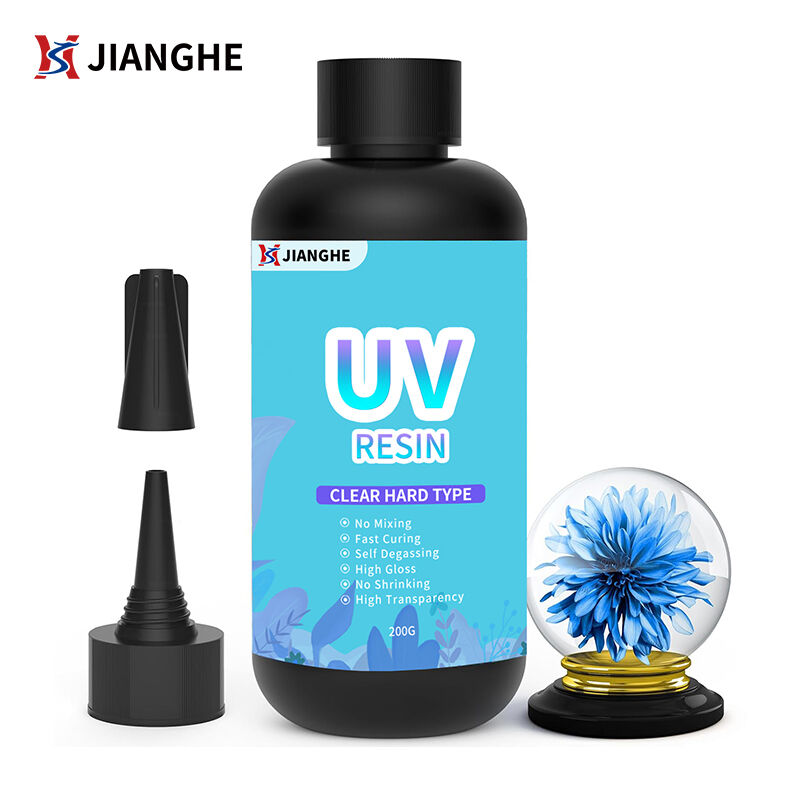
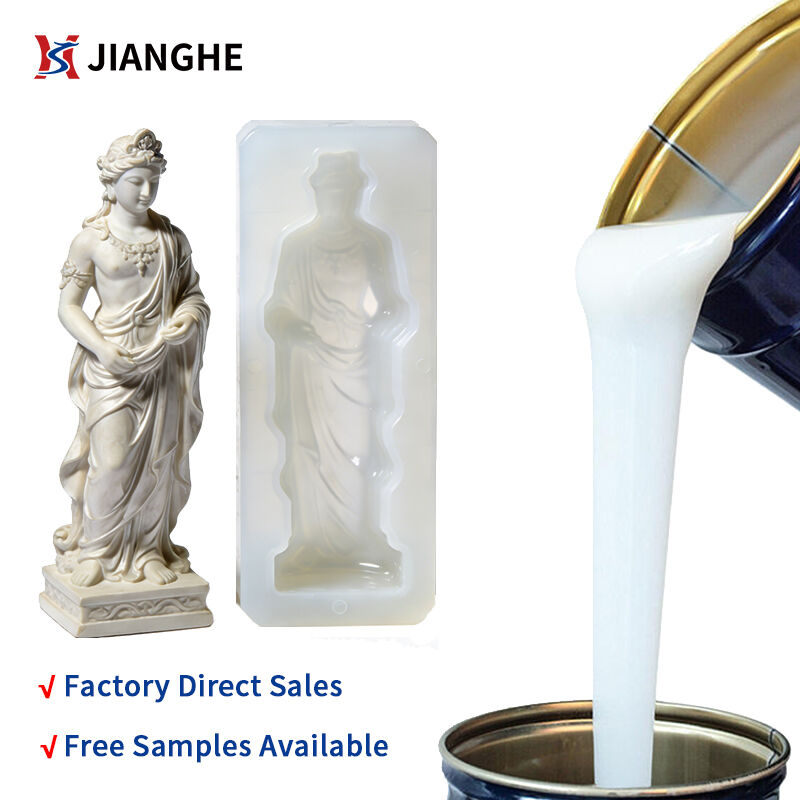
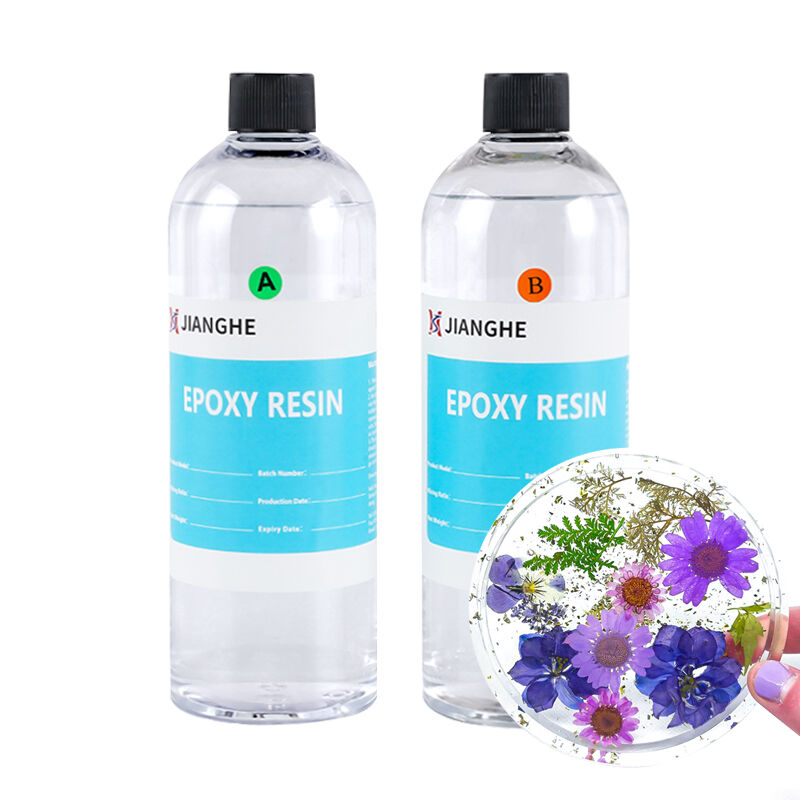
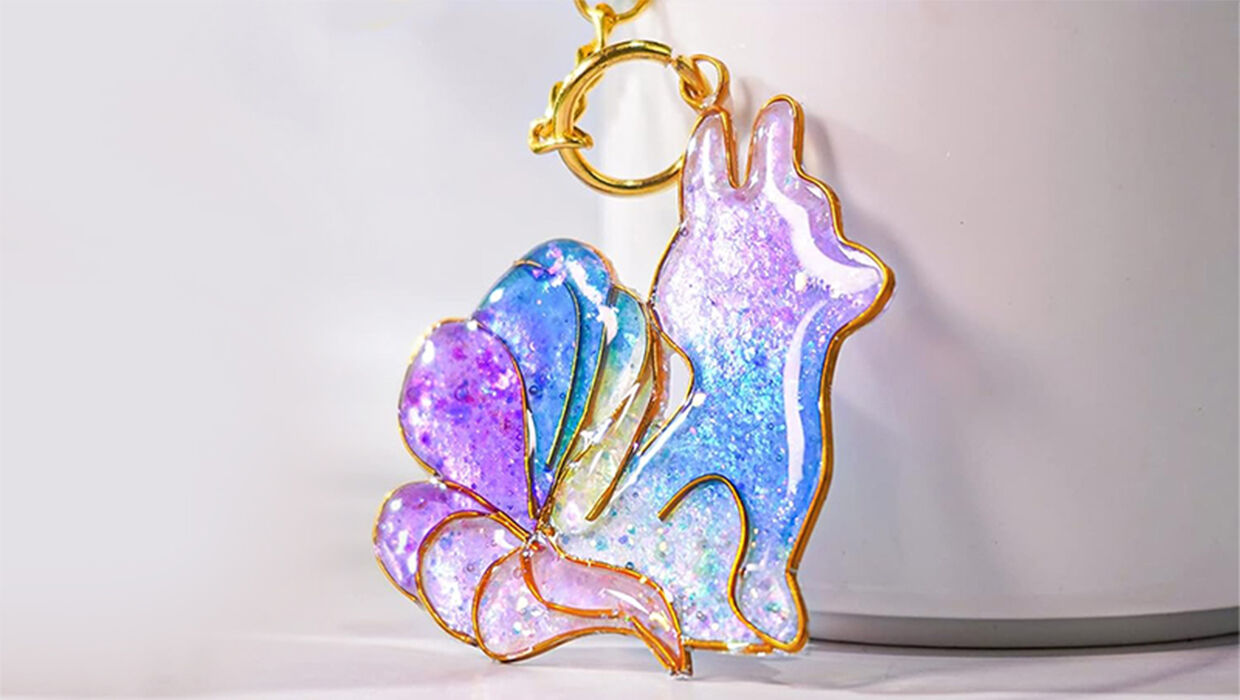
UV glue—also known as UV curing adhesive, photosensitive adhesive, or shadowless glue—is a light-reactive adhesive that cures rapidly under ultraviolet exposure. Thanks to its fast curing speed, high transparency, strong bonding strength, and clean appearance, UV glue has become an essential material in a wide range of applications, including DIY crafts, jewelry making, electronic encapsulation, optical components, decorative products, medical devices, and precision industrial assembly.
However, despite its advantages, UV glue is also known for being highly sensitive to operating conditions. Many users repeatedly encounter issues such as incomplete curing, weak adhesion, bubbles, overflow, slow reaction speed, yellowing, or even adhesive spoilage during storage. These problems not only affect appearance and performance, but can also lead to rework, material waste, and customer complaints.
This article provides a systematic and practical troubleshooting guide for UV glue users. By analyzing common problems, explaining the underlying causes, and offering clear solutions, we aim to help you improve curing reliability, bonding quality, and overall production efficiency.
1. UV Glue Is Partially Cured or Not Cured at All
Incomplete curing is one of the most common and frustrating problems when using UV adhesive.
Possible Causes
Solutions
2. Weak Bonding Strength After Curing
Sometimes UV glue appears fully cured but fails to achieve sufficient bonding strength.
Possible Causes
Solutions
3. UV Glue Cures Too Slowly
Slow curing reduces efficiency and may cause adhesive flow or positioning issues.
Possible Causes
Solutions

4. Glue Overflow During Application
Overflow not only affects appearance but also increases cleanup work.
Possible Causes
Solutions
5. Bubbles Appear After Curing
Bubbles can seriously affect transparency and structural integrity.
Possible Causes.
Solutions
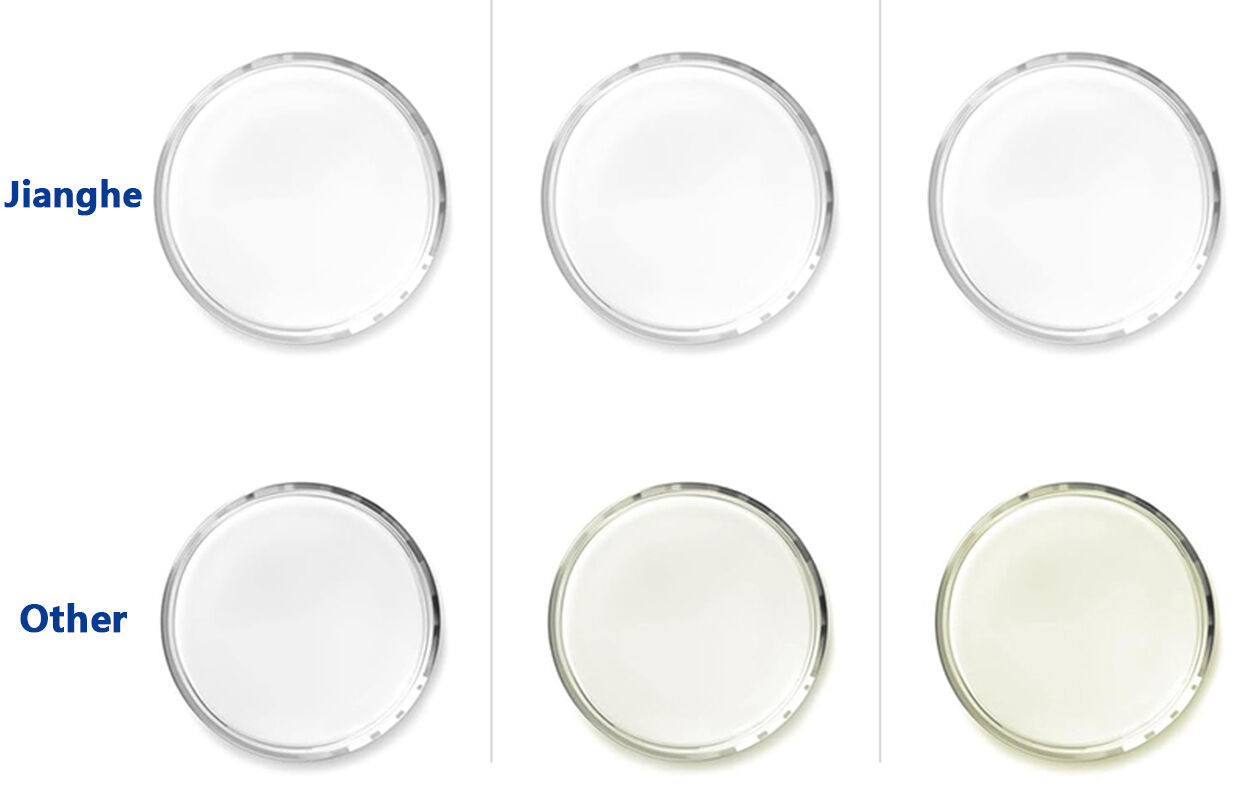
6. Yellowing or Color Change After Curing
Color stability is critical for transparent and decorative applications.
Possible Causes
Solutions
7. Adhesive Spoilage Due to Improper Storage
Improper storage can significantly shorten adhesive shelf life.
Possible Causes
Solutions
Usage Tips & Safety Reminders
Summary
Most UV adhesive problems can be prevented by following three essential principles: Choose the right product · Follow standardized procedures · Make timely adjustments.
By selecting UV glue compatible with your materials, controlling application thickness, maintaining proper curing conditions, and performing regular UV lamp maintenance, you can significantly improve bonding consistency and product quality. Recording key parameters such as adhesive amount, curing time, temperature, and humidity will further help optimize your process.
With systematic operation and careful attention to detail, UV adhesives can become a highly efficient, reliable, and professional bonding solution for both creative and industrial applications.
 Hot News
2026-01-14
2026-01-06
2025-12-27
2025-12-26
2025-12-26
2025-12-25
Shenzhen Jianghe New Materials Technology offers top-quality Epoxy AB Glue, PU Resin, UV Resin, and Liquid Silicone Rubber. With ISO-certified production, global certifications, and customizable solutions, we serve manufacturers and Amazon sellers worldwide.
Room 1008, Building 1, Cofco Yunjing, Martin Street, Heshui Kou Community, Guangming
Copyright © 2026 Shenzhen Jianghe New Materials Technology Co., Ltd.All rights reserved. Privacy Policy