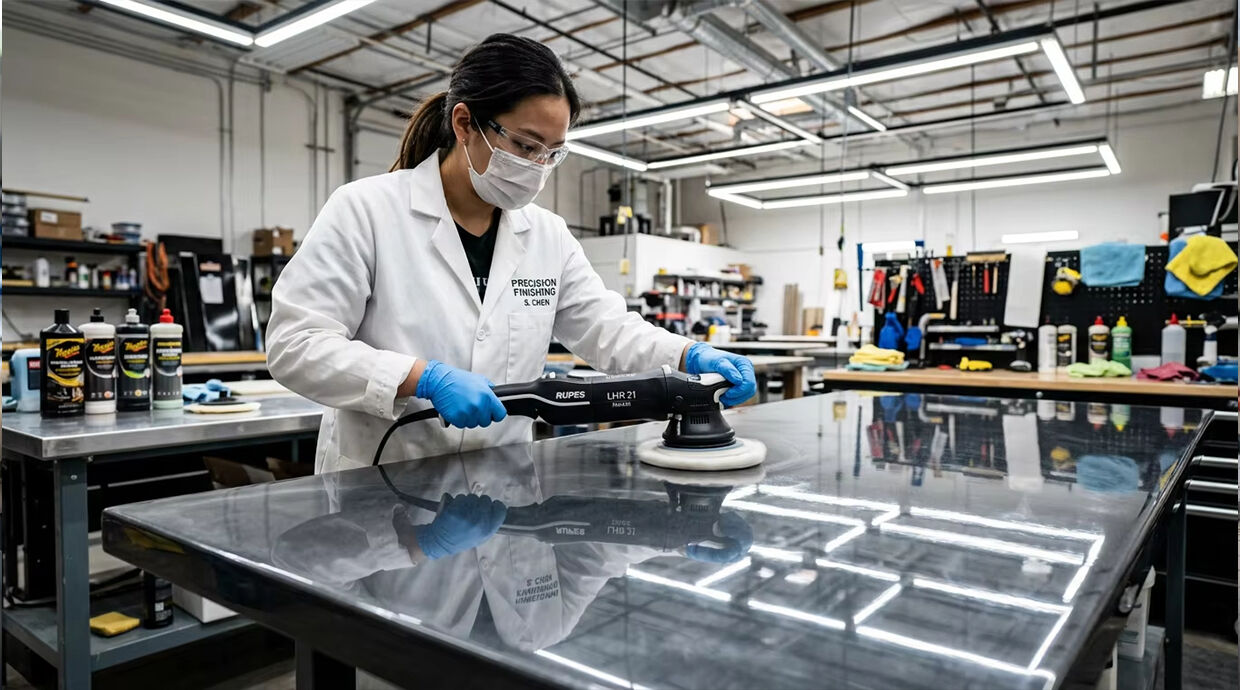
In the production of high-end resin crafts and industrial coatings, the curing stage is the most vulnerable window in the manufacturing timeline. Even the most technologically advanced Epoxy Resin can fall victim to environmental variables. For factory managers and hand-made studio leads, understanding the difference between a "material failure" and an "environmental failure" is the hallmark of a professional.
This technical guide by JHEPoxy focuses on the subtle variables of the curing environment and provides a systematic framework for troubleshooting common surface defects like Amine Blush, Fish Eyes, and Orange Peel.
1. The Critical Trio: Temperature, Humidity, and Airflow
1.1 Temperature: The Speed of Molecular Motion
Epoxy curing is an exothermic chemical reaction. Temperature directly dictates the "Cross-linking Density" of the polymer.
1.2 Humidity: The Invisible Saboteur
Humidity is perhaps the most overlooked variable in B2B resin applications. When relative humidity exceeds 70%, moisture in the air interacts with the amine hardener at the surface layer. This leads to the most dreaded defect: Amine Blush.
Long-Term Risk:
Amine blush is not just cosmetic. Even if wiped away, residual moisture interference can reduce interlayer adhesion by 40–60%, leading to future delamination under mechanical or thermal stress.
1.3 Airflow: The Silent Disturbance
Direct airflow from fans, HVAC vents, or open bay doors accelerates surface skin formation while the bulk resin is still liquid. This creates a “skin-over” effect, trapping solvents or air bubbles and causing dimples, waves, or uneven gloss. During the first 6 hours of curing, still air is a requirement, not a preference.
2. Systematic Troubleshooting of Surface Defects
2.1 Amine Blush: The Greasy Film
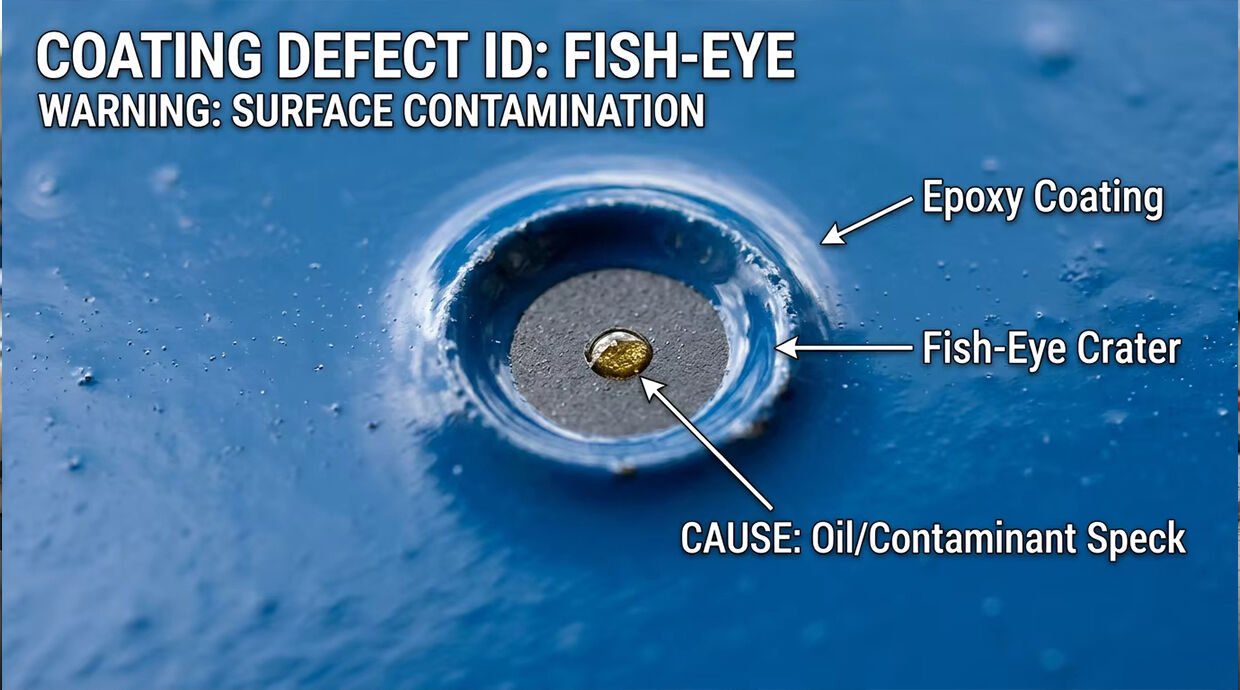
Symptoms: A waxy, greasy, or cloudy film on the surface after curing. It often feels sticky and cannot be polished.
2.2 Fish Eyes and Cratering
2.3 Orange Peel and Waves
Symptoms: An uneven, undulating surface reminiscent of the skin of an orange.
The Cause: Often caused by "Thin Film Set." If the resin is spread too thin on a cold substrate, the surface tension pulls the material unevenly. It can also be caused by excessive airflow (fans) blowing directly onto the curing surface.
Solution: Ensure the substrate is pre-warmed to room temperature and maintain a "still air" environment during the first 6 hours of curing.
3. Proactive Prevention: Setting Up a Professional Curing ZoneFor B2B clients looking to scale production, we recommend the "Three-Zone" factory layout:
① The Preparation Zone: Cutting, sanding, and heavy dust generation.
② The Mixing & Pouring Zone: A clean-room environment with positive air pressure.
③ The Controlled Curing Zone: A climate-controlled room with dedicated dehumidifiers and a dust-free atmosphere.
4. Advanced Technical Insight: The Dew Point Calculation
Professional coating contractors using JHEPoxy materials follow the Dew Point Rule: The substrate temperature must be at least 3°C (5.4°F) above the dew point. If the substrate is too close to the dew point, a microscopic layer of moisture will form on the surface, causing invisible adhesion failure. Understanding this metric distinguishes a master applicator from an amateur. To learn more about advanced curing physics, see our Market Trends and Industrial Insights.
5. From Defect to Process Control
In B2B production, every surface defect is a process signal, not random bad luck. By logging:
…you can correlate defects to specific shifts or weather events. Factories using this log typically reduce defect rates by 50–70% within two months.
To learn more about advanced curing physics, see our Market Trends and Industrial Insights.
Conclusion
Consistency in the environment leads to consistency in the product. At JHEPoxy, we provide the formulas that are stable enough for diverse conditions, but we also empower our clients with the knowledge to control their variables. By mastering the curing environment, you move from "hoping for a good result" to "guaranteeing a perfect finish."
Contact our technical team for a custom Curing Zone Assessment or to request our Environmental Log Template for your production floor.
 Hot News
2026-01-14
2026-01-06
2025-12-27
2025-12-26
2025-12-26
2025-12-25
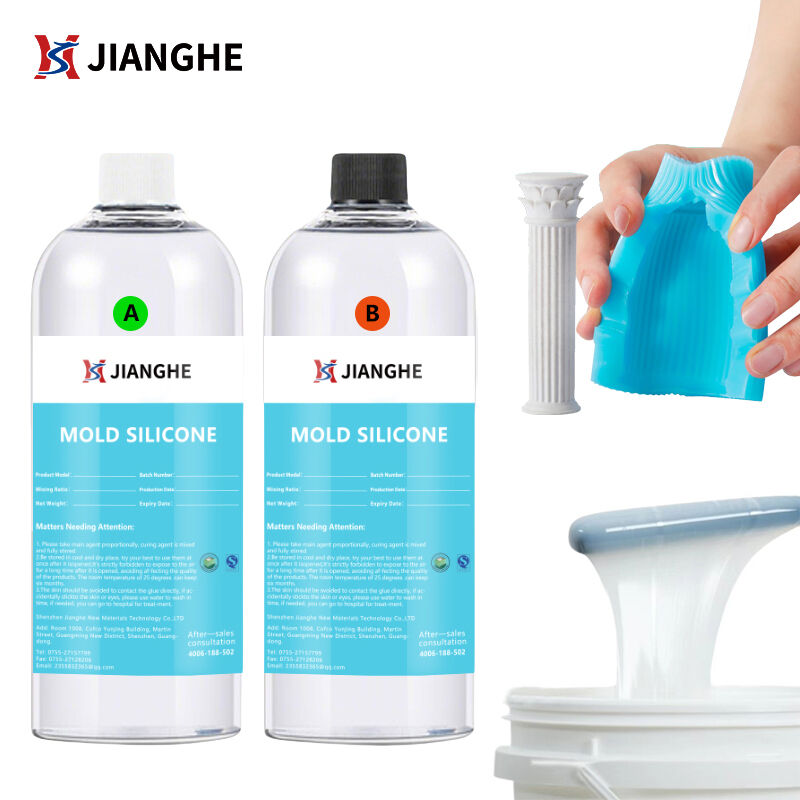
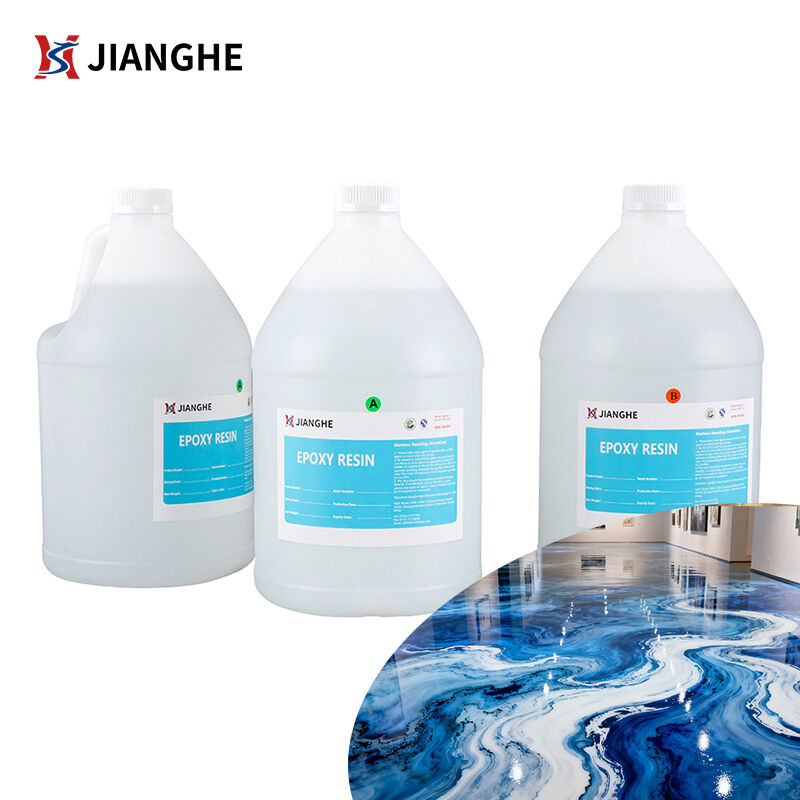
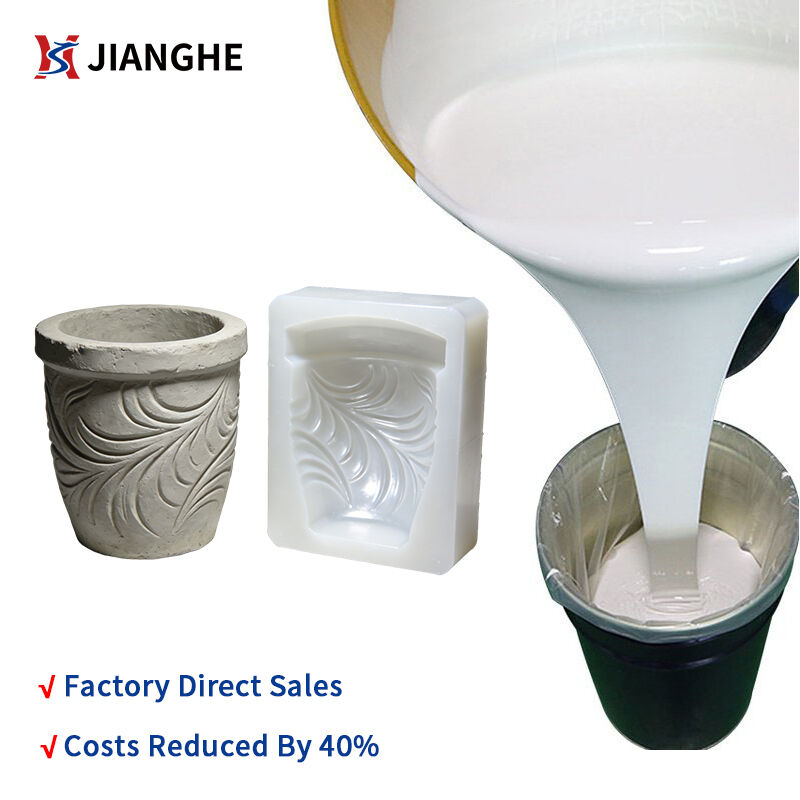
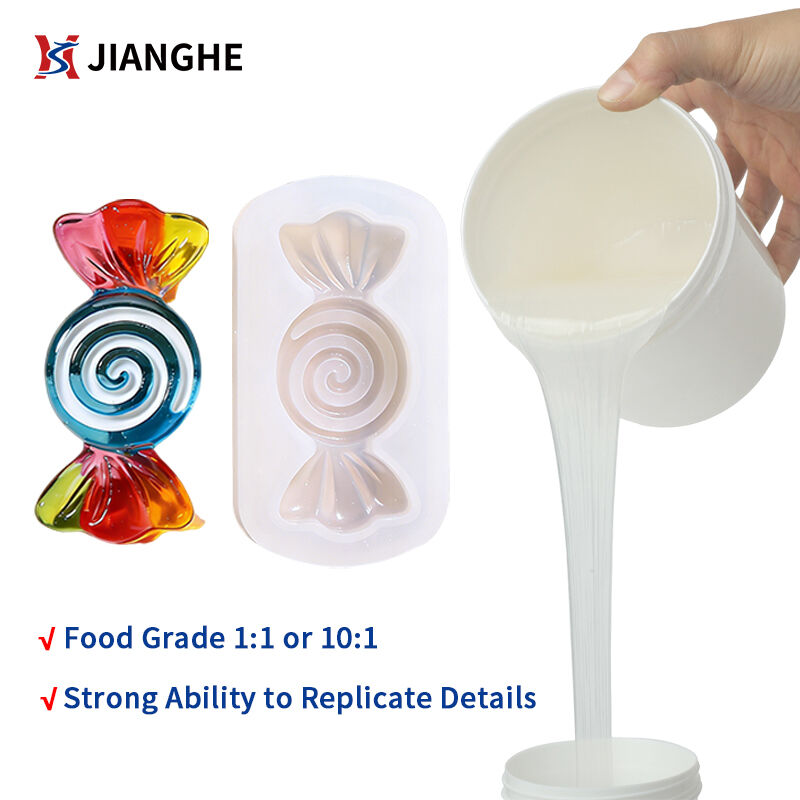
Shenzhen Jianghe New Materials Technology offers top-quality Epoxy AB Glue, PU Resin, UV Resin, and Liquid Silicone Rubber. With ISO-certified production, global certifications, and customizable solutions, we serve manufacturers and Amazon sellers worldwide.
Room 1008, Building 1, Cofco Yunjing, Martin Street, Heshui Kou Community, Guangming
Copyright © 2026 Shenzhen Jianghe New Materials Technology Co., Ltd.All rights reserved. Privacy Policy