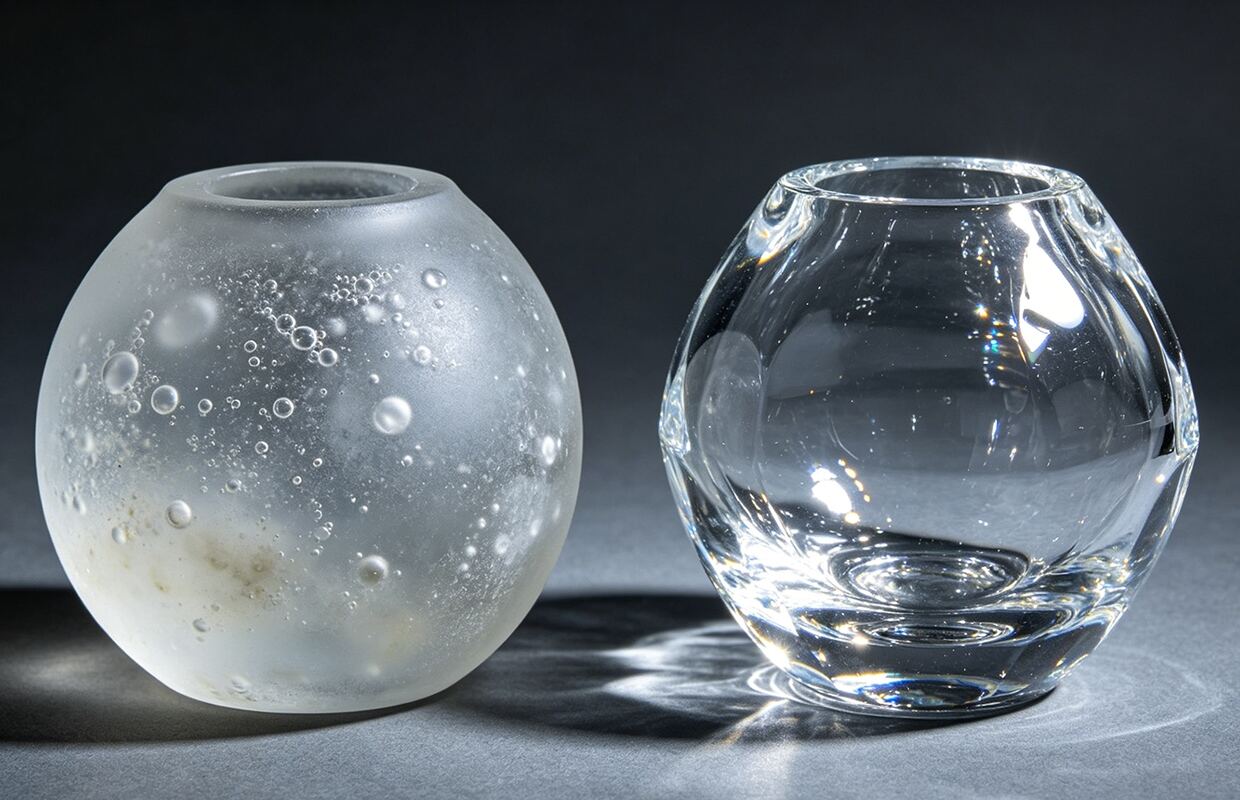
In the world of professional resin art and industrial potting, achieving a "water-clear" finish is the ultimate benchmark of quality. For many creators, the presence of microscopic bubbles is more than just a visual flaw; it is a technical failure that can compromise the structural integrity and UV resistance of the final piece. While many industry veterans suggest expensive vacuum chambers or pressure pots, JH Epoxy has proven through rigorous laboratory testing that professional-grade results are achievable through precise environmental and chemical management.
This guide breaks down the technical strategies to eliminate bubbles using standard studio tools, focusing on the science of viscosity, surface tension, and exothermic reactions.
1.Understanding the Enemy: Why Bubbles Form
Before applying techniques, one must understand the physics of air entrapment in Epoxy Resin. Bubbles primarily originate from three sources: mechanical agitation during mixing, moisture contamination, and high fluid viscosity. In colder environments, resin molecules move slowly, increasing the "drag" on air bubbles. This prevents them from rising to the surface before the gelation phase begins. By controlling these variables, you can ensure a flawless, glass-like pour every time.
2. The Power of Thermal Pre-treatment
Temperature control is the most effective way to manipulate resin viscosity. At JH Epoxy, we recommend the "Warm Water Bath" method for all high-clarity casting projects.
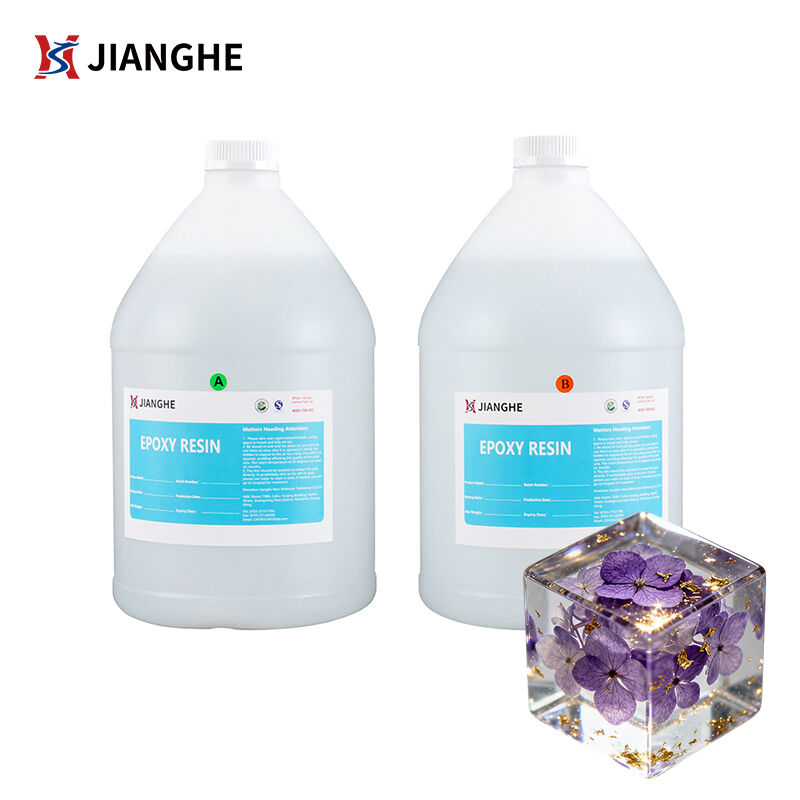
Before mixing Part A and Part B, place the sealed bottle of Part A (the resin) in a warm water bath (40°C to 50°C) for approximately 15 minutes. This reduces the fluid's thickness to a water-like consistency. Lower viscosity allows air to travel through the liquid much faster. However, as a technical expert, I must issue a caution: increasing the initial temperature will accelerate the exothermic reaction, thereby shortening your pot life. Plan your workspace accordingly to ensure you have enough time to pour before the resin enters its "gel stage."
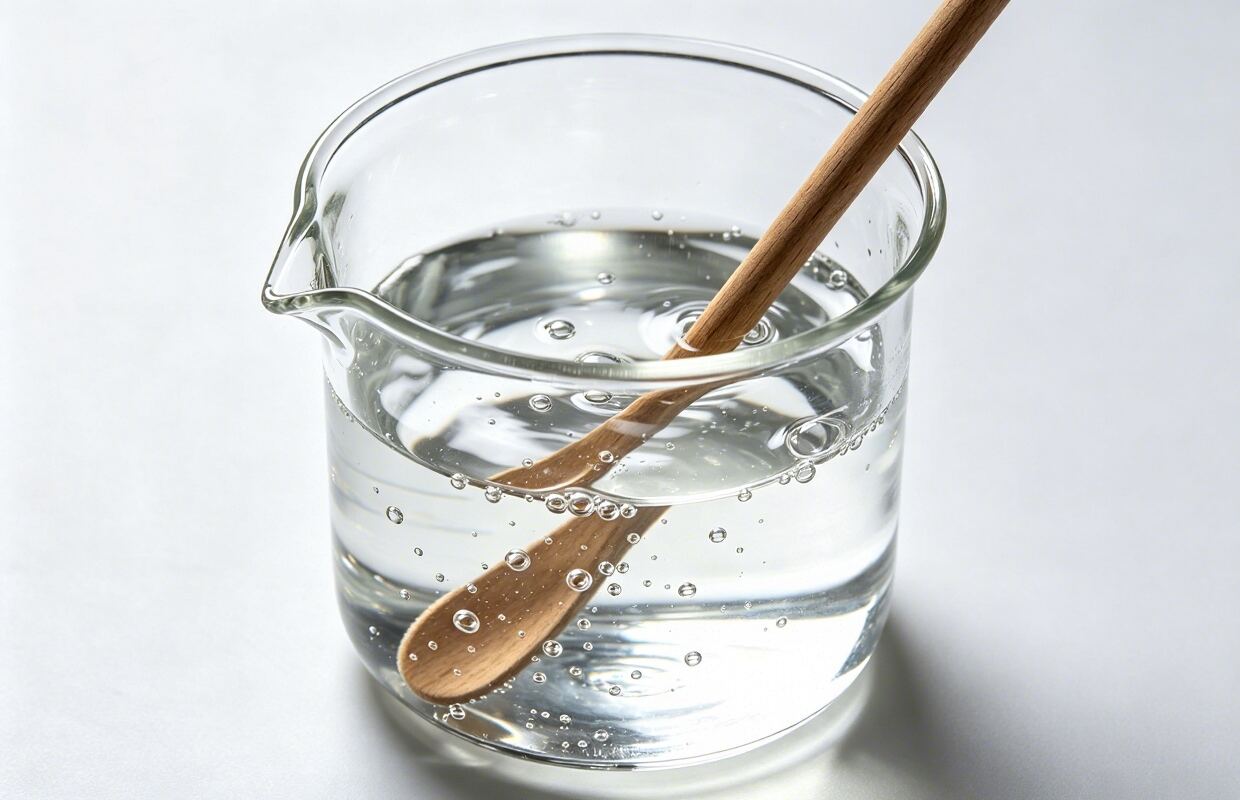
3. Precision Mixing: The Science of the "Figure-Eight"
Most bubbles are introduced during the mixing phase. Rapid, aggressive stirring traps thousands of micro-bubbles that are nearly impossible to remove later.
To avoid this, use a flat-edge silicone or plastic stir stick. Move the stick in a slow, deliberate figure-eight motion. This ensures that the two components are folded into each other rather than being whipped. Crucially, you must frequently scrape the sides and bottom of the mixing container. Unmixed resin left on the walls will result in "sticky spots" or cloudy streaks in your finished casting. Never lift your stir stick out of the liquid during the process, as this action draws air down into the mixture.
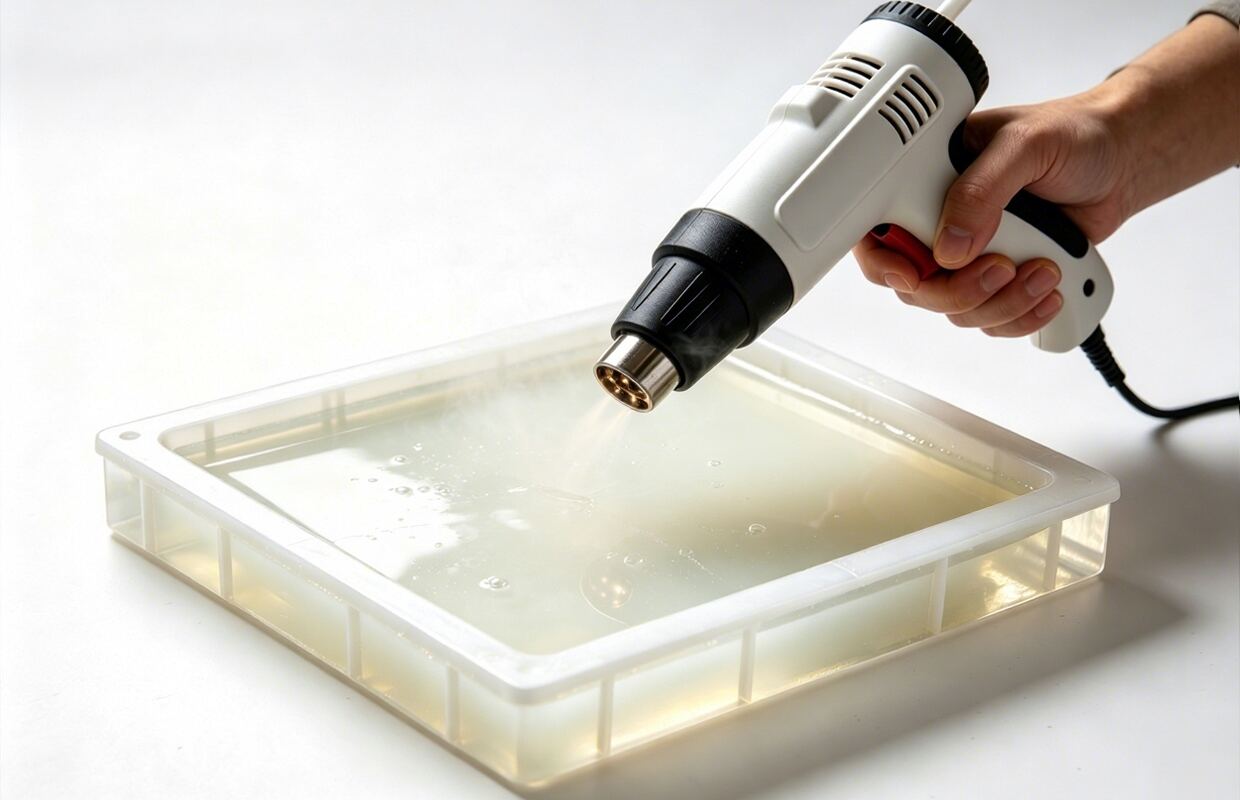
4. Strategic Degassing Techniques
Once the resin is mixed, let it rest for 3 to 5 minutes before pouring. This is known as the "de-airing" period. For those working without a vacuum chamber, two simple tools are essential:
5. Managing Deep Pours and Layering
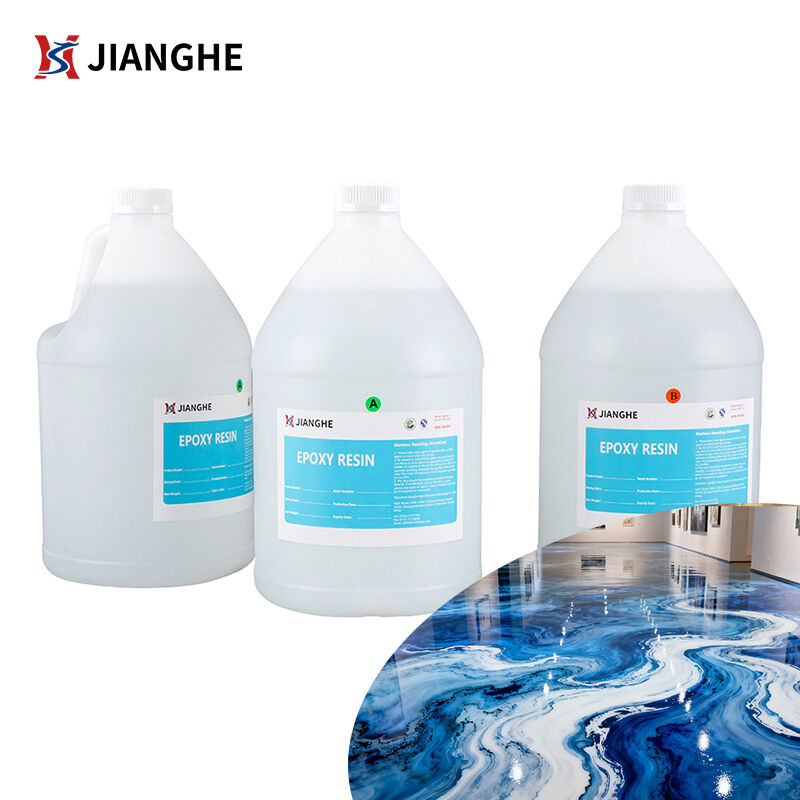
If you are working on a River Table or a large-scale industrial mold, the volume of the resin becomes a factor. Large volumes of epoxy generate significant internal heat. If the resin gets too hot, it can "flash cure," trapping bubbles instantly as the liquid turns to solid.
To achieve a crystal-clear deep pour, use a specialized deep-pour epoxy resin like the ones formulated by JH Epoxy. These resins have a longer curing cycle and lower peak exotherm, allowing bubbles to escape naturally over a 24-hour period. If you are using a standard UV Resin or fast-cure epoxy, it is better to pour in thin layers (1/4 inch at a time), torching each layer to ensure total clarity.
6. Mold Preparation and "Wetting"
Surface bubbles often cling to the edges of silicone molds or industrial parts due to surface tension. To prevent this, "wet" your mold before the main pour. Dip a clean brush into your mixed resin and apply a thin coating to the interior surfaces of the mold, paying close attention to corners and intricate details. This creates a seamless interface for the bulk resin to flow into, eliminating the air pockets that typically form at the "mold-resin" junction.
7. The JH Epoxy Advantage: Formula Matters
Ultimately, the quality of your raw materials dictates the ease of your process. JH Epoxy’s latest range of Low-Viscosity Crystal Clear Epoxy is engineered with advanced de-foaming agents. These additives work at a molecular level to destabilize air bubbles, encouraging them to rise even without external heat.
Whether you are a resin artist creating high-end jewelry or an industrial manufacturer performing electronic potting, our formulas provide the stability and clarity required for professional success. Our products undergo rigorous QC testing to ensure they meet RoHS and REACH standards, providing safety and performance in every drop.
Conclusion: Patience is the Final Ingredient
Achieving a bubble-free finish is a discipline of patience and precision. By controlling your environment, respecting the chemical pot life, and utilizing the pre-heating and IPA techniques mentioned above, you can produce museum-quality resin pieces without the need for high-end machinery.
For further technical support or to inquire about our custom resin formulations, contact the JH Epoxy technical team today. We are here to help you master the art and science of clear casting.
 Hot News
2026-01-14
2026-01-06
2025-12-27
2025-12-26
2025-12-26
2025-12-25
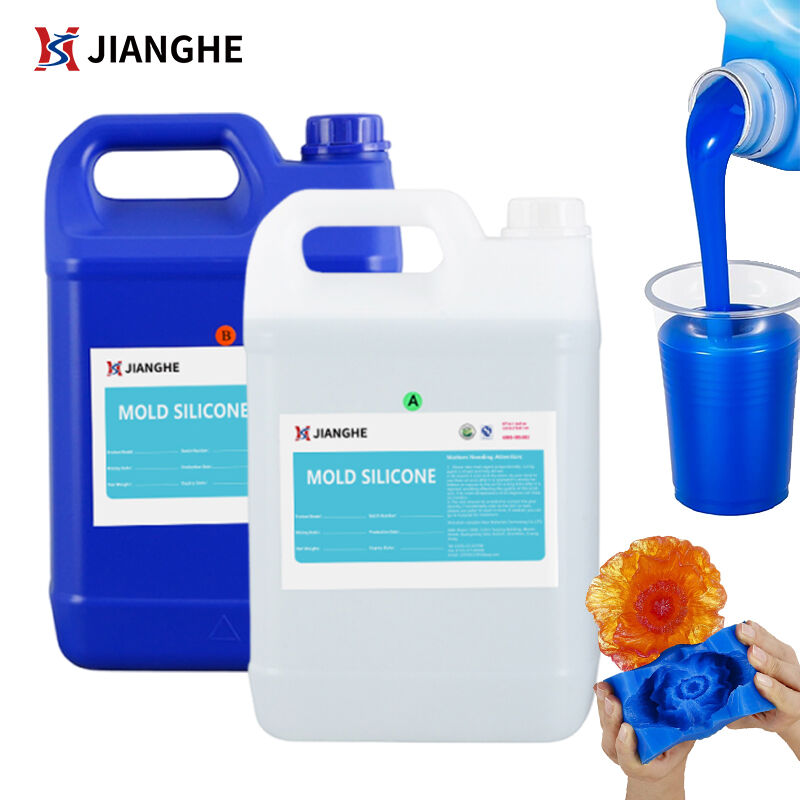
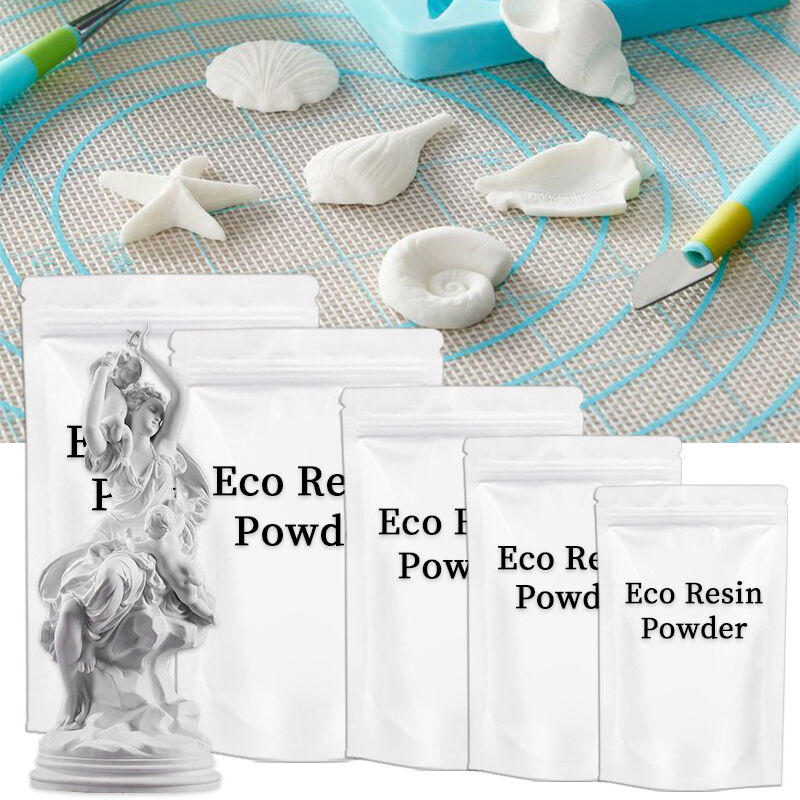
Shenzhen Jianghe New Materials Technology offers top-quality Epoxy AB Glue, PU Resin, UV Resin, and Liquid Silicone Rubber. With ISO-certified production, global certifications, and customizable solutions, we serve manufacturers and Amazon sellers worldwide.
Room 1008, Building 1, Cofco Yunjing, Martin Street, Heshui Kou Community, Guangming
Copyright © 2026 Shenzhen Jianghe New Materials Technology Co., Ltd.All rights reserved. Privacy Policy