Быстрые ссылки
Если вы новичок в мире премиального брендинга или гиперреалистичных художественных изделий, возможно, вы уже слышали о ПУ смола (Полиуретановая смола). Хотя в жидком состоянии она может выглядеть похожей на эпоксидную смолу, полиуретан представляет собой значительно более передовой и универсальный материал, специально разработанный для тех, кто требует профессионального уровня прозрачности, эластичности и скорости отверждения.
Независимо от того, планируете ли вы создавать стикеры с эффектом «3D», люксовые этикетки для вина или потрясающе реалистичные композиции с имитацией «воды» в стеклянной посуде, это руководство подробно расскажет обо всём необходимом для начала работы.
1. Основы: чем же полиуретановая смола отличается?
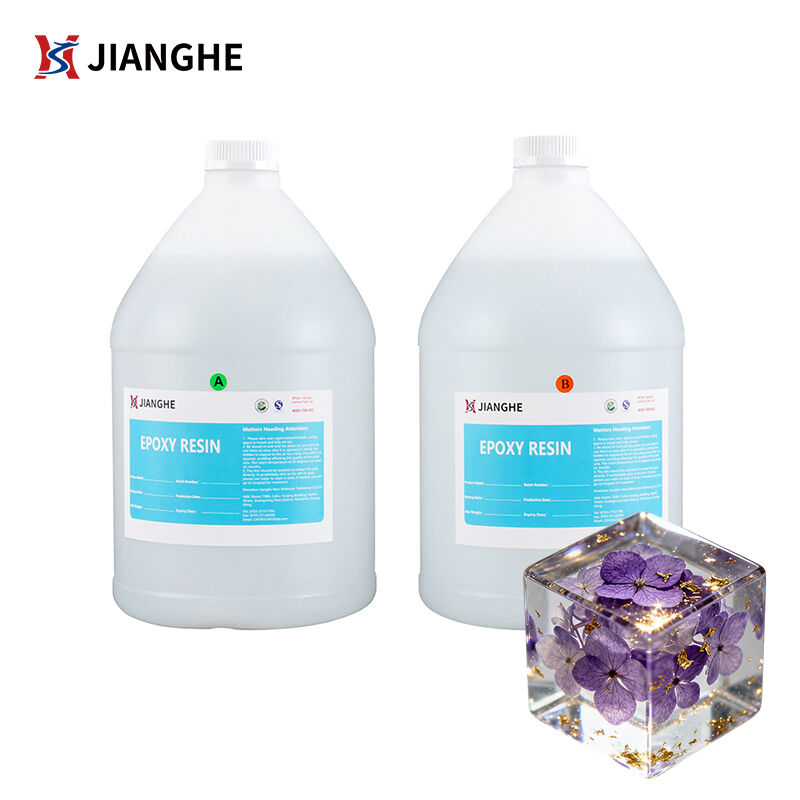
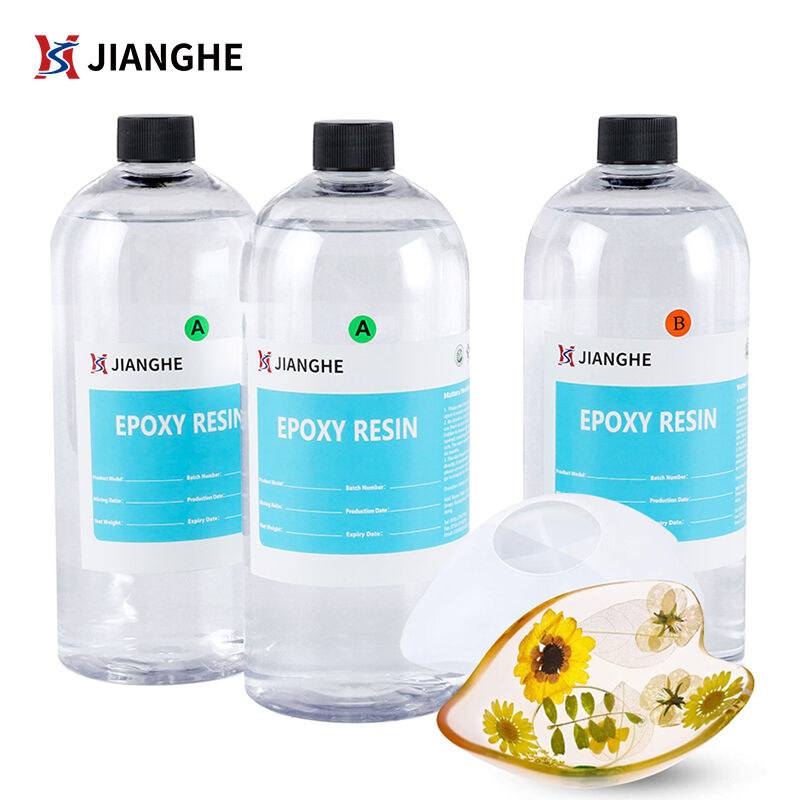
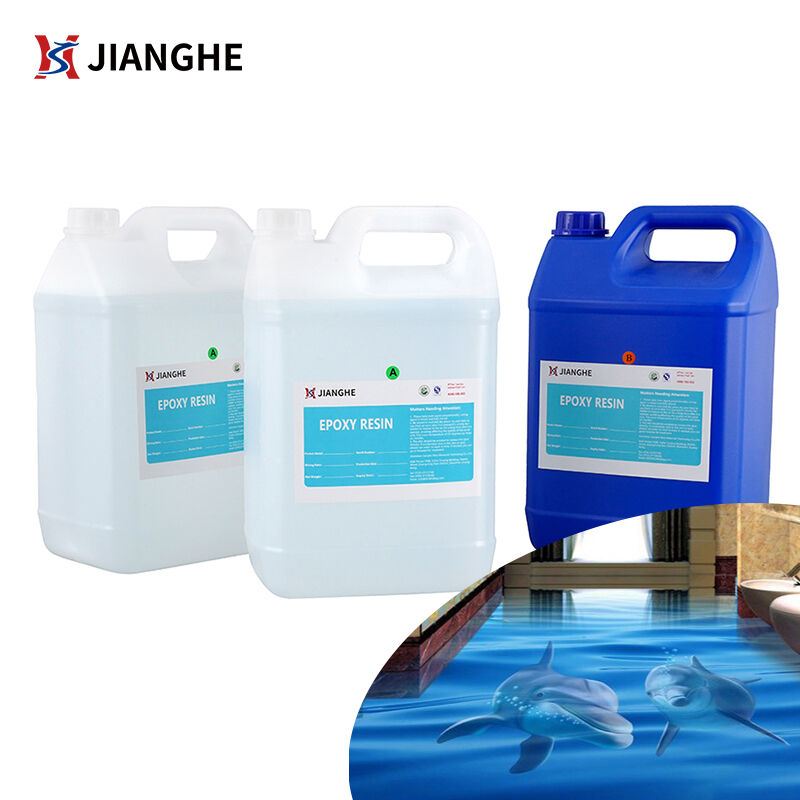
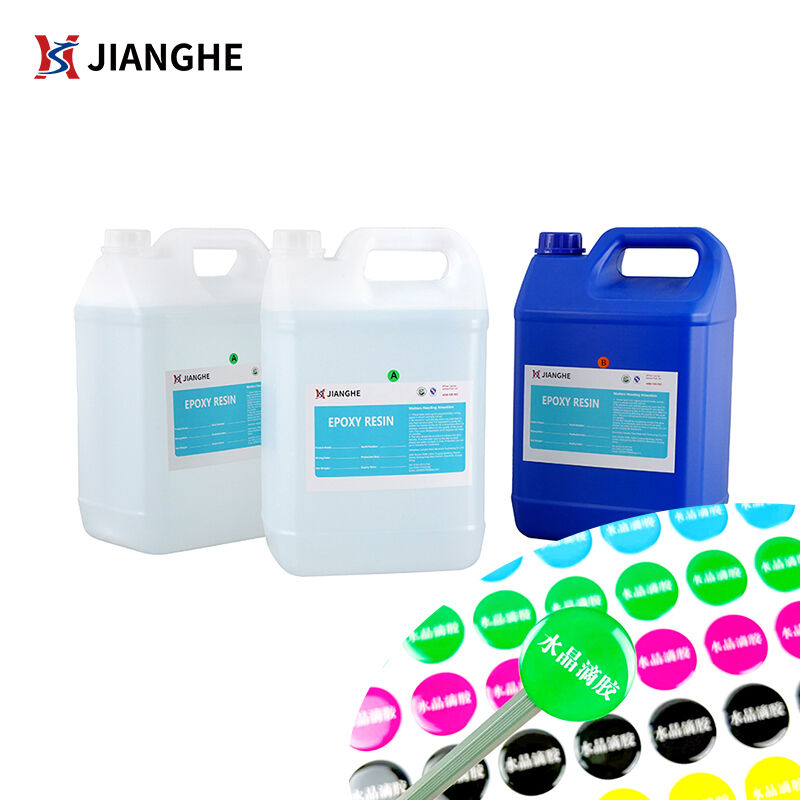
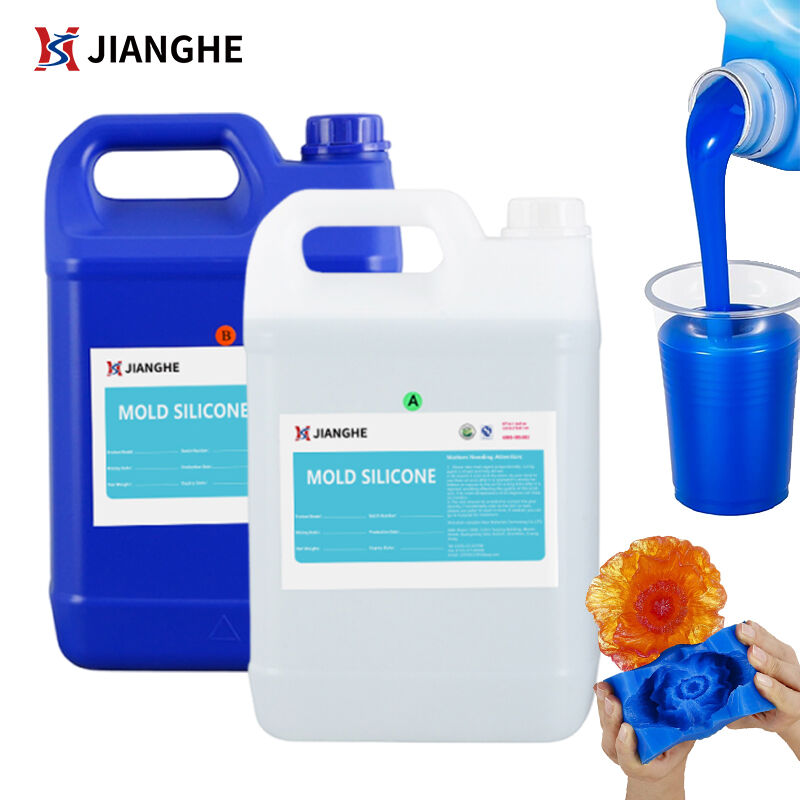
Полиуретановая смола — это двухкомпонентный жидкий полимер, состоящий из компонента А (изоцианата) и компонента В (полиола). При смешивании в правильном соотношении между ними происходит химическая реакция, в результате которой жидкость превращается в твёрдый, прочный и высокопрозрачный пластик.
Почему стоит использовать ПУ-смолу вместо эпоксидной смолы в ваших проектах?
2. Необходимый набор инструментов для начинающих
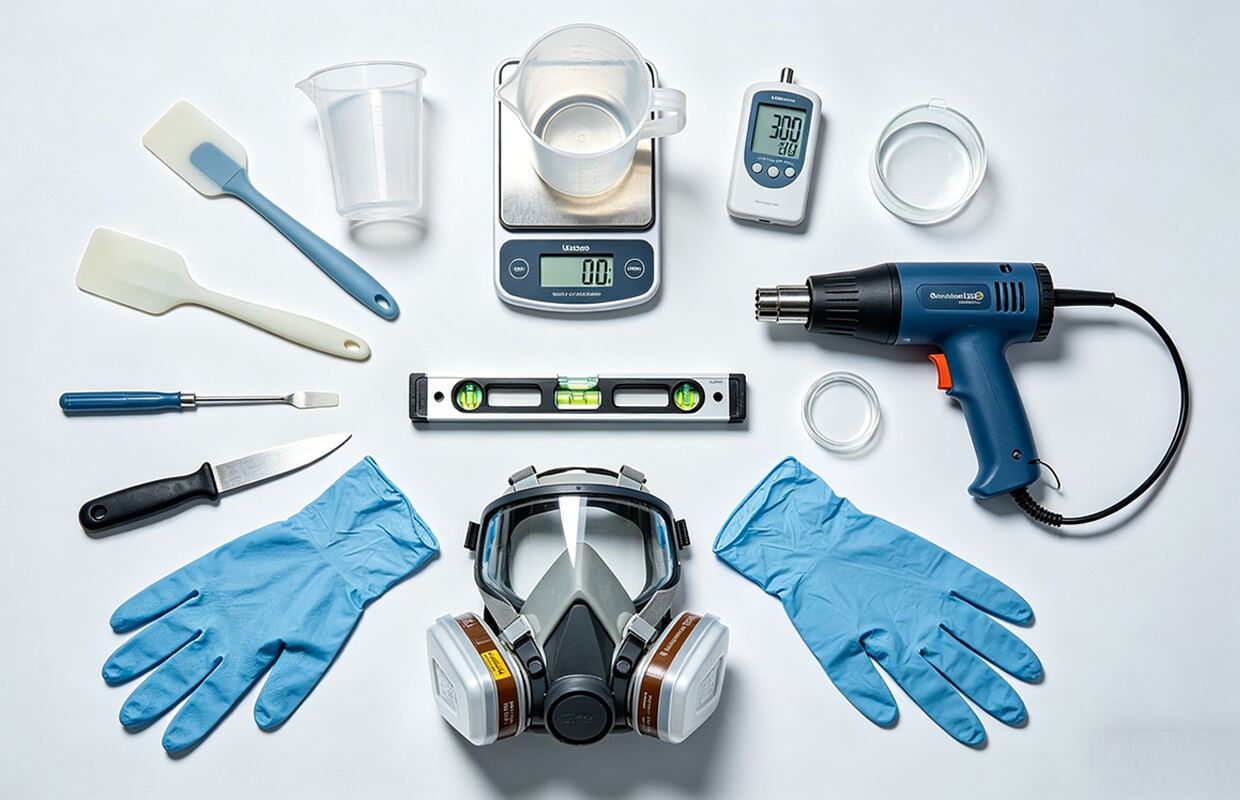
Прежде чем вылить первую каплю, убедитесь, что у вас есть следующее промышленного качества оборудование:
① Цифровые весы (точность 0,1 г): ПУ-смола не прощает ошибок. Незначительное отклонение в соотношении компонентов приведёт к получению липкой, непрореагировавшей массы.
② Ёмкости для смешивания: Используйте чистые, сухие пластиковые или силиконовые стаканчики. Избегайте бумажных стаканчиков, поскольку они могут удерживать влагу — главного врага ПУ-смолы.
③ Тепловая пушка или горелка: необходимы для удаления поверхностных пузырьков сразу после заливки.
④ Выравнивающий стол: при нанесении наклеек и этикеток поверхность должна быть абсолютно горизонтальной, иначе «купол» сместится в одну из сторон.
⑤ Осушитель воздуха: полиуретановая смола плохо переносит влагу. Если в помещении высокая влажность, смола вспенится, как губка.
⑥ Средства индивидуальной защиты: нитриловые перчатки и респиратор (или хорошая вентиляция). Изоцианаты могут вызывать сенсибилизацию кожи и дыхательных путей.
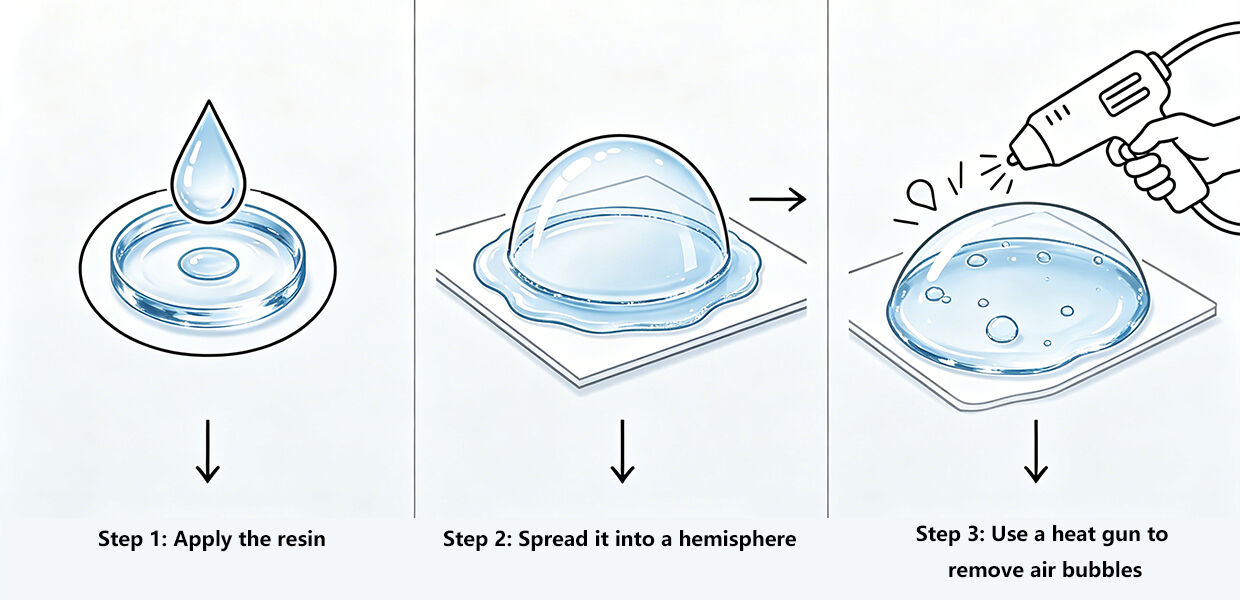
3. Пошаговая инструкция: ваш первый проект литья под куполом или герметизации
Шаг 1: Подготовка поверхности («чистая зона»)
Пыль — ваш главный враг. Убедитесь, что наклейки, логотипы или стеклянная посуда полностью чистые и сухие. При работе с имитацией пищевых продуктов с использованием вставок из ПВХ или силикона протрите их спиртом, чтобы удалить остатки смазки для форм.
Шаг 2: Точное смешивание (соотношение 1:1 или 2:1)
Проверьте технический паспорт (TDS) для вашего конкретного продукта. Большинство наших смол для создания куполообразного покрытия имеют соотношение компонентов 1:1 по массе. Сначала налейте компонент B, затем компонент A. Тщательно перемешивайте медленно, круговыми движениями, не менее 3 минут. Неоднократно соскребайте смолу со стенок и дна стакана, чтобы убедиться, что остатков неперемешанной смолы не осталось.
Шаг 3: Заливка (формирование мениска)
Шаг 4: Дегазация и отверждение
Используйте тепловую пушку, слегка пройдитесь ею по поверхности. Пузырьки исчезнут мгновенно. Накройте изделие защитным пылезащитным колпаком. Большинство полиуретановых смол достигают состояния «сухости на ощупь» через 4–6 часов и полностью отверждаются в течение 24 часов.
4. Ключевые рекомендации по устранению неполадок: типичные ошибки новичков
Ошибка № 1: Смола выглядит мутной или пенится
Ошибка № 2: Смола остается липкой (клейкой) спустя 24 часа
Ошибка № 3: Купол из смолы выходит за пределы наклейки
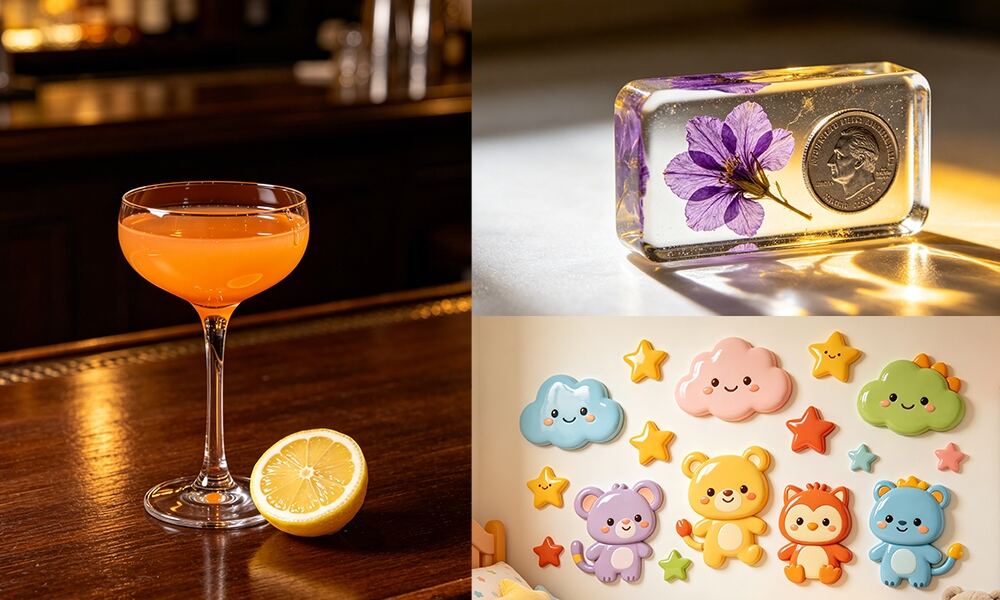
5. Идеи применения для вашего бизнеса
Заключение
ПУ-смола — это профессиональный материал, обеспечивающий профессиональные результаты. Хотя её применение требует большей точности по сравнению с любительскими материалами, прозрачность и долговечность, которые она обеспечивает, не имеют себе равных.
В компании JHEPoxy мы специализируемся на высокопроизводительных полиуретановых и эпоксидных системах. Независимо от того, нужны ли вам смола для создания выпуклых покрытий (доминга), смола для имитации продуктов питания или смола для инкапсуляции в стекле, свяжитесь с нами для получения технической поддержки или заказа стартового набора.
 Горячие новости
2026-01-14
2026-01-06
2025-12-27
2025-12-26
2025-12-26
2025-12-25
Shenzhen Jianghe New Materials Technology предлагает высококачественный эпоксидный клей AB, полиуретановую смолу, УФ-смолу и жидкий силиконовый каучук. Благодаря производству, сертифицированному по ISO, международным сертификатам и возможностям индивидуальной настройки, мы обслуживаем производителей и продавцов на Amazon по всему миру.
Комната 1008, корпус 1, Cofco Yunjing, улица Мартин, община Хэшуйкоу, Гуанмин
Авторские права © 2026 Shenzhen Jianghe New Materials Technology Co., Ltd. Все права защищены. Политика конфиденциальности