קישורים מהירים
אם אתם חדשים לעולם המרקאות ברמה גבוהה או האמנות הידיות היפר-ריאליות, ייתכן ששמעתם על רזין PU (ריזין פוליאוריתן). אף על פי שדומה לריזין אפוקסי במצב הנוזלי שלו, פוליאוריתן הוא חומר מתקדם ורב-תכליתי בהרבה, שפותח במיוחד עבור אלה הדורשים ברורה מקצועית, גמישות ומהירות.
האם אתם רוצים ליצור מדבקות שקופות ב"ממדים שלושה", תווית יין יוקרתית או תצוגות מרהיבות של "מים דמיוניים" בזכוכית – מדריך זה יוביל אתכם דרך כל מה שצריך לדעת כדי להתחיל.
1. הבנת היסודות: מה הופך את ריזין ה-PU למיוחד?
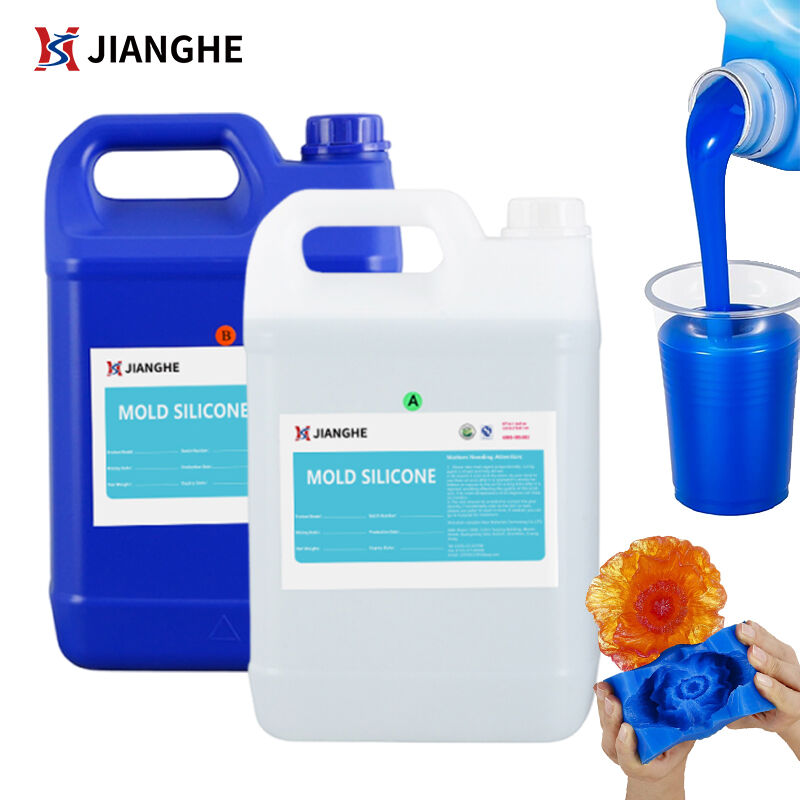
ריזין פוליאוריתן הוא פולימר נוזלי דו-מרכיבי המורכב מרכיב A (איזוציינט) ורכיב B (פוליאול). כאשר מערבבים אותם ביחס הנכון, מתרחשת תגובה כימית הממירה את הנוזל לפלסטיק קשה, עמיד ושקוף מאוד.
למה להשתמש ב-PU במקום באפוקסי בפרויקטים שלכם?
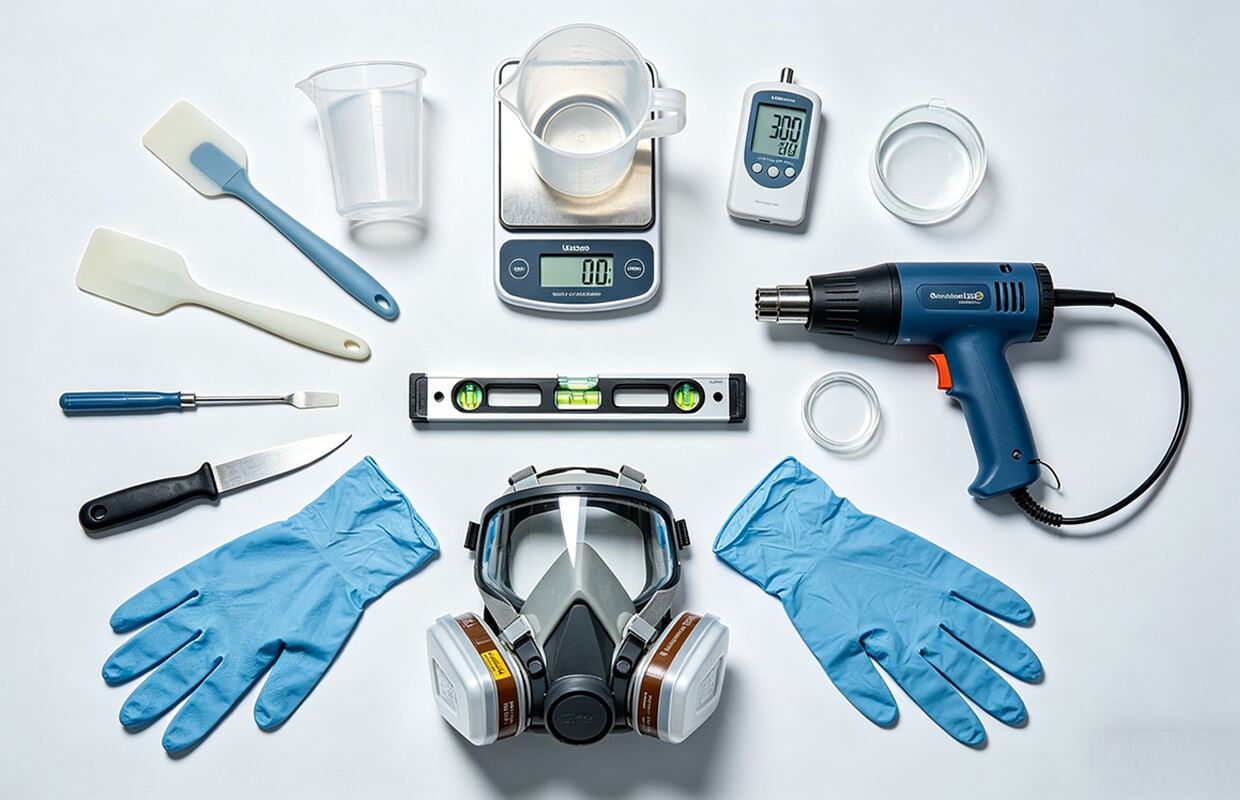
2. ערכת הכלים החיונית למתחילים
לפני שתמזגו את הטיפה הראשונה, ודאו שיש לכם את ההתקנה הבאה ברמה תעשייתית:
① מאזניים דיגיטליים (דיוק של 0.1 גרם): רזין PU אינו סוחף שגיאות. טעות קטנה ביחס התערובת תביא לתוצאה דביקה שלא תצטמק.
② מיכלים לערבוב: השתמשו בכוסות פלסטיק או סיליקון נקיות ויבשות. לא להשתמש בכוסות נייר, שכן הן עלולות להכיל לחות – האויב המortal של רזין PU.
③ אבוב חם או להבה: חיוני להסרת пузыרים שטحيים מיד לאחר הזרקה.
④ שולחן יישור: עבור מדבקות ותוויות, המשטח חייב להיות מושלם ב-100% במישור, אחרת ה"כיפה" תחליק לאחד הצדדים.
⑤ מחזיר לחות: רזין PU שונא מים. אם החדר שלכם לח, הרזין יתפוח כמו ספוג.
⑥ ציוד בטיחות: כפפות ניטריל + מסכה נשימה (או צדיקת אוירה טובה). איזוציאנטים עלולים לגרום לרגישות של העור/הדרכי הנשימה.
3. שלבים לפי סדר: הפרויקט הראשון שלכם של דומינג או אינקפסולציה
שלב 1: הכנת המשטח (אזור הניקיון)
אבק הוא האויב שלכם. ודאו שהמדבקות, הלוגואים או כלי הזכוכית שלכם נקיים ויבשים לחלוטין. בפרויקטים של ייבוא מזון באמצעות חליפות PVC או סיליקון, ודאו שהם נמיסים באלכוהול כדי להסיר כל חומר שחרור תבנית.
שלב 2: ערבוב מדויק (היחס 1:1 או 2:1)
בדקו את דף הנתונים הטכניים (TDS) הספציפי שלכם. רוב רזינים ה'Doming' שלנו הם ביחס 1:1 לפי משקל. ייצאו תחילה את חלק B, ולאחר מכן את חלק A. ערבבו לאט בתנועה מעגלית לפחות 3 דקות. קחו את המערבולת לאורך צדדי הכוס והתחתית שלה מספר פעמים כדי להבטיח שלא נותר רזין לא מעורבב.
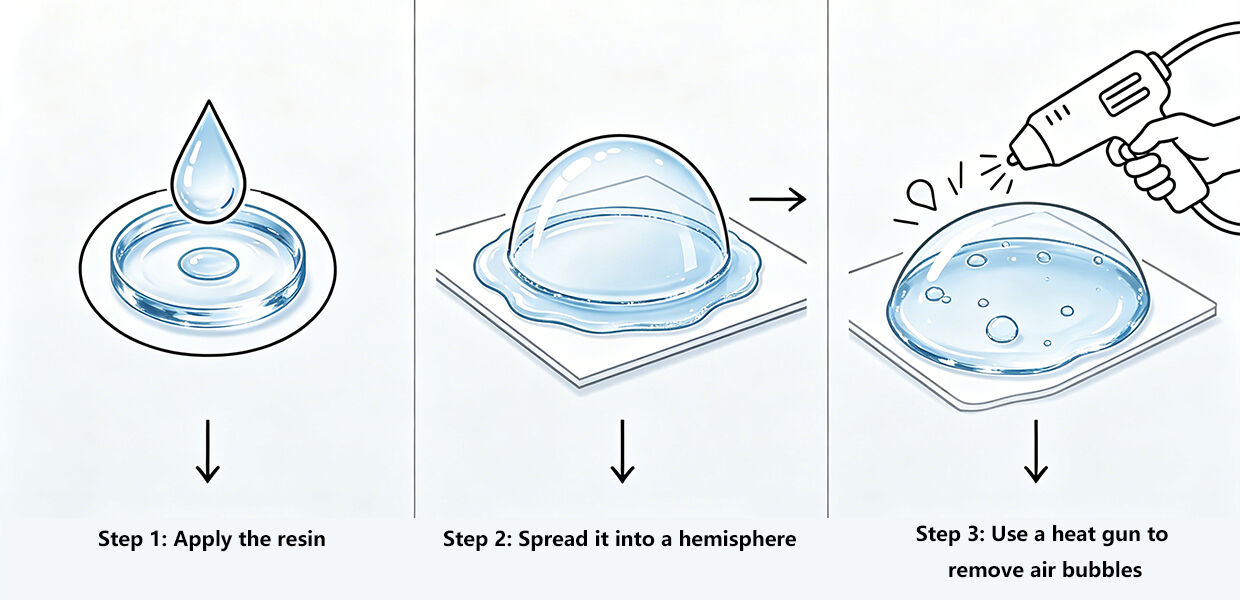
שלב 3: הזרקה (יצירת המניסקוס)
שלב 4: הסרת אפקטים וקיזוז
השתמשו באש חמה כדי לעבור בעדינות על פני השטח. תראו שהفقאות מתפוצצות מיידית. כסו את הפרויקט במגן נגד אבק. מרבית רזיני ה-PU יהיו 'יבשים למגע' תוך 4–6 שעות ויקלפו לחלוטין תוך 24 שעות.
4. פתרון תקלות קריטי: טעויות נפוצות של מתחילים
טעות מס׳ 1: הרזין עכור או מתקלף
טעות #2: הרזין נשאר דביק (צמיגי) לאחר 24 שעות
טעות #3: הקופולה נשפכת מעבר המלصק
5. השראת יישום לעסק שלך

מסקנות
הרזין PU הוא כלי מקצועי שמביא תוצאות מקצועיות. אף על פי שהוא דורש דיוק רב יותר מאשר חומרים לבידור, הבהירות והעמידות שהוא מספקים אינם נשווים.
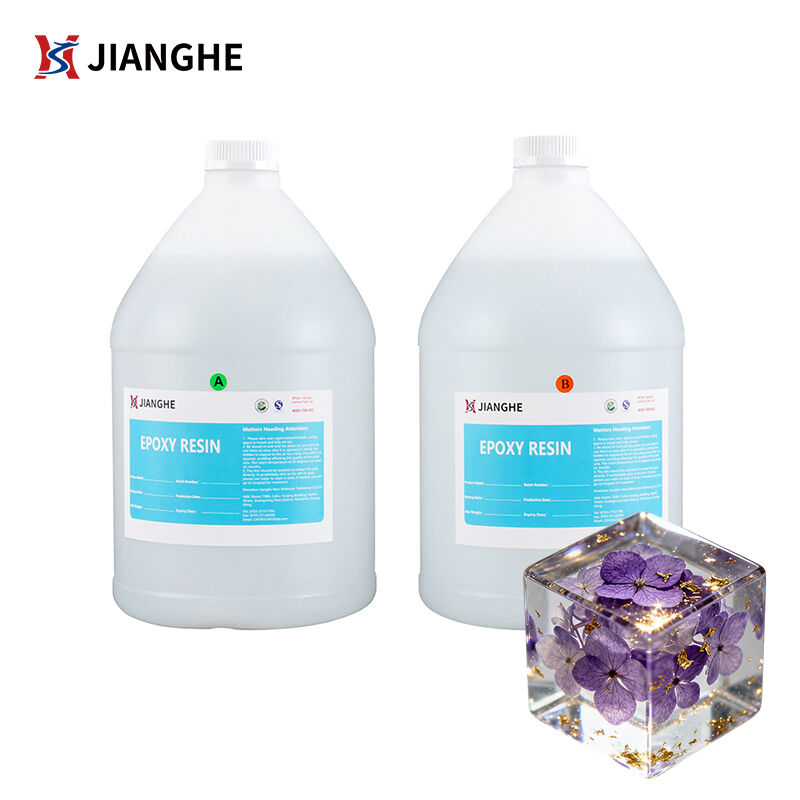
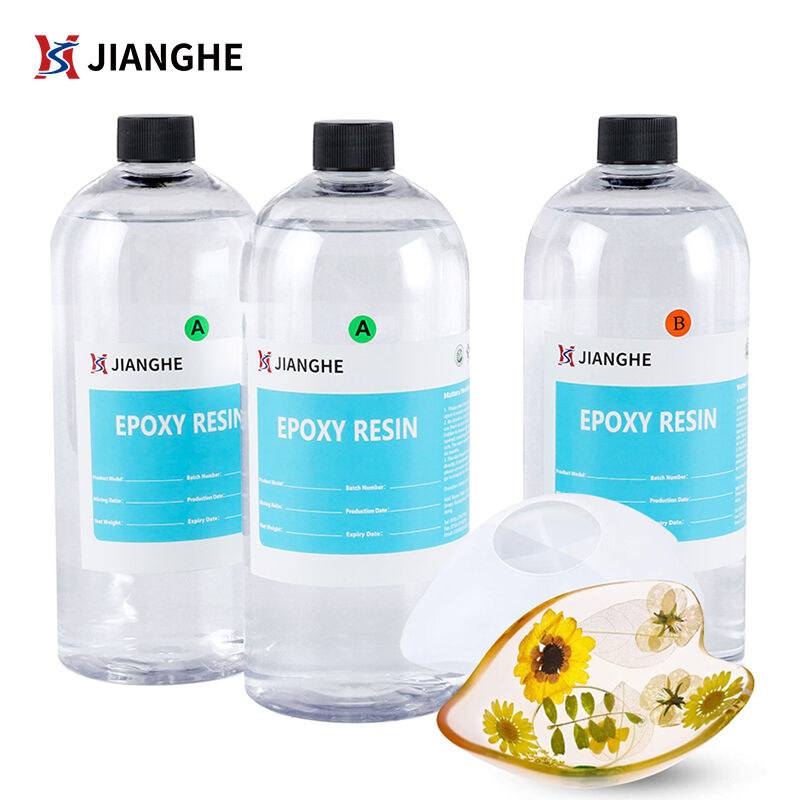
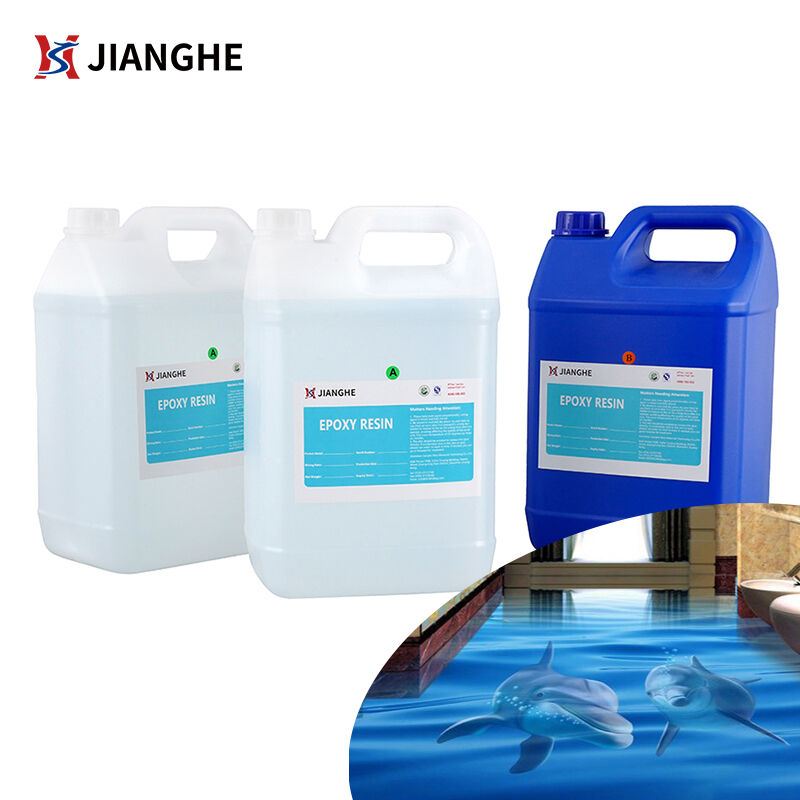
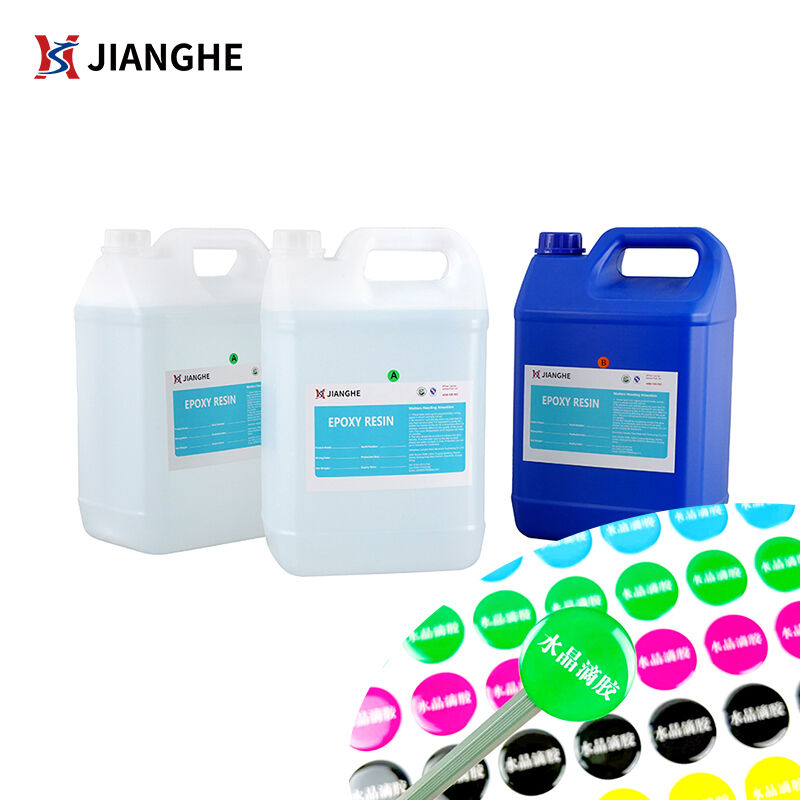
ב-JHEPoxy אנו מתמחים במערכות פוליאוריתן ואפוקסי בעלות ביצועים גבוהים. בין אם אתם צריכים רזין לדומיינג, רזין לסימולציה של מזון או רזין לאינקפסולציה של זכוכית – פנו אלינו לתמיכה טכנית או להזמנת ערכת התחלה.
 חדשות חמות
2026-01-14
2026-01-06
2025-12-27
2025-12-26
2025-12-26
2025-12-25
Shenzhen Jianghe New Materials Technology מציעה דבק אפוקסי AB, רזין PU, רזין UV ו каучוק סיליקון נוזלי באיכות גבוהה. עם ייצור בעל תעודת ISO, אישורים בינלאומיים ופתרונות מותאמים אישית, אנו משרתים יצרנים ומוכרים ב-Amazon ברחבי העולם.
חדר 1008, בניין 1, Cofco Yunjing, רחוב מרטין, קהילת Heshui Kou, Guangming
כל הזכויות שמורות © 2026 Shenzhen Jianghe New Materials Technology Co., Ltd. מדיניות הפרטיות