
 EN
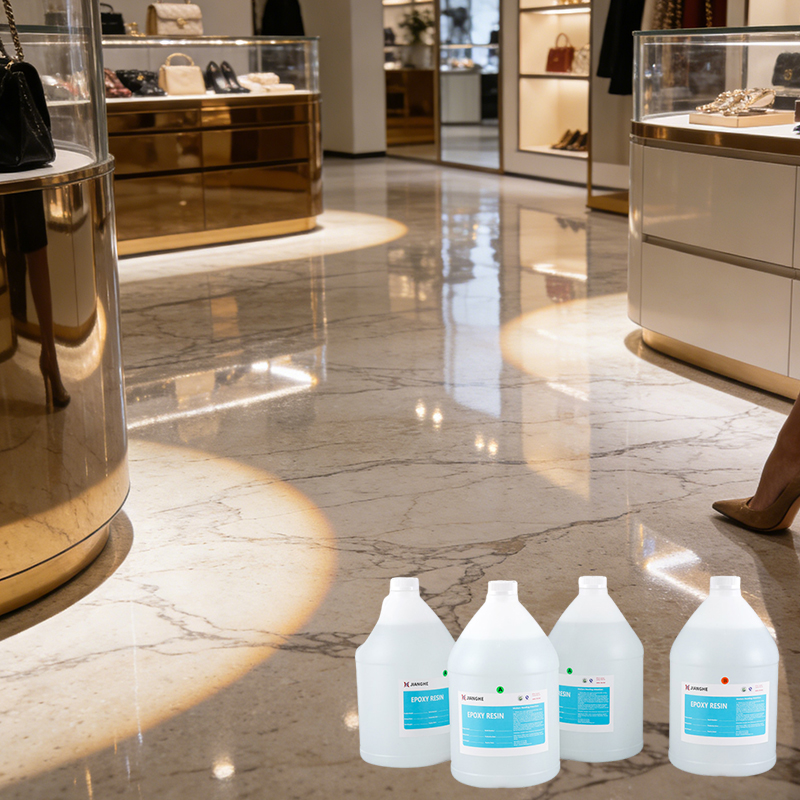
Substrate preparation is the foundation of any successful clear epoxy floor coating installation. Without proper surface treatment, even the highest-quality epoxy resin will fail to bond effectively, leading to peeling, cracking, and premature failure. The durability and aesthetic appeal of your flooring depend directly on how thoroughly you prepare the substrate before applying any coating resin.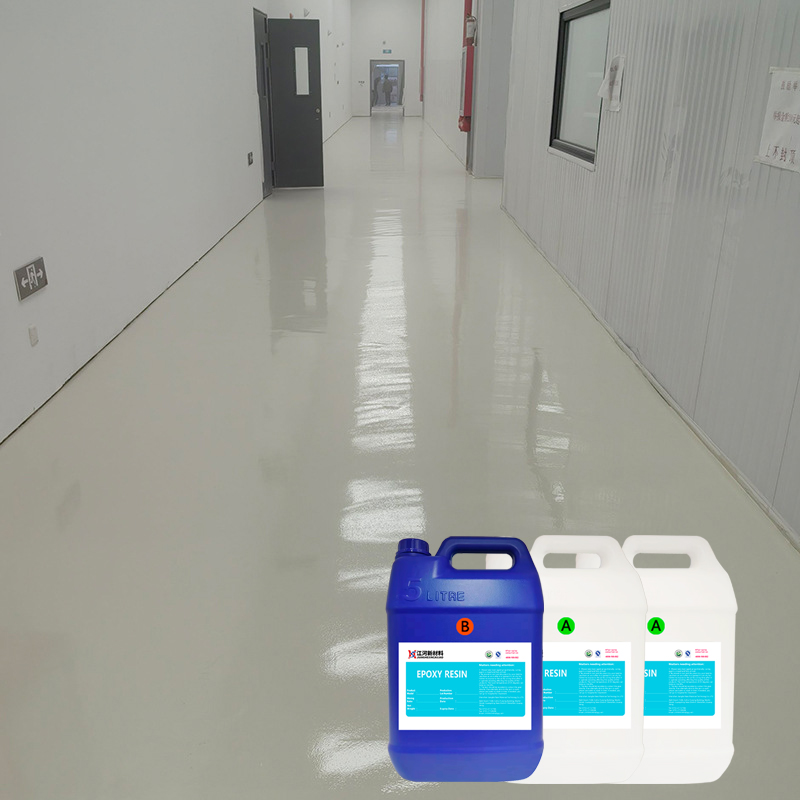
The bond strength between your floor surface and the floor coating epoxy depends on multiple interconnected factors, including surface porosity, contamination removal, and substrate profile depth. Industrial facilities, commercial spaces, and residential installations all require the same rigorous preparation protocols to achieve lasting performance. Understanding these critical preparation steps prevents costly rework and ensures your investment in clear epoxy resin delivers maximum longevity.
Surface Cleaning and Contamination Removal
Degreasing the Concrete Floor
Concrete substrates absorb oils, dust, and chemical residues that compromise epoxy resin adhesion. Before applying floor coating epoxy, you must remove all surface contaminants using alkaline cleaners or industrial degreasers. Power washing at 3000 to 4000 PSI effectively lifts loose particles and deeply embedded dirt out of the concrete pores. Allow the surface to dry completely — typically 24 to 48 hours — so that residual moisture does not interfere with the coating resin application.
Cleaning is not a single pass. On a floor that has carried forklifts, machine oils, or food production waste, plan on degreasing, rinsing, and then re-inspecting the surface before any mechanical preparation begins. Contamination that is worked into the concrete by grinding instead of being removed first is one of the most common reasons a clear epoxy floor coating fails while every other step looked correct.
Addressing Moisture and Efflorescence
Moisture and salt efflorescence represent silent enemies of clear epoxy floor coating performance. Efflorescence — the white crystalline deposits that form on concrete — indicates that water is migrating through the slab and carrying soluble salts to the surface. Those deposits must be removed completely before coating, and the moisture source behind them has to be understood, because the same vapor drive that produced them will attack the bond later.
A moisture test using calcium chloride kits or in-situ relative humidity probes determines whether your substrate is ready for coating resin application. Most epoxy resin products specify a maximum permissible substrate moisture content — commonly cited in the range of 3 to 5 percent when measured by moisture content meter, or as an MVER limit — and the exact figure must be confirmed in the manufacturer's technical data sheet. Where readings exceed the limit, a moisture mitigation system or a moisture-tolerant primer is required; waiting for the slab to dry is rarely effective if the source is below grade.
Mechanical Surface Preparation Techniques
Shot Blasting and Grinding Methods
Mechanical preparation creates the anchor profile necessary for robust clear epoxy floor coating adhesion. Shot blasting removes the laitance layer — the weak surface cement that prevents deep epoxy resin penetration — while establishing micro-roughness that epoxy molecules can lock into. Concrete grinding to a CSP 3 (Concrete Surface Profile 3) creates an ideal texture for floor coating epoxy application. Both methods remove existing sealers, paints, and weathered surface layers that would otherwise compromise bond integrity.
The choice between them depends on the floor. Shot blasting is fast and produces a uniform, contamination-free profile on open areas, which makes it the default for large industrial slabs. Diamond grinding is more controllable around edges, columns, and doorways, and it is the practical option for smaller areas or floors where dust containment is difficult. Whichever method you use, finish with a full vacuum pass — the dust left on the surface will otherwise sit between the concrete and the coating and act as a bond breaker.
Surface Profile Requirements
The concrete surface profile directly influences how well coating resin molecules interlock with the substrate. A CSP 2 to 3 profile — visible as a light gray, sandy texture — is typically recommended for most clear epoxy resin applications. This profile provides sufficient mechanical interlocking while remaining practical and cost-effective to achieve.
Profile depth is a balance. Profiles that are too aggressive consume more coating resin, raise application costs, and can leave the surface too open for a thin clear coat to bridge; profiles that are too shallow compromise adhesion and durability. Measuring the achieved profile rather than assuming it — with a visual CSP comparator at minimum, or a surface profile gauge on critical jobs — is what turns a preparation specification into something you can actually verify. Note also that the CSP requirement applies to the substrate, not to a coating that is already sealed: a floor with an intact existing coating must be prepared as a coating surface, using the bonding method that system requires.
Priming and Substrate Bonding Enhancement
Primer Selection and Application
A high-quality primer bridges the gap between the prepared substrate and your clear epoxy floor coating, maximizing bond strength across the entire surface. Epoxy-based primers penetrate the concrete substrate deeply, filling micro-voids and creating a uniform foundation for the floor coating epoxy. The primer also locks the substrate profile in place and prevents dust from rising into the coating resin topcoat during application.
Proper primer coverage — typically 200 to 250 square feet per gallon — ensures complete substrate saturation without excessive buildup. Coverage rates are a specification, not a suggestion: spreading the primer thinner to stretch a batch leaves dry, unsealed patches where the topcoat will later struggle to bond, while applying it so heavily that it pools creates a glossy film the topcoat cannot key into. On porous or lightweight substrates, a second primer coat is often the cheaper answer than hoping one coat will seal the surface.
Allowing Adequate Cure Time Between Layers
Rushing the cure time between primer and topcoat undermines the entire bonding process. Most epoxy resin primers require roughly 24 hours of cure time under standard conditions before applying the clear epoxy floor coating. Temperature and humidity variations extend cure windows; working in cold or highly humid environments may demand 48 hours or more.
The recoat window runs in both directions. Apply the topcoat too early and the primer is still releasing solvent or moisture, which produces trapped vapor, blush, and weak inter-layer adhesion. Apply it too late — past the point where the primer surface is still chemically receptive — and the layers will not fuse, leaving a floor that looks fine until the topcoat delaminates as a sheet. For the topcoat itself, choose a grade with a documented cure schedule and a penetration and spread rate suited to your substrate, such as our 3:1 Highly Wear-Resistant 3D Flooring Coating Epoxy Resin, a self-leveling, clear system with a room-temperature full cure of two to three days and a reference spread rate of 280 to 350 g/m². Respecting these cure windows and spread rates is what allows the coating resin to achieve its engineered performance specifications and long-term durability.
FAQ
What happens if substrate preparation is skipped or done poorly?
Poor substrate preparation leads to rapid adhesion failure of your clear epoxy floor coating. Contaminants, moisture, and an inadequate surface profile prevent the epoxy resin from bonding to the concrete, resulting in peeling, bubbling, and complete loss of the floor coating epoxy within months. The cost of removing and reapplying a failed system far exceeds the initial investment in proper substrate preparation. Long-term durability of your coating resin depends entirely on this foundational step.
How can I verify that my substrate is properly prepared?
Visual inspection combined with technical testing confirms readiness for clear epoxy floor coating application. The surface should appear light gray and feel like fine sandpaper when touched, indicating a proper concrete surface profile. Moisture testing using calcium chloride kits or in-situ relative humidity probes confirms levels are within specification for epoxy resin application. A tape adhesion test — or a pull-off test on larger jobs — performed on a small primed area confirms that your clear epoxy floor coating will achieve adequate bond strength across the entire floor.
What substrate conditions require special attention before applying clear epoxy resin?
Concrete with existing sealers, paints, or coatings demands mechanical removal before applying your floor coating epoxy, and may require a specific bonding primer rather than a standard one. Substrates below 55 degrees Fahrenheit or above 85 degrees Fahrenheit may require extended cure times or environmental controls for the epoxy resin to cure properly. Highly porous substrates, such as lightweight concrete, need additional primer applications to achieve proper coating resin penetration and bond strength with the clear epoxy floor coating. Slabs with an active moisture source need a mitigation system, not simply a longer dry-out period.