
 EN
EN
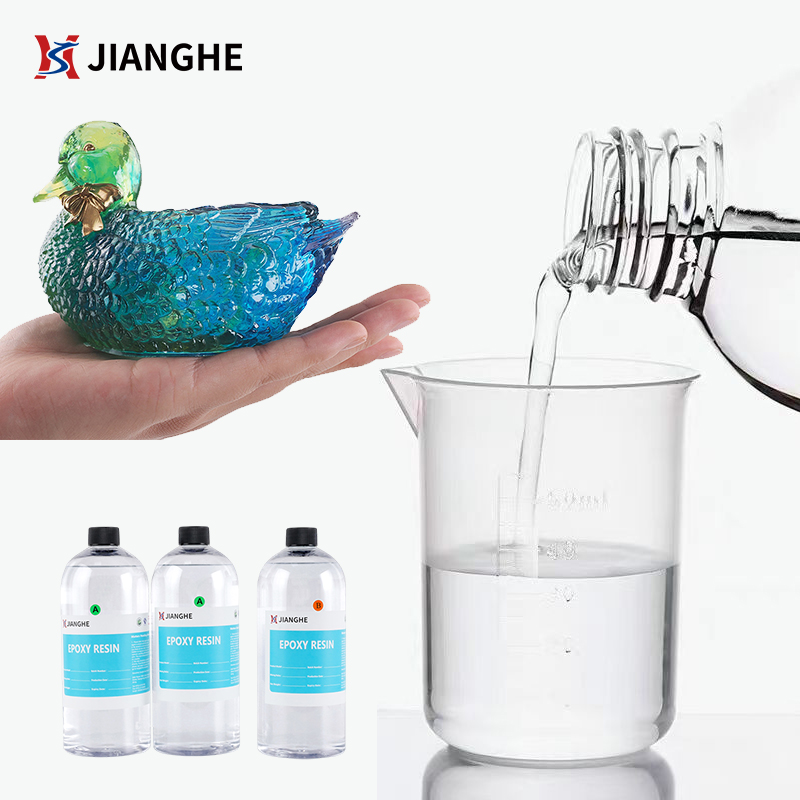
The visual quality of art resin projects depends on multiple interconnected factors that work together to create stunning, flawless results. Whether you're crafting jewelry, decorative pieces, or functional art, understanding what determines the final appearance of your art resin work is essential for achieving professional-grade outcomes. The clarity, surface finish, color depth, and overall aesthetic appeal of your art resin creation begins long before you mix your first batch of resin.
The visual quality of art resin projects is fundamentally shaped by the resin formulation itself, environmental conditions during curing, embedding techniques, and post-processing methods. Each element plays a critical role in determining whether your art resin piece will display the crystal-clear transparency, vibrant colors, and smooth finish that define high-quality resin art. Understanding these determinants empowers you to troubleshoot issues and consistently produce art resin work that meets your creative vision.
Resin Formulation and Material Purity
Crystal Clarity and Transparency Requirements
The foundation of visual quality in art resin begins with the resin formulation itself. High-quality art resin is engineered to achieve exceptional clarity and transparency, which directly impacts how light interacts with embedded objects and pigments. The purity of the resin composition determines baseline transparency, and any impurities or yellowing agents will compromise the visual quality of your art resin creation from the start. Selecting premium-grade art resin formulated specifically for jewelry and decorative applications ensures you begin with optimal optical properties.
Resin-to-Hardener Ratios and Cure Chemistry
Precise mixing ratios between resin and hardener are critical for achieving the visual quality your art resin project demands. Incorrect ratios create incomplete curing, resulting in cloudy, sticky, or undercured surfaces that destroy the aesthetic appeal of your art resin work. The chemical reaction between resin and hardener must be perfectly balanced to achieve uniform density throughout the cured mass. This balance directly affects how light passes through your art resin and whether embedded elements appear sharp and vibrant or hazy and dull.
Environmental Conditions During Curing
Temperature Stability and Control
Environmental temperature exerts profound influence over the visual quality of art resin projects throughout the curing process. Fluctuating temperatures cause differential expansion and contraction within the art resin material, creating internal stress, micro-cracks, and cloudiness that compromise visual clarity. Maintaining stable temperatures between 70–75°F (21–24°C) during the initial curing phase is essential for optimal visual quality in your art resin pieces. Temperature spikes can accelerate curing and trap bubbles, while cold temperatures slow curing and risk incomplete polymerization, both degrading the visual quality of your art resin.
Humidity and Moisture Management
Humidity levels directly determine whether your art resin achieves crystal-clear transparency or develops a whitish, frosted appearance. Moisture from the air can react with curing art resin, causing amine blush—a chalky surface film that severely reduces visual quality and gloss. Maintaining humidity below 50% during the curing phase protects the visual quality of your art resin from moisture-related defects. Additionally, moisture trapped within the art resin itself creates visible cloudiness and compromises the transparency that defines high-quality resin art.
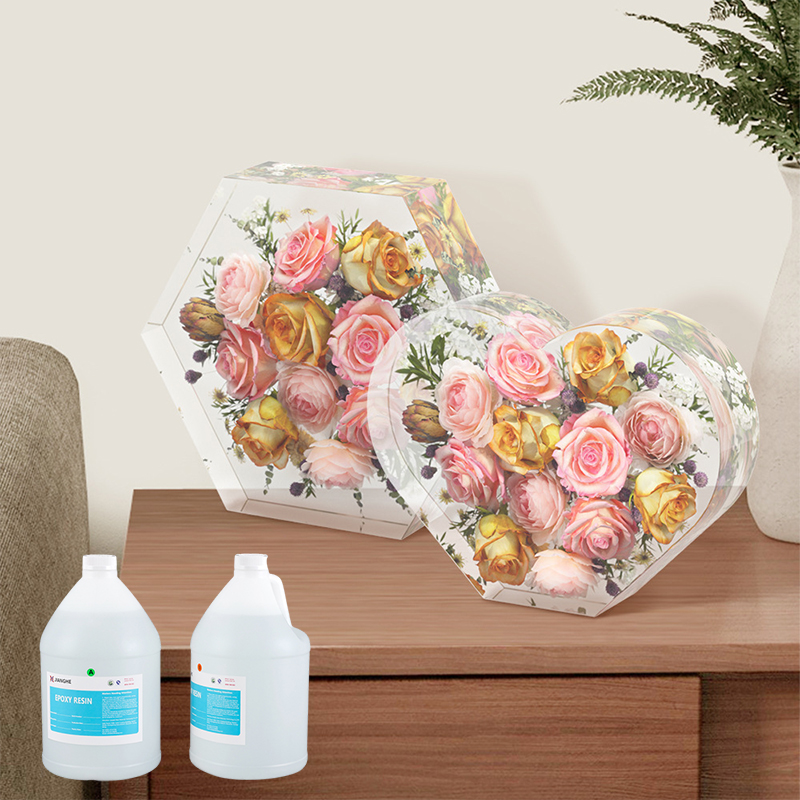
Bubble Management and Inclusion Control
Air Bubble Elimination Techniques
Bubbles represent one of the most visible threats to art resin visual quality, and their management determines whether your finished piece appears professional or flawed. Air becomes trapped in art resin during the mixing process, when embedding objects, and during the initial curing phase. Vacuum degassing is the gold standard for removing bubbles from art resin, while heat guns and strategic pouring techniques offer practical alternatives for hobby-level work. The visual quality of your art resin depends entirely on minimizing bubble presence before and during curing, as even small trapped air pockets become permanent visible defects once the resin hardens.
Object Embedding and Placement Strategy
The way you embed objects into art resin affects not only bubble entrapment but also the visual quality of those embedded elements themselves. Objects must be positioned to maximize light transmission through surrounding art resin, which requires careful consideration of orientation and depth. Air pockets around embedded items create cloudy halos that reduce the visual quality of your art resin and obscure the beauty of showcased objects. Pre-coating objects with a thin layer of art resin before full embedding, or using strategic placement to allow air bubbles to rise and escape, directly enhances the visual quality of your finished piece.
Pigmentation, Dyes, and Color Integration
Colorant Selection and Concentration
The visual quality of art resin projects is dramatically affected by the type and concentration of pigments and dyes used. Oil-based dyes, epoxy-specific colorants, and mica powders interact differently with art resin, and choosing the wrong type compromises visual clarity and final appearance. Over-concentration of pigment in art resin creates muddy colors and reduced light transmission, while under-concentration results in pale, washed-out aesthetics. Proper colorant selection and precise measurement ensure vibrant, true colors that enhance rather than diminish the visual quality of your art resin work.
Pigment Settling and Distribution
Color consistency throughout your art resin depends on thorough mixing and pigment suspension. Settling pigments create uneven color gradients that reduce the visual quality of art resin pieces, particularly in larger or thicker projects. The visual quality of your art resin is maximized when pigments remain evenly distributed throughout the curing process, which requires careful selection of colorant types designed to stay suspended in epoxy systems. Stirring pigments thoroughly into art resin while avoiding excessive air introduction, and allowing resin to sit briefly for large pigment particles to dissolve, preserves visual quality and color uniformity.
Surface Finishing and Post-Cure Processing
Demolding Timing and Surface Quality
The visual quality of art resin projects continues to be determined even after the initial cure is complete. Premature demolding traps fingerprints, dust, and surface imperfections in your art resin, while excessive delay risks adhesion issues with mold releases. Timing optimal demolding ensures the visual quality of your art resin piece by allowing sufficient hardness to protect the surface while still soft enough to release cleanly. Once removed from molds, your art resin requires careful handling to prevent scratching or dust settling on the tacky surface before complete cure.
Sanding, Polishing, and Final Finishes
Post-curing finishing techniques dramatically enhance the visual quality of art resin projects through sanding and polishing procedures. Fine-grit sanding removes surface irregularities and mold marks from your art resin, creating a smooth foundation for polishing. Progressive polishing of art resin from coarse to fine compounds restores clarity and enhances gloss, transforming the visual quality from merely acceptable to truly professional. A final UV-protective topcoat on art resin provides both aesthetic enhancement and long-term protection against yellowing, which preserves visual quality throughout the artwork's lifespan.
FAQ
What causes cloudy appearance in cured art resin?
Cloudiness in art resin typically results from trapped moisture, improper temperature control during curing, or incorrect resin-to-hardener ratios. Humidity exposure creates amine blush on art resin surfaces, while temperature fluctuations cause internal stress and micro-bubbles that scatter light. Using high-quality art resin formulated for clarity, maintaining stable temperature conditions, and keeping humidity below 50% prevents cloudy appearance and preserves visual quality.
How can I prevent bubbles in my art resin projects?
Preventing bubbles in art resin requires vacuum degassing, careful pouring techniques, and strategic placement of embedded objects. Mix art resin slowly to minimize air introduction, allow mixed resin to sit for several minutes before pouring, and use a heat gun to encourage bubble rise and escape. When embedding objects in art resin, pre-coat items and position them to allow trapped air to migrate upward, significantly improving the visual quality and clarity of your finished piece.
Does art resin yellow over time, and how do I prevent it?
Low-quality or inferior formulations of art resin may yellow over time when exposed to UV light or heat, degrading visual quality. Selecting UV-resistant, professional-grade art resin formulated for durability prevents yellowing and maintains clarity indefinitely. Applying UV-protective topcoats to finished art resin pieces provides an additional barrier against light-induced discoloration, ensuring that the visual quality of your art resin artwork remains pristine throughout years of display and use.